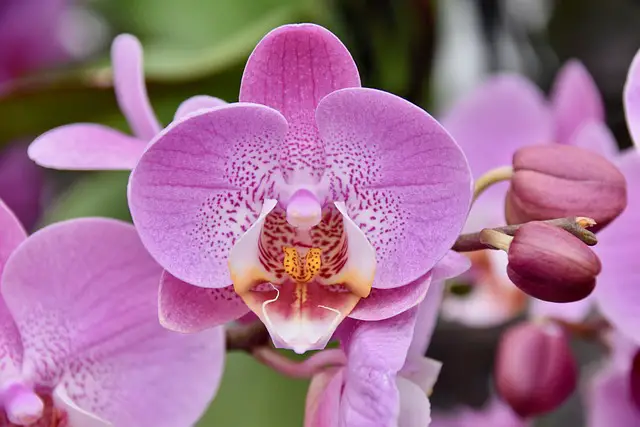
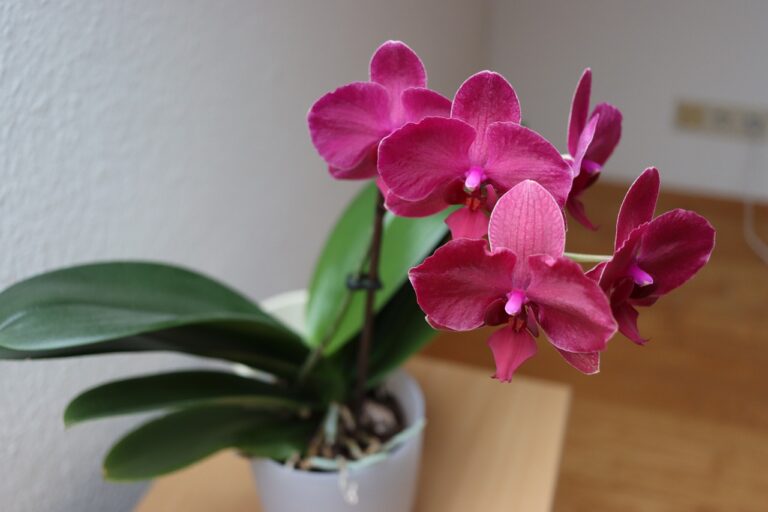
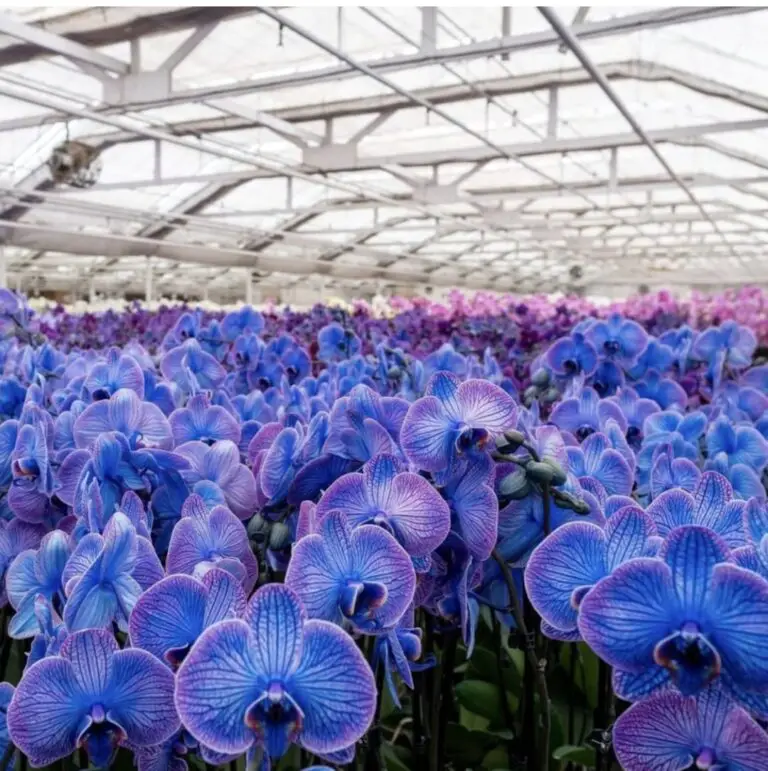
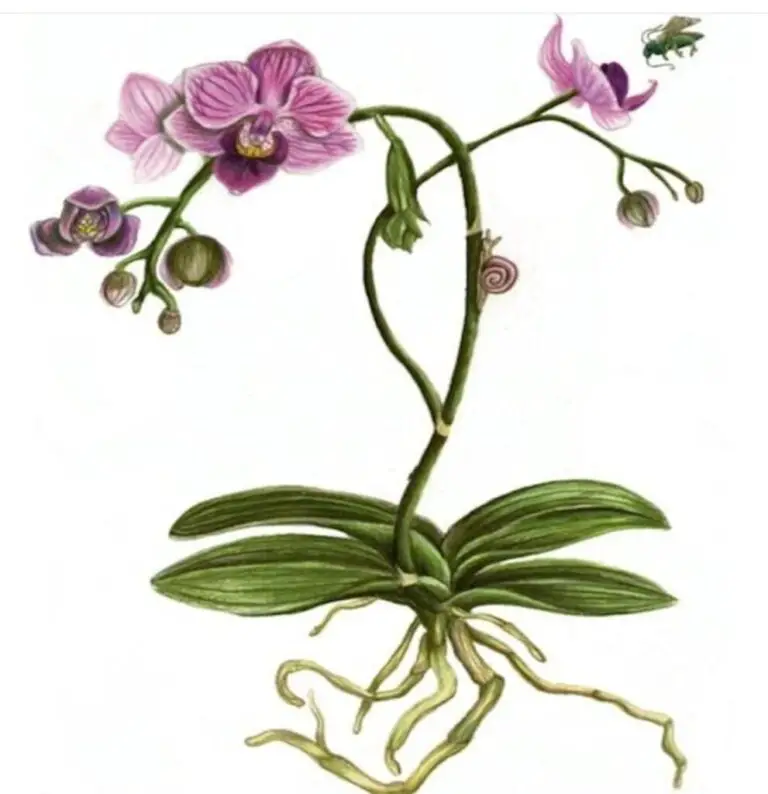
Phalaenopsis orchid, often called the “Moth Orchid,” and it’s no wonder it’s become a favorite among houseplant enthusiasts and collectors alike. But achieving that picture-perfect moment—those lush, long-lasting blooms—requires more than just a sunny window and occasional watering. It demands attention to one of the most overlooked aspects of orchid care: humidity.
For many growers, the struggle is real. Your orchid arrives looking fabulous, only to slowly lose its vitality—blooms fade, leaves wrinkle, and new buds fail to open. What went wrong? The truth is, these exotic plants evolved in humid rainforests where moisture hangs in the air like an invisible embrace. In our climate-controlled homes, with heaters in the winter and air conditioning in the summer, the air can become arid and harsh, quietly sabotaging even the best care routines.
The good news? You don’t need a greenhouse to mimic nature. With just a few smart, accessible strategies, you can create a humidity haven right in your living space—one that your Phalaenopsis will reward with vigorous growth and show-stopping blooms. In this guide, we’ll reveal 10 of the best humidity tricks to help you cultivate the ideal orchid environment. These aren’t just tips—they’re secrets that passionate growers swear by.Let’s get started and discover how to grow Phalaenopsis orchids that bloom all year long.

- 1 1. Know Your Numbers: Monitor Humidity Levels
- 2 2. Group Your Plants Together
- 3 3. Use a Humidity Tray
- 4 4. Mist Wisely
- 5 5. Humidifier Help
- 6 6. Create a Terrarium Vibe
- 7 7. Use the Bathroom Bonus
- 8 8. Wet Towel Trick
- 9 9. Seal in the Moisture
- 10 10. Adjust With the Seasons
- 11 Final Thoughts: Humidity Equals Happiness
- 12 FAQs About Phalaenopsis Orchids
1. Know Your Numbers: Monitor Humidity Levels
Before adjusting humidity, you need to understand where you’re starting. A digital hygrometer is an affordable tool that gives accurate readings of indoor humidity.50% to 70% is the preferred range for phalaenopsis orchids.If your indoor humidity falls below this range—especially under 40%—your orchid may start to show signs of stress, like wrinkled leaves or dropped buds.
Knowing the baseline allows you to apply changes confidently and monitor improvements. Without this step, you might overdo or underdo your humidity efforts.For a more comprehensive view of the humidity variations in your home, place your hygrometer close to the orchid’s foliage and be sure to verify readings throughout the day.
2. Group Your Plants Together
The process by which plants naturally transfer moisture into the atmosphere is known as transpiration.When you cluster multiple houseplants in one area, they collectively increase the humidity in their immediate environment. By placing your Phalaenopsis orchid alongside other tropical plants like calatheas, ferns, or peace lilies, you create a natural humid microclimate ideal for its growth.
This method not only raises humidity but also gives your plant corner a lush, tropical aesthetic. Grouping also reduces the frequency of misting or watering, as your orchids will retain moisture better. Just make sure all plants have similar care needs to avoid overwatering or under-humidifying some of them.
3. Use a Humidity Tray
A humidity tray is one of the simplest yet most effective methods for increasing humidity. Fill a shallow tray with decorative pebbles, add water just below the top of the stones, and place your orchid pot on top.The evaporation of water increases the humidity surrounding the plant without wetting the roots.
This trick works best when combined with a warm room or gentle air circulation to encourage evaporation. Make sure your orchid pot is well-draining and doesn’t touch the water directly. This prevents root rot while still giving your orchid the humidity lift it needs for healthier blooms and foliage.
4. Mist Wisely
While misting may seem like a quick fix, doing it correctly is essential to avoid problems. Use a fine mist spray bottle to gently mist the air around the orchid, not directly on its leaves or blooms. This creates a temporary humidity spike without leaving water droplets that could lead to rot or mold.
Early morning is the ideal time to mist since it gives the moisture time to dissipate before nightfall. Mist only when needed—if your humidity levels are already in the ideal range, daily misting might do more harm than good. Consider misting on dry days or when using heating systems indoors.
5. Humidifier Help
A humidifier is the most reliable and efficient way to maintain consistent humidity, especially during dry seasons or in air-conditioned rooms. Choose a cool-mist or ultrasonic humidifier with an adjustable humidity setting, so you can keep your orchid in that ideal 50–70% zone without guesswork or constant attention.
Place the humidifier near your orchid, but not so close that it saturates the leaves or roots. Running the unit during the day—especially in winter—can prevent dry air from stunting growth or causing premature flower drop. Bonus: humidifiers can benefit your skin, respiratory health, and other plants too!
6. Create a Terrarium Vibe
If you’re looking for a more decorative solution, consider housing your orchid in a glass cloche or small indoor greenhouse. These enclosures help retain moisture and create a tropical, spa-like setting that mimics the orchid’s natural environment. It also adds a stylish, curated look to your plant display.
Take care not to close off the area too completely.Condensation build-up without airflow can lead to mold or bacterial issues. Open the cloche occasionally or install small vents to allow fresh air to circulate. With the right balance, your orchid will thrive and reward you with lush, showy blooms.
7. Use the Bathroom Bonus
A well-lit bathroom is one of the best places to grow a Phalaenopsis orchid. The natural steam from showers creates consistent, elevated humidity—often the exact tropical conditions your orchid loves. As long as there’s indirect sunlight and good airflow, your bathroom can become a perfect orchid oasis.
Avoid placing your orchid near vents or drafty windows, as sudden temperature changes can still be harmful. Make sure the orchid isn’t hit by direct water from showers or faucets. With a little care, your bathroom orchid will flourish and bloom more frequently than those kept in drier rooms.
8. Wet Towel Trick
This simple trick is both low-cost and surprisingly effective. Place a wet towel or sponge on a heat-safe tray or radiator shelf near your orchids. As it slowly dries, it will release moisture into the surrounding air, boosting the humidity for your plants without fancy equipment or extra effort.
Refresh the towel daily to maintain results and prevent odors or mold. This method works best in smaller rooms or plant corners where humidity tends to drop. Pair it with other tricks—like grouping or pebble trays—for a compounding effect that creates a reliably moist, orchid-friendly environment.
9. Seal in the Moisture
Strategically placing your orchid in less drafty, enclosed areas can help retain ambient moisture. Windowsills in sealed rooms, sunny corners away from air vents, or even glassed-in porches are great choices. These spots maintain humidity better and reduce the rate at which your orchid loses water through evaporation.
Avoid placing orchids near radiators, fans, or heaters that blow dry air. Your orchid may become stressed by even sporadic drafts, which could result in flower drop.Keep your environment as stable as possible—not just in humidity but in temperature too—to ensure your Phalaenopsis thrives long-term.
10. Adjust With the Seasons
Humidity isn’t static—it naturally shifts with the weather. In winter, heating systems dry the air significantly. In summer, air conditioning can do the same. Being aware of these changes lets you adapt your care routine—adding humidifiers, increasing misting, or grouping plants more tightly as needed.
Make it a habit to check humidity levels with the seasons. Transitioning between different strategies—like moving plants closer to the bathroom in winter or outdoors in spring—helps your orchids stay strong. Consistency is key: lush blooms appear when your orchid feels secure, not when it’s constantly adjusting to a new environment.
Final Thoughts: Humidity Equals Happiness
Humidity may seem like a small detail, but for Phalaenopsis orchids, it’s one of the biggest secrets to success. With just a few thoughtful changes, you can mimic the steamy jungles these plants call home and enjoy lush blooms that last for months. Whether you’re misting, grouping, or running a humidifier, every step brings you closer to a thriving orchid.
So next time your Phalaenopsis looks a little tired or refuses to bloom, check the air around it. A bump in humidity might be the exact boost it needs. The reward? Stronger roots, healthier leaves, and beautiful blossoms that lift your mood and space
FAQs About Phalaenopsis Orchids
1. What are Phalaenopsis Orchids?
Phalaenopsis Orchids, commonly referred to as moth orchids, are one of the most popular and beginner-friendly types of orchids. Known for their elegant arching stems and long-lasting blooms, Phalaenopsis Orchids come in a variety of colors and patterns. These tropical plants are native to Southeast Asia and thrive in indoor environments, making them a favorite among houseplant enthusiasts and orchid collectors alike.
2. How often should I water Phalaenopsis Orchids?
Phalaenopsis Orchids should be watered approximately once a week, though this can vary based on the humidity, temperature, and potting medium. The key is to let the roots dry slightly between waterings. Overwatering is a common mistake, and it can lead to root rot. Watering your Phalaenopsis orchids in the morning and letting any excess moisture drip out entirely will yield the greatest results.
3. Do Phalaenopsis Orchids need sunlight?
Yes, Phalaenopsis Orchids require bright but indirect sunlight to grow and bloom successfully. Direct sun can scorch their delicate leaves, so it’s best to place your Phalaenopsis Orchids near an east- or west-facing window. You can use fluorescent or LED grow lights as a supplement if there isn’t enough natural light.
4. What temperature is ideal for Phalaenopsis Orchids?
Phalaenopsis Orchids thrive in warm environments. Ideal daytime temperatures range from 65°F to 80°F, while nighttime temperatures should stay around 60°F. Sudden temperature changes or exposure to drafts can stress Phalaenopsis Orchids and affect their growth and blooming cycle.
5. How long do Phalaenopsis Orchids bloom?
With proper care, Phalaenopsis Orchids can bloom for 2 to 3 months at a time. Some even bloom more than once a year. Their long-lasting flowers make Phalaenopsis Orchids a top choice for both home decor and gifting. After blooming, the plant enters a resting phase before producing new flower spikes.
6. Can I grow Phalaenopsis Orchids indoors?
Absolutely! Phalaenopsis Orchids are perfect for indoor gardening. They adapt well to household conditions and are relatively low maintenance compared to other orchid species. Phalaenopsis Orchids flourish when placed in a warm, humid room with filtered sunlight and occasional misting.
7. What kind of potting mix should I use for Phalaenopsis Orchids?
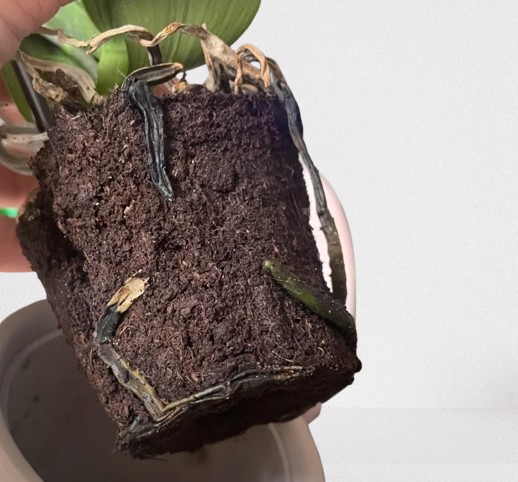
Phalaenopsis Orchids need a well-aerated and fast-draining potting mix. A good orchid mix usually contains bark, perlite, charcoal, and sometimes sphagnum moss. This avoids overwatering and maintains the roots’ vitality. Repotting your Phalaenopsis Orchids every 1 to 2 years keeps the growing medium fresh and supportive.
8. How do I encourage Phalaenopsis Orchids to rebloom?
To encourage Phalaenopsis Orchids to rebloom, you can trim the flower spike after the blooms fall off, just above a node. Reducing nighttime temperatures by 10–15 degrees for a few weeks can also stimulate new blooms. Consistent watering, proper lighting, and monthly feeding with orchid fertilizer can greatly enhance the chances of reblooming.
9. Are Phalaenopsis Orchids toxic to pets?
Good news—Phalaenopsis Orchids are non-toxic to cats and dogs. This makes them a safe choice for homes with curious pets. While it’s always best to keep houseplants out of reach, you can enjoy your Phalaenopsis Orchids without worrying about harming your furry friends.
10. Should I fertilize my Phalaenopsis Orchids?
Yes, fertilizing Phalaenopsis Orchids regularly helps support healthy growth and flowering. Use a balanced orchid fertilizer every two to four weeks during the active growing season. Always follow the instructions on the label, and avoid over-fertilizing, which can damage the roots.
11. Why are the leaves of my Phalaenopsis Orchids turning yellow?
Yellowing leaves on Phalaenopsis Orchids may indicate overwatering, insufficient light, or nutrient deficiencies. Examine your watering habits and ensure the plant is getting enough indirect sunlight. It’s also helpful to check for pests or signs of root rot. Adjusting care can often reverse minor yellowing in Phalaenopsis Orchids.
12. Can Phalaenopsis Orchids be propagated at home?
Yes, Phalaenopsis Orchids can be propagated, most commonly through a keiki—a small offshoot that grows from a node on the flower spike. The keiki can be detached and put in a separate container once its roots have grown.Though propagation takes time, it’s a rewarding way to grow more Phalaenopsis Orchids.
13. How should I repot Phalaenopsis Orchids?
Repotting Phalaenopsis Orchids is recommended every 1 to 2 years, or when the potting medium breaks down. Gently remove the orchid from its pot, trim away any dead roots, and place it in fresh orchid mix in a clean pot with good drainage. Repotting helps refresh the growing environment and supports healthy root development.
14. What are common pests that affect Phalaenopsis Orchids?
Phalaenopsis Orchids can sometimes be affected by pests such as mealybugs, aphids, scale insects, and spider mites. Regularly inspect your plants for signs of infestation and treat them promptly using insecticidal soap or neem oil. Keeping your Phalaenopsis Orchids clean and healthy is the best way to prevent pests.
15. Why are Phalaenopsis Orchids so popular?
Phalaenopsis Orchids are immensely popular due to their elegant flowers, extended blooming period, and easy care requirements. Whether you’re a seasoned plant parent or a beginner, Phalaenopsis Orchids are a stunning and low-maintenance addition to any indoor plant collection.

