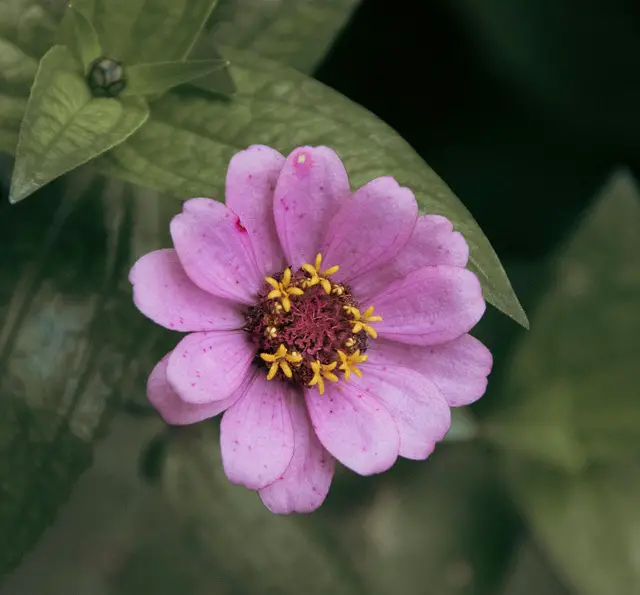
The Ultimate Orchid Care Guide.Orchids are among the most beautiful and diverse flowering plants, making them popular choices for indoor gardens.However, in order for them to thrive and keep their vivid beauty, they need special attention. This month-by-month guide will help you provide the best possible care for your orchids, ensuring they thrive in your home throughout the seasons. Whether you’re a beginner or an experienced grower, these tips will keep your orchids healthy and stunning all year round.
- 1 The Ultimate Orchid Care Guide
- 2 January: Assess and Repot
- 3 Do:
- 4 Don’t:
- 5 February: Maintain humidity.
- 6 Do:
- 7 Don’t:
- 8 March: Fertilisation Begins
- 9 Do:
- 10 Don’t:
- 11 April: Monitor Growth
- 12 Do:
- 13 Don’t:
- 14 May: Provide bright light.
- 15 Do:
- 16 Don’t:
- 17 June: Watering Routine
- 18 Do:
- 19 Don’t:
- 20 July: Inspect for Pests
- 21 Do:
- 22 Don’t:
- 23 August: Prune Dead Flowers
- 24 Do:
- 25 Don’t:
- 26 September: Prepare for Dormancy
- 27 Do:
- 28 Don’t:
- 29 October: Adjust Light Conditions
- 30 Do:
- 31 Don’t:
- 32 November: Check for Diseases
- 33 Do:
- 34 Don’t:
- 35 December: Reflect and Plan
- 36 Do:
- 37 Don’t:
- 38 FAQS
The Ultimate Orchid Care Guide

January: Assess and Repot
Do:
Examine your orchids for any symptoms of illness or pests at the beginning of the new year. Look closely at the leaves and roots; if you notice any discolouration or unusual spots, take action promptly. Additionally, this is an excellent time to repot your orchids if their potting medium has broken down or if the roots are overcrowded. Choose a fresh, well-draining medium suitable for your specific orchid type to encourage healthy growth in the coming months.
Don’t:
Avoid overwatering your orchids during the winter months. Orchids typically require less moisture when they are not actively growing, and excess water can lead to root rot. Allow the potting medium to dry out between waterings, which will help prevent moisture-related issues.
February: Maintain humidity.
Do:
Ensure that your orchids have adequate humidity levels, which should ideally be between 40% and 70%. Orchids thrive in a humid environment, and you can create this by using a humidity tray filled with pebbles and water or by using a humidifier in the room where your orchids are located. Regular misting can also help maintain humidity, but be sure not to let water accumulate in the crown of the plant.also you can place a tray with pebbles in water. If you see your orchid is drying.
Don’t:
To prevent the air from drying out and damaging your orchids, keep them away from direct heat sources like radiators and heating vents. Ensure they are placed in a location with stable temperatures and good airflow to promote healthy growth.
March: Fertilisation Begins
Do:
As spring approaches, it’s time to start fertilising your orchids to encourage new growth. Use a balanced orchid fertiliser diluted to half strength and apply it every two weeks. This will provide the essential nutrients your orchids need to thrive during their active growth phase.
Don’t:
Never fertilise dry orchids; always water them first before applying fertiliser to avoid root burn. Fertilising dry roots can damage them and lead to poor plant health. Ensure the potting medium is slightly moist before fertilising.
April: Monitor Growth
Do:
As temperatures rise and your orchids enter their active growth phase, watch for signs of new growth. This includes new leaves or roots emerging. Adjust your care routine accordingly by increasing watering to match the plant’s growing needs. Regularly check for any changes in the plant’s condition.
Don’t:
Neglect to clean the leaves of your orchids. Dust can accumulate on the leaves and block sunlight, which reduces photosynthesis.To maintain the leaves clean and healthy, gently wipe them with a moist towel.
May: Provide bright light.
Do:
Ensure your orchids receive bright, indirect sunlight for at least six hours a day. Put them in front of a window so they can get filtered light.If you’re using artificial grow lights, position them to provide the necessary light without causing leaf burn.
Don’t:
Avoid exposing your orchids to direct sunlight, especially during the hottest parts of the day.The leaves may be scorched by the sun, resulting in damage and ugly brown patches.
June: Watering Routine
Do:
As summer approaches, you’ll need to water your orchids more frequently to keep them hydrated during the active growth season. Check the moisture level of the potting medium regularly, and water thoroughly when the top inch is dry. Make sure there is enough drainage in the pot to avoid waterlogging.
Don’t:
Never let your orchids sit in standing water, as this can lead to root rot and other moisture-related issues. Use pots with drainage holes and empty any excess water from saucers after watering.
July: Inspect for Pests
Do:
Regularly check your orchids for pests such as aphids, mealybugs, and spider mites. If you notice any signs of infestation, such as sticky residue or visible insects, treat them promptly with insecticidal soap or neem oil. Keeping a close eye on your plants will help catch any issues early.
Don’t:
Don’t ignore any signs of stress in your orchids, such as wilting or yellowing leaves. These can be indicators of underlying problems, including pests, diseases, or improper care. Address any issues you observe immediately to prevent further damage.
August: Prune Dead Flowers
Do:
Once your orchids finish blooming, it’s essential to cut back any dead flower spikes. This will encourage new growth and promote healthier blooms in the next flowering cycle. Use clean, sharp scissors or pruning shears to make the cut just above a node or leaf.
Don’t:
Avoid removing healthy leaves; they are vital for photosynthesis and overall plant health. Only prune dead or damaged parts to maintain the plant’s vigour.
September: Prepare for Dormancy
Do:
As the growing season slows down, start to reduce your watering and fertilisation schedules. Many orchids enter a dormancy period during the fall and winter months, so adjusting care accordingly is crucial for their health.
Don’t:
Don’t completely stop caring for your orchids. Even during dormancy, they still need attention and occasional watering to prevent them from drying out completely.
October: Adjust Light Conditions
Do:
As fall approaches, it’s time to move your orchids to a location with less intense light. This is especially important as days get shorter and sunlight becomes less direct. Make sure they continue to receive indirect, bright light.
Don’t:
Neglect to maintain humidity levels; indoor heating can significantly dry out the air. Continue using humidity trays or misting your orchids to keep them comfortable during the cooler months.
November: Check for Diseases
Do:
Take the time to inspect your orchids for any signs of disease or fungus, particularly around the roots and leaves. If you notice any fungal growth or spots, treat them immediately with appropriate fungicides or remedies.
Don’t:
Avoid overwatering as temperatures drop; many orchids enter dormancy and require less moisture. Water only when the potting medium is dry to prevent root rot.
December: Reflect and Plan
Do:
Consider your regimen for caring for your orchids as the year draws to an end. Make a list of what went well and what needs improvement.This reflection will help you plan for the upcoming year and make any necessary adjustments.
Don’t:
Don’t skip your monthly inspections. Even dormant orchids need monitoring for pests and diseases, ensuring they are ready for the next growth cycle.
Final Tips
Watering: Always check the moisture level of the potting medium before watering. The general rule is to water when the top inch is dry. One of the most frequent errors people make with orchids is to overwater them.
Fertilisation: Use a balanced orchid fertiliser formulated specifically for your type of orchid. This will ensure they receive the nutrients necessary for healthy growth and flowering.
Humidity: Increase humidity using trays filled with water and pebbles, or mist your orchids regularly to replicate their natural habitat.
By following these monthly guidelines and paying close attention to your orchids’ needs, you’ll be well-equipped to keep them thriving throughout the year. Happy orchids
