Orchid Care are delicate and beautiful plants that can brighten up any space with their vibrant colors and elegant blooms. However, like all indoor plants, orchids are susceptible to various issues, and one of the most common problems orchid enthusiasts face is mold growth. Mold not only detracts from the aesthetic appeal of your orchids but can also harm their health. In this blog post, we will explore four common types of molds that affect orchids and how to effectively treat and prevent them.
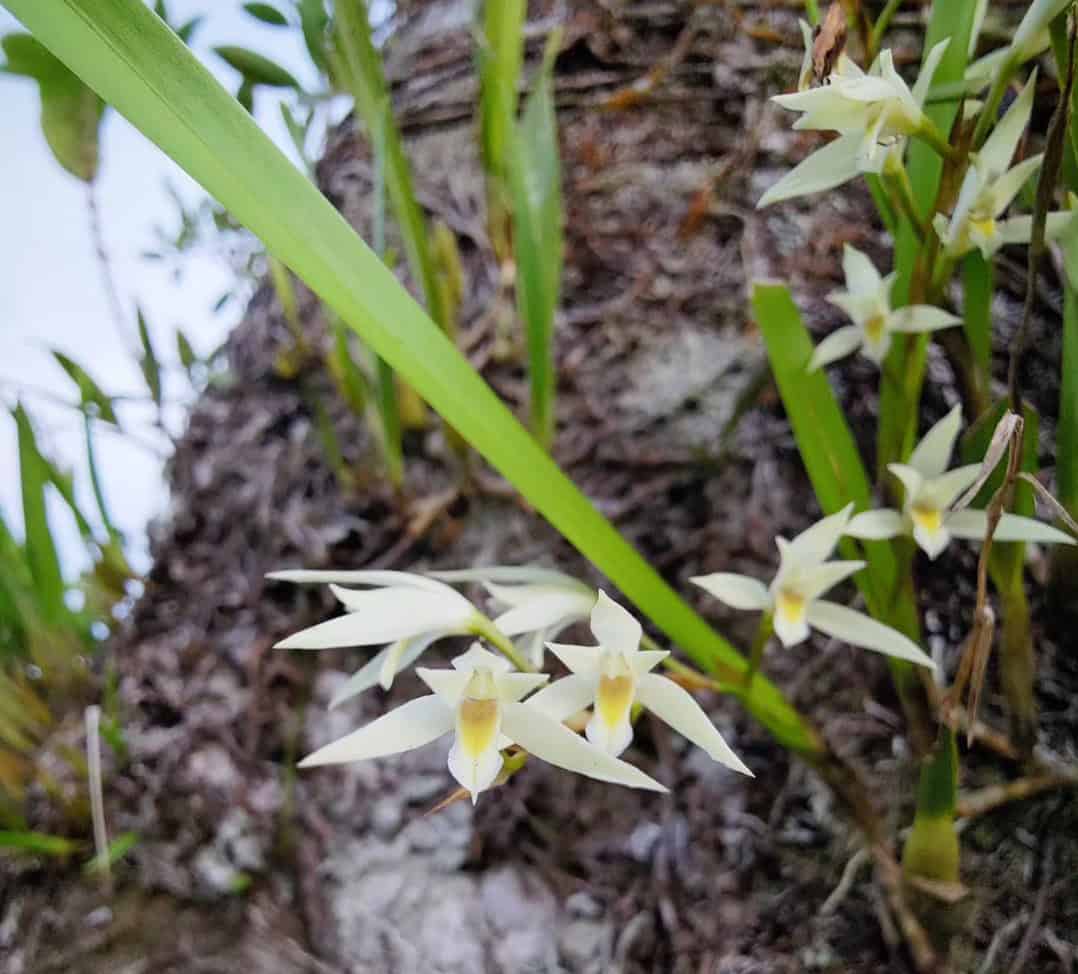
orchids in glass vase get mold s very fast.because orchid roots needs air circulation. Use plastic vase with holes
Gray Mold (Botrytis cinerea)
Gray Mold, scientifically known as Botrytis cinerea, is a common fungal disease that affects a wide range of plants, including orchids. It is often referred to as “gray mold” due to its characteristic appearance as fuzzy gray or brown spots on plant tissues such as leaves, stems, flowers, and even fruits. Gray mold can be a persistent problem for orchid growers, but understanding its characteristics and taking appropriate measures can help manage and prevent its spread. Here’s what you need to know about gray mold in orchids:
Causes and Conditions:
The fungus Botrytis cinerea is the source of grey mould.It thrives in conditions of high humidity, poor air circulation, and moisture on plant surfaces. Orchids that are kept in environments with inadequate ventilation or those that are overwatered are more susceptible to this fungal disease.
Identification:
Gray mold typically appears as velvety, fuzzy gray or brown patches on the affected parts of the orchid.
These patches may spread rapidly and cover large areas if left untreated.
As the disease progresses, the affected plant tissue becomes soft and mushy.
Treatment and Control:
To combat gray mold in orchids, consider the following measures:
Isolate the Affected Orchid: As soon as you notice signs of gray mold, isolate the affected orchid to prevent the spread of spores to other plants.
Prune Affected Areas: Carefully trim away and discard any parts of the orchid that show signs of gray mold. Make clean cuts to remove all infected tissue.
Improve Air Circulation: Enhance ventilation around your orchids by providing adequate spacing between plants and using fans if necessary. Good airflow helps reduce humidity and moisture, creating an unfavorable environment for mold growth.
Proper Watering: Avoid overwatering your orchids, as excess moisture promotes the development of gray mold. Water the orchid only when the top inch of the potting mix is dry.
Fungicide Treatment: Consider using a fungicide specifically formulated for orchids and labeled for gray mold control. Follow the manufacturer’s instructions for application.
Prevention:
Preventing gray mold in orchids is essential for long-term plant health. Some preventive measures include:
Regular Inspection: Routinely check your orchids for any signs of mold or disease, especially in the early stages.
Maintain Cleanliness: Keep your orchid’s environment clean and free of debris that can harbor spores.
Proper Hygiene: Practice good hygiene when handling orchids, sterilizing tools, and washing your hands to avoid spreading fungal spores.
Quarantine New Orchids: Isolate new orchids for a period to ensure they are free from gray mold or other diseases before introducing them to your collection.
By promptly identifying and addressing gray mold issues and implementing preventive strategies, you can enjoy healthy and vibrant orchids that are less susceptible to this troublesome fungal disease.
Black Mold (Alternaria spp.)
Black Mold, caused by various species of the Alternaria genus, is a common fungal disease that can affect a wide range of plants, including orchids. This type of mold typically presents as dark, velvety patches on the leaves, stems, and other plant parts. Here’s what you need to know about black mold in orchids:
Causes and Conditions:
Black Mold is caused by various species of Alternaria fungi. It tends to thrive in conditions of high humidity and poor air circulation. Orchids that are exposed to excess moisture and inadequate ventilation are more susceptible to this fungal disease.
Identification:
Black Mold appears as dark, velvety patches on the surfaces of orchid leaves, stems, and sometimes flowers.
These patches may vary in size and can expand if left untreated.
The affected areas may become sunken or necrotic as the disease progresses.
Treatment and Control:
To manage black mold in orchids, consider the following steps:
Isolate the Affected Orchid: As soon as you notice signs of black mold, isolate the affected orchid to prevent the spread of spores to other plants.
Pruning: Carefully trim away and discard the parts of the orchid that exhibit black mold. Be sure to make clean cuts to remove all infected tissue.
Improve Ventilation: Enhance air circulation around your orchids by providing adequate spacing between plants and using fans if necessary. Better airflow reduces humidity and minimizes the conditions favorable for mold growth.
Control Moisture: Avoid overwatering your orchids, as excessive moisture can encourage black mold development. Water your orchids when the top inch of the potting mix is dry.
Fungicide Treatment: Consider using a fungicide specifically formulated for orchids and labeled for black mold control. Follow the manufacturer’s instructions for application.
Prevention:
Preventing black mold in orchids is crucial for maintaining their health. Here are some preventive measures:
Regular Inspections: Routinely inspect your orchids for any signs of mold or disease, especially during periods of high humidity.
Clean Environment: Keep the area where your orchids are grown clean and free of plant debris, as this can harbor fungal spores.
Proper Hygiene: Practice good hygiene when handling your orchids, sterilize your gardening tools, and wash your hands to avoid spreading fungal spores.
Quarantine New Orchids: Isolate new orchids for a time to ensure they are free from black mold or other diseases before placing them with your existing collection.
By promptly identifying and addressing black mold issues and implementing preventive strategies, you can enjoy healthy and thriving orchids that are less susceptible to this common fungal disease.

Powdery Mildew (Oidium spp.)
Powdery Mildew, caused by various species of the Oidium genus, is a fungal disease that can affect orchids and a wide range of other plants. It’s characterized by the appearance of a powdery, white substance on the leaves, stems, and sometimes flowers of infected plants. Here’s what you need to know about powdery mildew in orchids:
Causes and Conditions:
Powdery Mildew is caused by different species of Oidium fungi. This type of mildew thrives in conditions of high humidity, poor air circulation, and moderate temperatures. Orchids that experience these conditions are more susceptible to powdery mildew.
Identification:
Powdery Mildew appears as a white, powdery substance on the surfaces of orchid leaves, stems, and sometimes flowers.
Unlike some other molds, powdery mildew doesn’t typically cause significant tissue damage or rot.
However, it can weaken the affected orchid by interfering with photosynthesis.
Treatment and Control:
To manage powdery mildew in orchids, consider these steps:
Isolate the Affected Orchid: As soon as you notice signs of powdery mildew, isolate the infected orchid to prevent the spread of spores to other plants.
Gentle Wiping: Use a soft cloth or sponge to gently wipe off the powdery mildew from the orchid’s surfaces. Be careful not to damage the orchid while doing this.
Improve Air Circulation: Enhance ventilation around your orchids by providing adequate spacing between plants and using fans if necessary. Good airflow helps reduce humidity and discourage mildew growth.
Reduce Humidity: Keep humidity levels in check, especially in the orchid’s environment. Lower humidity can make it less conducive for powdery mildew to thrive.
Prune Affected Areas: If the powdery mildew persists, consider pruning away severely affected parts of the orchid.
Fungicide Treatment: You can use a fungicidal spray specifically designed for orchids. Follow the manufacturer’s instructions for application.
Prevention:
Preventing powdery mildew in orchids is essential for their long-term health. Here are some preventive measures:
Regular Monitoring: Consistently inspect your orchids for any signs of powdery mildew, especially during periods of high humidity.
Clean Environment: Keep the growing area clean and free of debris, as fallen leaves or petals can harbor spores.
Proper Hygiene: Practice good hygiene when handling your orchids, sterilize your gardening tools, and wash your hands to avoid spreading fungal spores.
Maintain Suitable Humidity: Try to maintain moderate humidity levels in the orchid’s environment.
By promptly identifying and addressing powdery mildew issues and implementing these preventive measures, you can enjoy healthy and thriving orchids that are less susceptible to this particular fungal disease.
Brown Rot (Phytophthora spp.)
Brown Rot, caused by various species of the Phytophthora genus, is a fungal disease that can affect orchids and many other plants. It is particularly destructive because it causes dark, slimy lesions on orchid leaves, pseudobulbs, and roots. Here’s what you need to know about brown rot in orchids:
Causes and Conditions:
Brown Rot is caused by different species of Phytophthora fungi. This disease typically thrives in conditions of high humidity and excess moisture. Orchids that are exposed to prolonged wet conditions or poor drainage are more susceptible to brown rot.
Identification:
Brown Rot is characterized by the development of dark, water-soaked lesions on the orchid’s leaves, pseudobulbs, or roots.
The affected areas may become soft and mushy, and the disease can quickly spread if not addressed promptly.
In severe cases, brown rot can lead to the rotting of the entire plant.
Treatment and Control:
To manage brown rot in orchids, consider the following steps:
Isolate the Affected Orchid: As soon as you notice signs of brown rot, isolate the affected orchid to prevent the spread of spores to other plants.
Pruning and Removal: Carefully trim away and discard all parts of the orchid that exhibit brown rot. Make sure to remove all infected tissue, and consider sterilizing your pruning tools between cuts.
Enhance Drainage: Ensure proper drainage in the orchid’s pot to prevent waterlogged conditions. Brown rot thrives in overly moist environments.
Allow Drying: Allow the orchid to dry out between waterings. Avoid overwatering, as excess moisture promotes brown rot development.
Fungicide Treatment: Consider using a fungicide specifically formulated for orchids and labeled for brown rot control. Follow the manufacturer’s instructions for application.
Prevention:
Preventing brown rot in orchids is crucial for their long-term health. Here are some preventive measures:
Regular Inspection: Routinely inspect your orchids for any signs of brown rot, especially after heavy watering or rain.
Clean Environment: Keep the growing area clean and free of plant debris that can harbor fungal spores.
Proper Hygiene: Practice good hygiene when handling your orchids, sterilize your gardening tools, and wash your hands to avoid spreading fungal spores.
Quarantine New Orchids: Isolate new orchids for a period to ensure they are free from brown rot or other diseases before introducing them to your existing collection
Prevention Tips
Preventing mold in orchids is as important as treating it. Here are some preventive measures:
Maintain Proper Hygiene: Keep your orchid’s environment clean and free of debris.
Adequate Air Circulation: Ensure good airflow to prevent moisture buildup.
Water Wisely: Water your orchids only when the top inch of the potting mix feels dry.
Quarantine New Orchids: Isolate new orchids for a few weeks to check for any signs of mold or disease before placing them with your existing plants.
Mold can be a persistent issue for orchid growers, but with the right knowledge and care, it can be managed effectively. By identifying the type of mold affecting your orchid and taking appropriate steps for treatment and prevention, you can enjoy the beauty of healthy, mold-free orchids in your home. Remember that early detection and action are key to successfully combating these pesky molds and ensuring the long-term well-being of your orchids.
FAQ
How can mould on orchids be removed?
To get rid of mold on orchids, gently remove the affected parts with a sterile tool, improve air circulation, reduce humidity, and avoid overwatering. Apply a fungicide if needed.
What to do with moldy orchid roots?
If you have moldy orchid roots, carefully trim away the affected portions, ensuring healthy roots remain. Repot the orchid in fresh, well-draining orchid mix to encourage recovery.
Can you save an orchid with moldy roots?
Yes, you can save an orchid with moldy roots if you act promptly. Trim away the affected roots, provide proper care, and monitor the orchid’s progress to ensure it recovers.
Why does my orchid look moldy?
Orchids may look moldy due to high humidity, poor ventilation, overwatering, or fungal infections. Correcting these issues and maintaining proper orchid care can help prevent the moldy appearance

