Repotting Orchid: Should You Cut, Bury, or Leave the Roots Exposed?
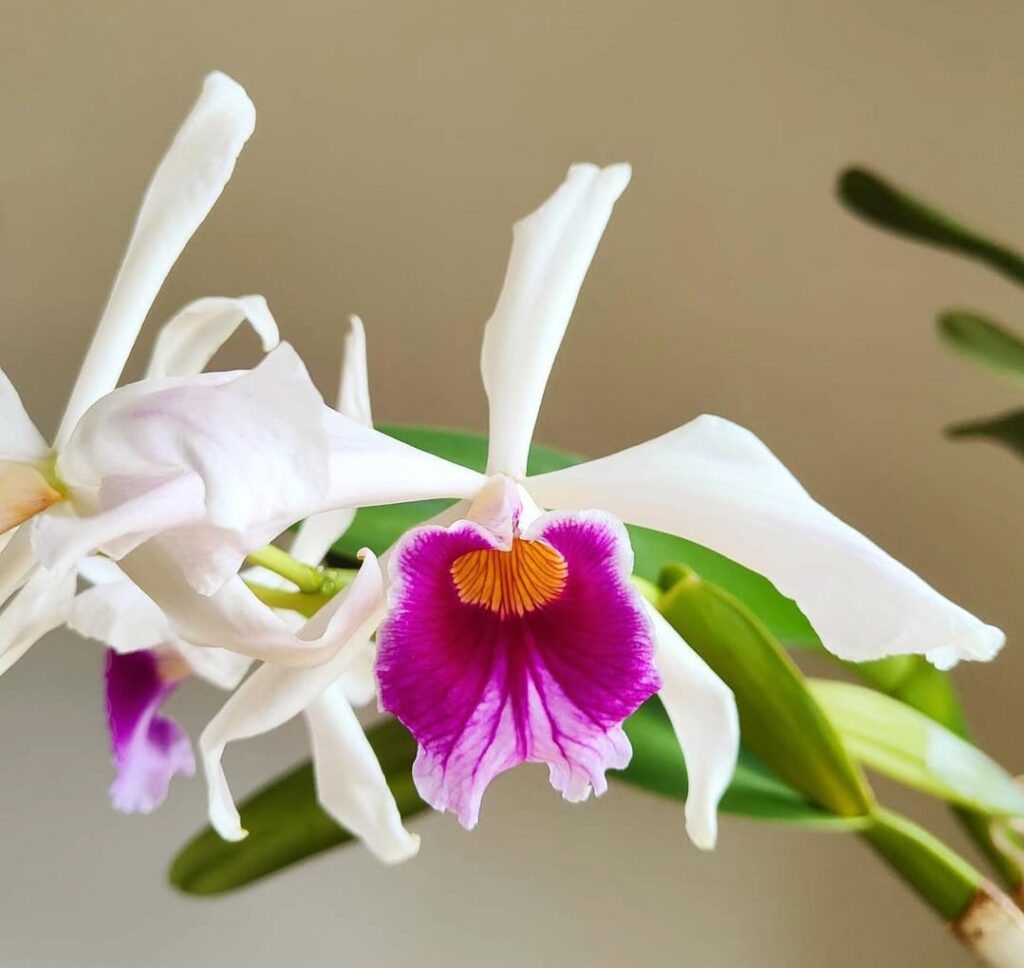
Orchids are one of the most elegant and exotic houseplants, but they come with a unique set of care requirements—especially when it’s time to repot them. If you’ve ever struggled with deciding what to do with orchid roots, you’re not alone.
Table of Contents 👈 Tap Here
Are they better off being cut, buried, or left uncovered?Making the wrong decision could lead to stunted growth, fewer blooms, or even root rot.
In this ultimate guide, we’ll cover everything you need to know about repotting orchids the right way, ensuring your plant remains healthy and thriving for years to come.
Why Do Orchids Need Special Root Care?
Unlike most houseplants, orchids are epiphytes, meaning they grow on trees or rocks in nature, not in soil. Their roots play a crucial role beyond just absorbing nutrients—they also provide stability and moisture control.
Here’s why their roots are different:
✅ Covered in Velamen: A spongy layer that absorbs moisture and nutrients.
✅ Designed for Air Exposure: They need airflow to prevent rot.
✅ Can Perform Photosynthesis: Some orchid roots help produce energy, just like leaves!
Because of this, repotting orchids requires a different approach than repotting regular houseplants.
Should You Cut Orchid Roots?
When to Cut Orchid Roots
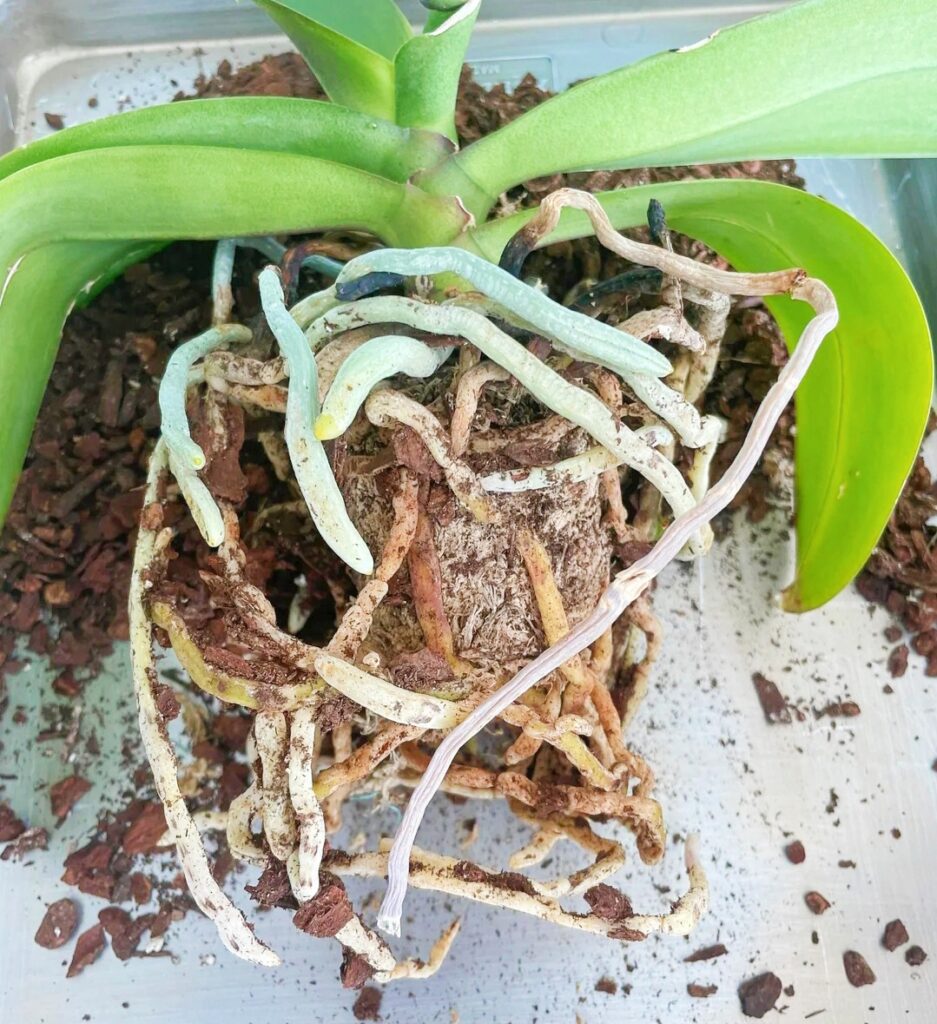
Before repotting, it’s crucial to inspect your orchid’s roots carefully. While it might be tempting to remove all tangled or long roots, only unhealthy ones should be trimmed.
✂ Remove the root if:
It’s brown, mushy, or soft (a sign of rot).
It’s completely dry and hollow (dead tissue).
It smells bad or has black spots (possible fungal infection).
🌿 Keep the root if:
It’s firm and plump, even if it looks dry.
It’s growing outside the pot (aerial roots are normal).
It turns green when wet (a sign of hydration).
🔎 How to Safely Trim Orchid Roots:
Use sterilized scissors or pruning shears to prevent disease spread.
Make clean, sharp cuts—jagged edges invite infection.
Apply cinnamon powder to cut areas (it acts as a natural antifungal).
🚫 Mistake to Avoid: Cutting too many roots weakens the orchid and slows its recovery.
Should You Bury Orchid Roots?
Why You Shouldn’t Bury All the Roots
A common mistake beginner orchid growers make is burying all the roots deep in the potting mix. This can be fatal because orchids rely on their exposed roots to absorb oxygen.
🌿 Instead, follow these rules:
✅ Some roots should be inside the potting mix for stability.
✅ Some roots should stay exposed to mimic their natural environment.
✅ Use a well-draining orchid mix (bark, sphagnum moss, perlite) instead of regular soil.
How to Bury Orchid Roots Correctly
Gently position the orchid so that some roots are inside the pot.
Fill gaps loosely with orchid bark—never pack it too tightly.
Ensure air circulation by using a breathable pot with drainage holes.
🚫 Mistake to Avoid: Never force aerial roots into the pot—they need airflow!
Should You Leave the Roots Exposed?
Yes! Exposed aerial roots are a normal and healthy part of an orchid’s growth. These roots help the plant absorb moisture and even perform photosynthesis.
When to Keep Roots Exposed
✔ If they are firm and white/green, leave them as they are.
✔ If they appear dry but are not mushy, they are still healthy.
✔ If they are growing over the pot, they are looking for moisture—mist them occasionally.
How to Care for Exposed Orchid Roots
Mist the roots lightly if your home has low humidity.
Avoid trimming healthy aerial roots—they help the plant!
Use a humidity tray (a shallow dish filled with pebbles and water) to prevent dehydration.
🌿 Tip: If aerial roots become too long, you can lightly coil them inside the pot without burying them.
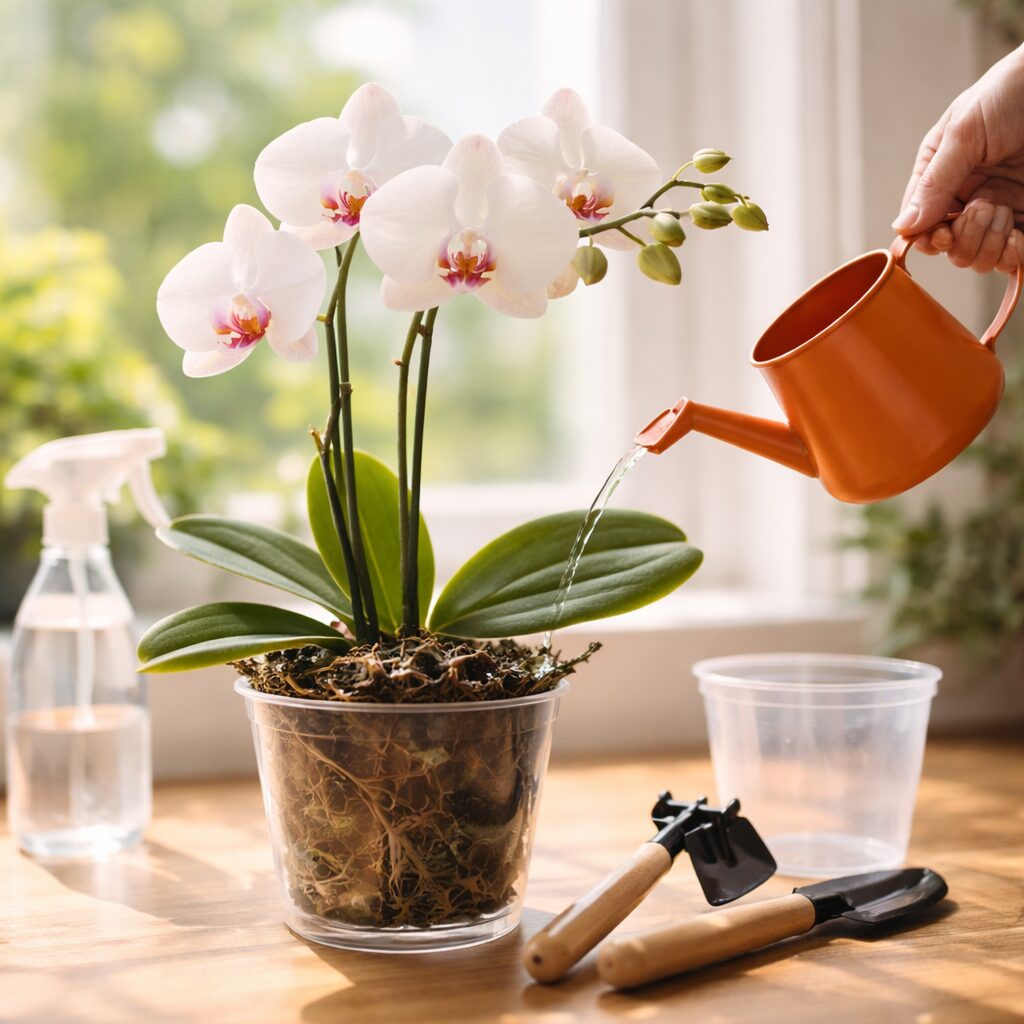
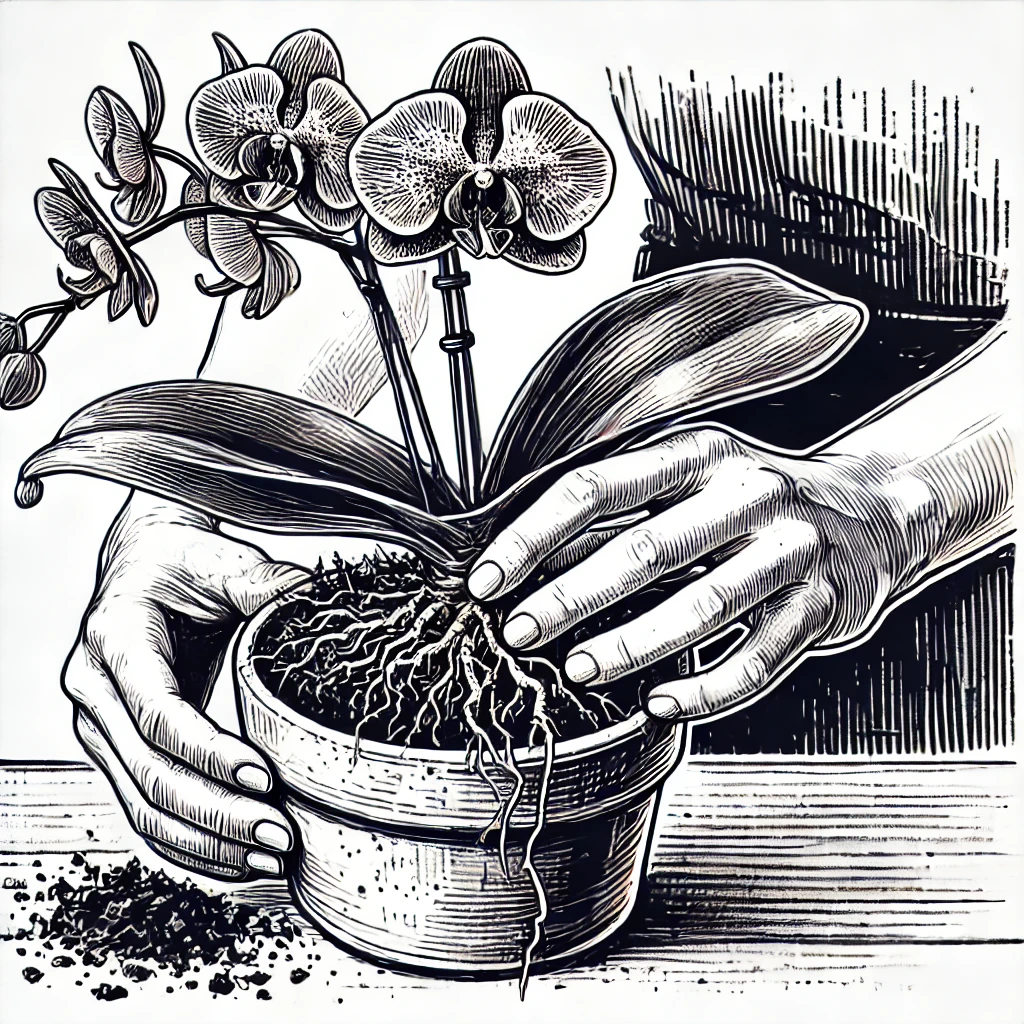
Step-by-Step Guide to Repotting an Orchid
Step :1 Take the Orchid Out of the Pot
Take the plant out of the pot with a gentle shake.
Remove old, deteriorated potting mix by shaking.
Step 2: Inspect and Trim the Roots
Look for dead, mushy, or shriveled roots and cut them with sterilized scissors.
Keep all healthy roots, even if they look tangled or dry.
Step 3: Choose the Right Pot and Medium
Pick a pot with drainage holes (preferably clear plastic to monitor root health).
Use a loose, well-draining orchid mix:
Bark mix (for good airflow)
Sphagnum moss (for moisture retention)
Perlite or charcoal (to prevent rot)
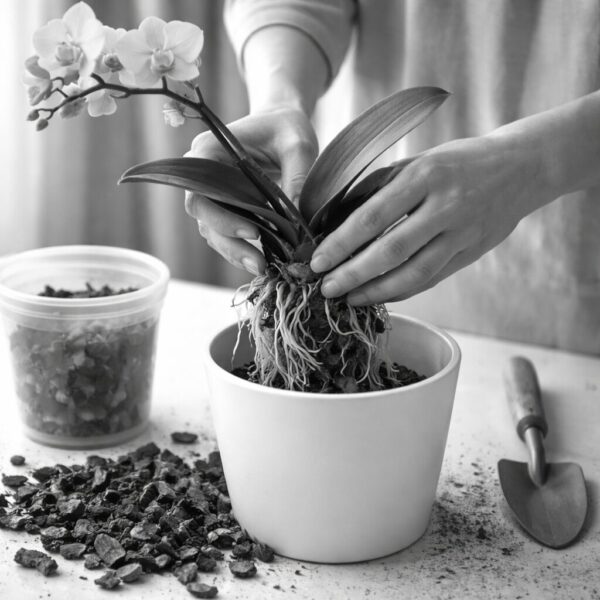
Step 4: Reposition the Orchid
Anchor some roots inside the pot for support.
Leave some roots exposed to allow proper airflow.
Avoid over-packing the medium!

Step 5: Water and Care After Repotting
Water thoroughly Rinse well and allow any extra water to run off.
Place in bright, indirect light (avoid direct sunlight at first).
Hold off on fertilizing for a week to allow the plant to adjust.
Troubleshooting Common Orchid Repotting Problems
🛑 My orchid’s roots are shriveling after repotting!
✅ Increase humidity (use a humidity tray or misting).
✅ Avoid letting the orchid dry out completely.
🛑 The roots are turning brown and mushy!
✅ Reduce watering and check for root rot.
✅ Make sure the potting mix is dry before watering again.
🛑 My orchid hasn’t bloomed since repotting!
✅ Repotting can cause transplant shock—be patient.
✅ Ensure bright, indirect light and proper temperature.
How often should I repot my orchid?
Every 1-2 years or when the potting mix starts breaking down.
Can I repot an orchid while it’s blooming?
It’s best to wait until after blooming, but if necessary, repot gently to avoid stress.
What type of pot is best for orchids?
A clear plastic pot with drainage holes is ideal for monitoring root health.
Final Thoughts: The Key to Healthy Orchids
Repotting orchids doesn’t have to be stressful! The key to success is understanding how their roots work and following a simple method:
✅ Trim only dead or rotting roots
✅ Use a breathable, well-draining potting mix
✅ Leave some roots exposed for airflow
With the right care, your orchid will thrive and bloom beautifully for years to come. 🌸✨
Trim only dead or rotting roots
✅ Use a breathable, well-draining potting mix
✅ Leave some roots exposed for airflow
Remember:
✔ Healthy roots = A healthy orchid
✔ Never bury all the roots—airflow is essential
✔ Use the right potting mix and a pot with drainage holes
Repotting an orchid might seem intimidating at first, but once you understand its unique root system, it becomes much easier. The key to success lies in balance—trimming only unhealthy roots, using a breathable potting mix, and allowing some roots to remain exposed.
By following these simple steps, your orchid will adjust quickly, continue growing strong, and reward you with stunning blooms.
FAQs on Repotting Orchids
When is the best time for repotting orchids?
The best time for repotting orchids is usually after they’ve finished blooming, typically in the spring. This allows the plant to recover and grow new roots after repotting orchids.
How often should I repot my orchid?
Orchids typically need repotting every 1-3 years, depending on the growth of the plant. Keep an eye on the roots and the condition of the potting medium to determine when repotting orchids is necessary.
Why do orchids need to be repotted?
Repotting orchids helps to refresh the potting medium, removes dead or rotting roots, and provides space for new root growth. Regular repotting orchids ensures your plant stays healthy.
Can I repot orchids when they are flowering?
It’s best to wait until your orchid has finished flowering to repot it. Repotting orchids during flowering can stress the plant and affect its bloom cycle.
What tools do I need for repotting orchids?
You’ll need a clean, sharp pair of scissors or pruning shears to trim any dead roots, a new pot (preferably one slightly larger than the old one), and fresh orchid potting mix when repotting orchids.
Can I use regular potting soil for repotting orchids?
No, regular potting soil isn’t suitable for orchids. They require a special potting mix designed for their roots to breathe. Be sure to use orchid-specific potting medium when repotting orchids.
How should I repot orchids that are in a plastic pot?
Gently remove the orchid from the plastic pot, carefully loosen the roots, and trim any dead or unhealthy ones. Place the orchid into a new pot, and add fresh orchid mix. Repotting orchids in plastic pots requires a little care to avoid damaging the roots.
Should I water my orchid before or after repotting?
It’s a good idea to water your orchid before repotting to make the roots more flexible and easier to work with. However, avoid overwatering just before repotting orchids to prevent soggy roots.
How do I ensure the orchid doesn’t get stressed after repotting?
After repotting orchids, keep them in a shaded area for a few days to help them adjust. Avoid fertilizing immediately and ensure proper humidity levels to minimize stress
Can I repot orchids if the roots are rotting?
Yes, if you notice rotting roots, carefully trim them away before repotting orchids. This helps prevent the spread of rot and ensures the healthy roots have enough space to thrive.
Hi, I’m Steve, an orchid grower with 30+ years of hands-on experience caring for indoor and outdoor plants. I share practical, tested tips and beginner-friendly guides to help plant enthusiasts nurture healthy, thriving plants.