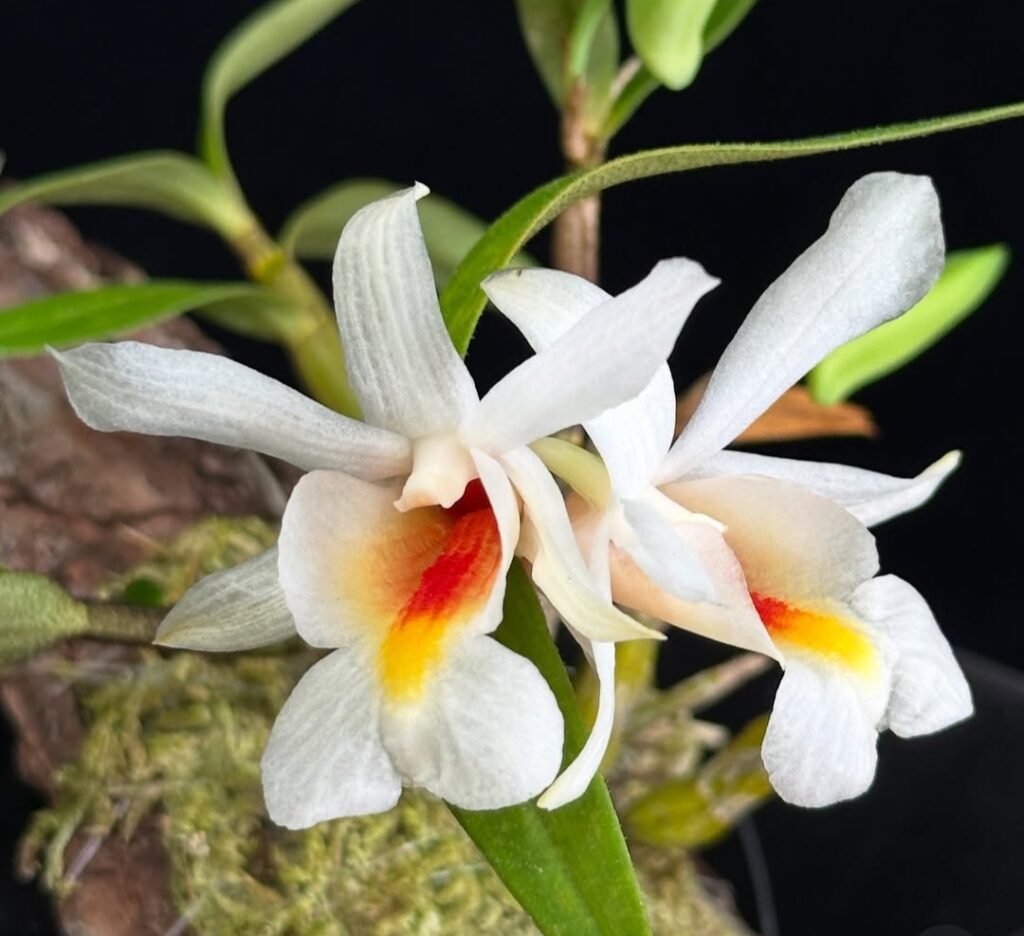
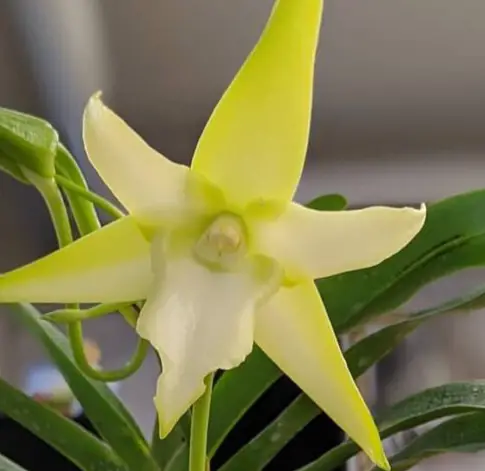
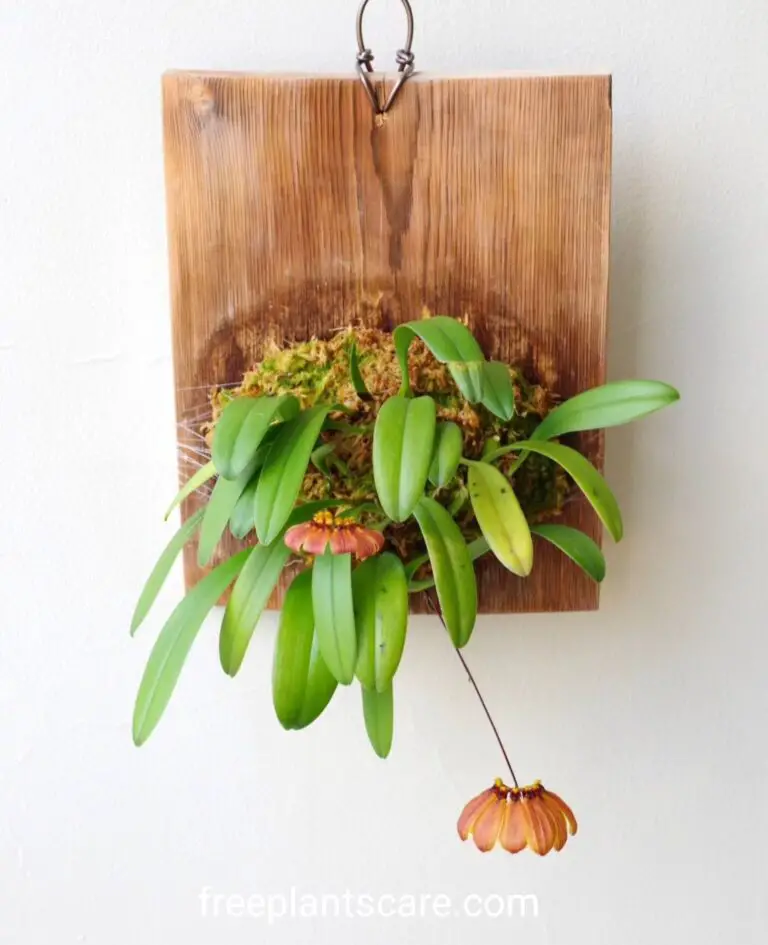
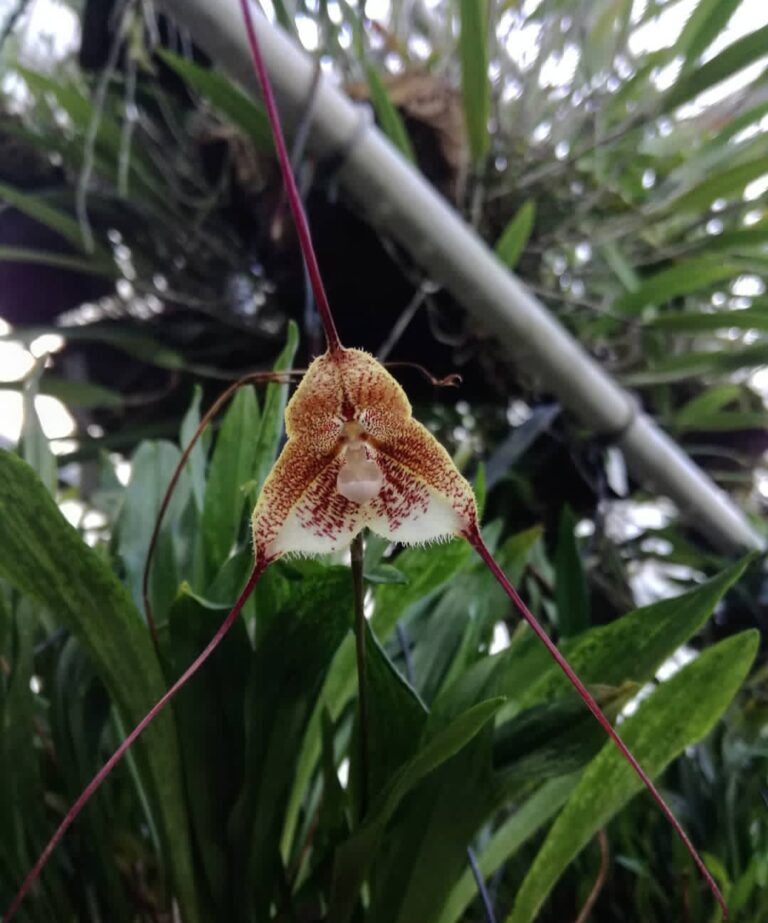
An all-time favourite in the gardening community are the mesmerising Dendrobium orchids, a genus of the orchid family. These magnificent blossoms have mesmerised enthusiasts and green thumbs alike with their fascinating variety of species and hybrids. Dendrobium orchids, once prized as a precious treasure, are now more widely available, allowing plant lovers all around the world easier access to them. As a result of a lovely price reduction that has coincided with their rising popularity, many people are now able to enjoy their beauty. Dendrobium orchids offer an incredible variety to suit every inclination, whether you’re looking for a bold pop of colour or a subtle pastel tint. These beautiful orchids have weaved themselves into the hearts of plant aficionados, cementing their place as displays around the nation are adorned by their presence.

Light: Dendrobium orchids
Dendrobium orchids require bright but indirect light to thrive. Here are some additional details about light requirements for dendrobium orchids:
Light intensity: Dendrobium orchids prefer moderate to high light levels. They need bright light to grow and flower properly. However, they should be protected from direct sunlight, as it can cause leaf burn. Filtered sunlight or shaded light is ideal.
Light duration: The right amount of light and shade is necessary for dendrobium orchid growth. Give them 10 to 12 hours of light each day. They also need a period of darkness to relax and start blooming. It is advised to have darkness for 12 to 14 hours at night.
Light quality: Dendrobium orchids respond well to a full spectrum of light. If you are growing them indoors, you can use artificial grow lights that emit a balanced spectrum similar to natural sunlight. LED grow lights or fluorescent lights are commonly used for orchid cultivation.
Light placement: Place your dendrobium orchid near a window with filtered sunlight, preferably facing east or west. This will allow them to receive bright light without direct exposure to the intense midday sun. You can also use sheer curtains or blinds to diffuse the light if needed.
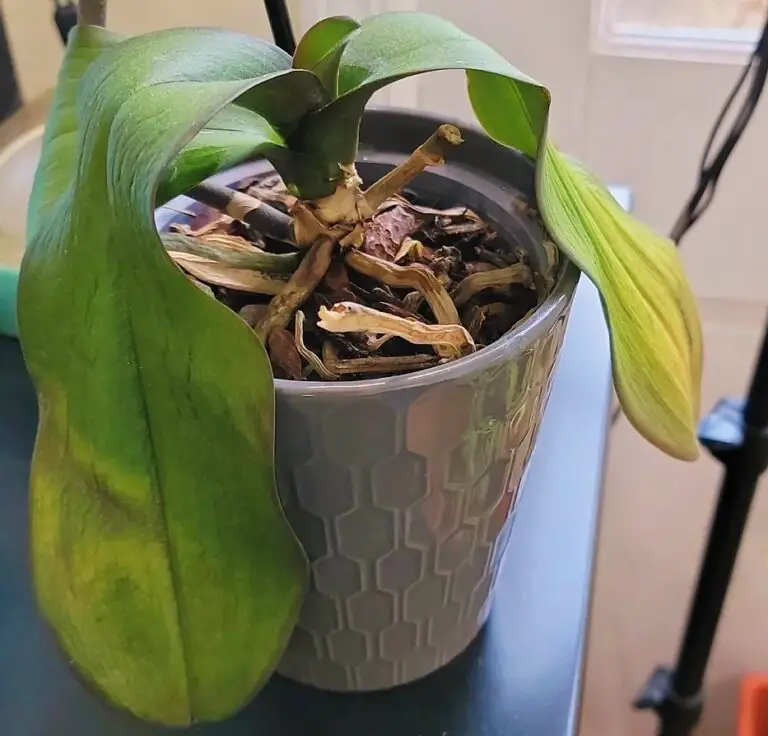
Light adjustments: Observe your orchid closely to determine if it is receiving adequate light. If the leaves turn dark green, it may indicate that the plant is not getting enough light. On the other hand, if the leaves turn pale or yellow, it might be an indication of too much light.
Seasonal adjustments: During different seasons, the intensity and duration of natural light may change. You may need to adjust the placement of your dendrobium orchid accordingly to maintain optimal light levels. Supplemental artificial lighting can also be used to compensate for reduced natural light during the winter months.
Remember to monitor your dendrobium orchid’s response to light and make adjustments as necessary. Each orchid may have slightly different light requirements, so it’s essential to observe and respond to your specific plant’s needs.
Temperature: Dendrobium orchids
Dendrobium orchids have specific temperature requirements for healthy growth and blooming. Here are some guidelines regarding temperature for dendrobium orchid care:
Daytime temperature: Dendrobium orchids prefer a daytime temperature range of 65–85°F (18–29°C). This temperature range provides the warmth they need for growth and photosynthesis. Keep in mind that some dendrobium species or hybrids may have specific temperature preferences, so it’s beneficial to research the specific type of dendrobium orchid you have.
Nighttime temperature: Dendrobium orchids appreciate a slight drop in temperature during the night. Ideally, the nighttime temperature range should be around 55–65°F (13–18°C). This temperature difference between day and night helps stimulate blooming in many dendrobium orchids.
Temperature fluctuations: Dendrobium orchids can tolerate some temperature fluctuations, but it’s best to avoid extreme temperature variations. Sudden temperature drops or prolonged exposure to high temperatures can stress the plant and affect its overall health and blooming potential. Provide stable and consistent temperature conditions as much as possible.
Ventilation: Good air circulation is important for dendrobium orchids. Adequate ventilation helps prevent temperature extremes and allows the plant to receive fresh air, reducing the risk of fungal or bacterial infections. However, avoid placing the orchid in a draughty or excessively windy location.
Seasonal adjustments: Dendrobium orchids may have different temperature requirements depending on the season. During the warmer months, ensure proper airflow and provide some shading to protect the plant from intense heat and sunlight. In colder months, take measures to protect the orchid from cold draughts or temperatures below their preferred range.
Geographic considerations: Some dendrobium orchids are native to cooler climates, while others thrive in tropical regions. If you know the specific type or species of your dendrobium orchid, consider its natural habitat and temperature range to provide the most suitable conditions.
By maintaining appropriate temperature conditions, you can promote healthy growth and encourage dendrobium orchids to bloom. Regularly monitor the temperature and adjust as needed to ensure your orchid’s well-being.
Watering: Water your dendrobium.
When it comes to watering your dendrobium orchid, it’s important to find the right balance. Here are some instructions for watering your dendrobium orchid:
Watering frequency: Dendrobium orchids generally prefer a drying-out period between waterings. Before watering, check the moisture level of the potting medium. Stick your finger about an inch into the medium to see if it feels dry. As a general guideline, water your dendrobium orchid once every 7–10 days, but adjust the frequency based on environmental conditions and the specific needs of your orchid.
Watering method: When it’s time to water, thoroughly saturate the potting medium and let the excess water drain out completely. You can achieve this by running water through the pot for a few seconds or by immersing the pot in a container of water for a few minutes. Ensure that the water reaches all parts of the potting medium and flushes out any accumulated salts or residues.
Drainage: Dendrobium orchids need
excellent drainage to prevent waterlogged roots, which can lead to root rot. Make sure the pot has drainage holes to allow excess water to escape. If the orchid is in a decorative pot without drainage holes, remove the orchid from the pot, water it thoroughly in a sink or basin, and allow it to drain completely before returning it to the decorative pot.
Water quality: Dendrobium orchids are sensitive to the quality of water used for irrigation. They prefer water with a low mineral content and no chlorine. If your tap water has high mineral content or chlorine, you can use filtered or distilled water. Alternatively, you can collect rainwater and use it to water your orchid.
Air circulation: After watering, ensure good air circulation around the orchid to allow the potting medium to dry out properly. This helps prevent excessive moisture and the potential for fungal or bacterial growth. Avoid placing the orchid in a location with stagnant air or high humidity.
Adjusting watering during the resting period: During the rest period or when the orchid is not actively growing or flowering, reduce the frequency of watering. Allow the potting medium to dry out slightly more between waterings. However, ensure the orchid doesn’t completely dry out during this time.
Remember that the watering requirements may vary depending on factors such as temperature, humidity, pot size, and potting medium. Regularly monitor the moisture level of the potting medium and observe the orchid for signs of overwatering or underwatering, such as yellowing leaves or root issues. Adjust your watering routine accordingly to meet the specific needs of your dendrobium orchid.
Humidity: Dendrobium orchids
Humidity plays a crucial role in the care of dendrobium orchids, as they generally prefer higher humidity levels. Here are some instructions to help you maintain the appropriate humidity for your dendrobium orchid:
Ideal humidity range: Dendrobium orchids thrive in humidity levels of around 50–7 on ko0%. This higher humidity mimics their natural tropical environments and helps keep the foliage and roots healthy. However, they can tolerate slightly lower humidity levels if provided with other favourable conditions.
Humidity-enhancing methods:
a. Use a humidifier: Place a humidifier near your orchid to increase the humidity in the surrounding air. This is particularly beneficial if you live in a dry climate or during the winter, when indoor air tends to be drier.
b. Pebble tray: Set the orchid’s pot on a tray filled with water and pebbles. Ensure that the water level is below the pebbles, so the pot is not sitting in water. As the water evaporates, it creates humidity around the orchid.
c. Grouping plants: grouping multiple plants together can create a microclimate with higher humidity. The plants release moisture through transpiration, increasing the overall humidity in the vicinity.
d. Mist the orchid: Mist the orchid’s foliage occasionally with room-temperature water. This can provide a temporary increase in humidity, but be cautious not to mist excessively, as it can promote fungal or bacterial issues if the leaves remain wet for too long.
e. Ventilation: Ensure proper air circulation around the orchid to prevent stagnant air, which can lead to the development of fungal or bacterial problems. Good ventilation helps maintain a healthy balance between humidity and airflow.
Locating the orchid: Find an appropriate location for your dendrobium orchid to help maintain the desired humidity level. In general, placing the orchid in a bathroom, kitchen, or near a humidifier can provide naturally higher humidity. However, be mindful of other factors, such as light and temperature requirements, when selecting a location.
Monitor humidity levels: Use a hygrometer to measure the humidity in the orchid’s environment. This will help you ensure that the humidity is within the desired range and make adjustments if needed.
Remember that while dendrobium orchids appreciate higher humidity, it’s important to maintain a balance to prevent issues like fungal or bacterial infections. Monitor your orchid’s health, including the condition of its leaves and roots, to ensure that the humidity level is suitable. Adjust the humidity-enhancing methods as necessary to meet the specific needs of your dendrobium orchid.
Fertilisation: Feed your dendrobium
Proper fertilisation is important for the healthy growth and blooming of dendrobium orchids. Here are some instructions for fertilising your dendrobium orchid:
Type of fertiliser: Use a balanced orchid fertiliser with a ratio of nitrogen (N), phosphorus (P), and potassium (K). Look for fertiliser specifically formulated for orchids that will have the necessary micronutrients and trace elements. You can find liquid or granular orchid fertilisers in garden centres or online.
Dilution and frequency: Dilute the orchid fertiliser to half strength or follow the instructions provided on the fertiliser packaging. It’s generally recommended to fertilise dendrobium orchids every 2-4 weeks during the active growing season (spring and summer). Adjust the frequency based on the specific fertiliser and the growth rate of your orchid.
Watering before fertilising: Before applying fertiliser, thoroughly water your dendrobium orchid to ensure the potting medium is moist. Fertilising dry roots can cause damage.
Application method: There are a few methods you can use to apply fertiliser to your dendrobium orchid:
a. Pour-and-drain method: Pour the diluted fertiliser over the potting medium until it starts to drain from the bottom of the pot. This ensures that the fertiliser reaches the root zone.
b. Soaking method: Soak the entire pot, including the potting medium and roots, in the diluted fertiliser solution for a few minutes. This method allows for thorough fertilisation of the entire root system.
c. Foliar feeding: Occasionally, you can spray a diluted fertiliser solution onto the orchid’s leaves, taking care to avoid excessive runoff or wetting the flowers. This method provides direct nutrient absorption through the foliage.
Adjusting fertiliser during the rest period: During the rest period, or when the orchid is not actively growing or flowering, reduce the frequency of fertilisation. Dendrobium orchids typically require less fertiliser during this time. However, ensure that the orchid still receives minimal nutrients to support its overall health.
Flush with water periodically: To prevent the buildup of fertiliser salts in the potting medium, it’s beneficial to periodically flush the orchid with plain water. This helps remove any excess salts and prevents potential damage to the roots. Once every 1-2 months, water the orchid thoroughly with plain water, allowing it to drain completely.
Monitor your orchid’s response: Observe your dendrobium orchid for any signs of overfertilization or nutrient deficiencies. If you notice leaf burning, discoloration, or stunted growth, it may indicate that the orchid is receiving too much fertiliser. Adjust the dilution strength or frequency of fertilisation accordingly.
Remember to always follow the instructions provided with the specific fertiliser you are using, as different products may have varying application guidelines. Each orchid may have slightly different nutrient requirements, so monitoring your dendrobium orchid’s response and adjusting the fertilisation routine accordingly is important for its overall health and blooming.
Rest period: Many dendrobium
Rest periods are an essential part of the care of many dendrobium orchids, as they require a period of reduced watering and cooler temperatures to initiate blooming. Here are some instructions regarding the rest period for dendrobium orchids:
Timing of the rest period: The timing of the rest period can vary depending on the specific dendrobium species or hybrid you have. In general, dendrobium orchids enter their rest period after they have finished blooming. This usually occurs in the late fall or early winter.
Reduced watering: During the rest period, gradually reduce the frequency of watering. Allow the potting medium to dry out slightly more between waterings compared to the active growing season. However, be cautious not to let the orchid completely dry out, as this can damage the roots.
Temperature adjustment: To encourage blooming, provide your dendrobium orchid with slightly cooler temperatures during its rest period. Ideally, aim for nighttime temperatures of around 55–65°F (13–18°C) and daytime temperatures of around 65–75°F (18–24°C). This temperature drop helps trigger the development of flower spikes.
Light conditions: While the dendrobium orchid is in its rest period, maintain the same light conditions as during the active growing season. They still require bright but indirect light, so make sure the orchid receives adequate light during this time.
Fertilisation adjustments: During the rest period, reduce or halt fertilisation. Dendrobium orchids typically have lower nutrient requirements during this phase. You can resume fertilising when new growth appears and the rest period is over.
Monitoring: Keep an eye on your dendrobium orchid during the rest period. Monitor the moisture level of the potting medium as well as the overall health of the plant. Adjust the watering schedule and environmental conditions if necessary, ensuring that the orchid remains healthy and does not experience excessive stress.
End of the rest period: As the rest period comes to an end and new growth emerges, gradually increase watering and resume regular fertilisation. Provide slightly warmer temperatures and adjust the care routine to support the active growth phase.
It’s important to note that not all dendrobium orchids require a rest period. Some varieties, particularly those from warmer climates, may not go through a distinct rest phase. It’s recommended to research the specific type of dendrobium orchid you have to determine its specific rest requirements.
By providing the appropriate rest period for your dendrobium orchid, you can help promote blooming and ensure its overall health and vitality.you can also read a post what to look for when buying orchid
Pruning: After your dendrobium
Pruning is an important aspect of dendrobium orchid care, as it helps maintain the plant’s shape, promote new growth, and remove any damaged or dead parts. Here are some instructions for pruning your dendrobium orchid:
Pruning timing: The best time to prune your dendrobium orchid is after it has finished blooming and entered its rest period. This is typically in the late fall or early winter. Avoid pruning while the orchid is actively growing or about to bloom, as it can disrupt the flowering process.
Sterilise your tools: Before you start pruning, make sure to sterilise your pruning tools. This helps prevent the spread of diseases or infections. You can sterilise your tools by wiping them with rubbing alcohol or using a solution of one part bleach to nine parts water. Rinse the tools thoroughly after sterilisation.
Removing spent flower spikes: After the orchid has finished blooming, you can prune the flower spikes. Use clean, sharp scissors or pruning shears to cut the spent flower spike as close to the base as possible. Make the cut just above a node, which is a small bump or swelling on the stem. This encourages new growth and redirects the plant’s energy.
Trimming dead or damaged roots: During the rest period, you can inspect the roots of your dendrobium orchid. If you notice any dead, damaged, or rotting roots, trim them off using sterile pruning tools. Trim back to healthy tissue, making clean cuts. Avoid removing too many healthy roots, as they play a crucial role in the orchid’s nutrient uptake.
Removing yellowing or diseased leaves: If you notice any yellowing, wilted, or diseased leaves on your orchid, you can prune them off. Use sterilised pruning tools to make clean cuts as close to the base of the leaf as possible. Removing diseased or decaying leaves helps prevent the spread of infections and improves the overall appearance of the plant.
Post-pruning care: After pruning, continue to provide appropriate care for your dendrobium orchid. Adjust watering and temperature conditions according to the rest period guidelines. Resume regular fertilisation and monitor the plant for any signs of stress or problems.
Remember to take your time when pruning and be cautious not to damage healthy parts of the plant. If you are unsure about a particular cut, it’s better to leave it or seek guidance from experienced orchid growers. Proper pruning practises can help maintain the health and appearance of your dendrobium orchid, promoting new growth and future blooming.
Potting: Repot your dendrobium.
Repotting your dendrobium orchid is an important aspect of its care, as it allows for fresh growing medium, promotes healthy root growth, and provides space for the plant to thrive. Here are some instructions for repotting your dendrobium orchid:
Timing: After your dendrobium orchid has finished blooming and moved into its active growth phase is the perfect time to repot it. This typically occurs in the early spring or summer. Repotting should be avoided as it may stress the plant and interfere with the flowering process while the plant is in its resting stage just before it blooms
Selecting a new pot: Choose a new pot that is slightly larger than the current one to accommodate the growing roots. Ensure the new pot has drainage holes to allow excess water to escape and prevent waterlogging.
Preparing the potting medium:Orchids called dendrobiums prefer potting soil that drains properly. You can make your own blend of commercial orchid fertiliser or buy one designed specifically for epiphytic orchids. A common mixture includes ingredients including perlite, charcoal, sphagnum moss, and bark. Regular potting soil shouldn’t be used because it holds too much moisture and can cause root rot.
Soaking or hydrating the potting medium: If using a dry potting medium, soak it in water for a few hours or overnight before repotting. This ensures that the medium is hydrated and ready to provide moisture to the roots after repotting.
Carefully removing the orchid from the current pot: Gently remove the dendrobium orchid from its current pot, being careful not to damage the roots. You can do this by tilting the pot and gently easing the plant out. If the orchid is tightly rooted, you can use a clean, sterilised tool to carefully loosen the roots from the pot.
Inspecting and trimming the roots: Inspect the roots of your dendrobium orchid. If you notice any dead, damaged, or rotting roots, trim them off using sterilised pruning tools. Trim back to healthy tissue, making clean cuts. Be cautious not to remove too many healthy roots, as they are essential for the orchid’s nutrient uptake.
Placing the orchid in the new pot: Position the dendrobium orchid in the centre of the new pot, ensuring that the base of the plant sits slightly above the rim. This allows for proper air circulation and prevents the growth medium from covering the base of the plant. Gently spread out the roots and add the potting medium around them, pressing lightly to secure the orchid in place.
Post-repotting care: After repotting, water the orchid thoroughly to settle the potting medium around the roots. Avoid direct sunlight for a few days to allow the orchid to adjust to its new environment. Resume regular care, including appropriate watering, light, temperature, and fertilisation based on the specific needs of your dendrobium orchid.
Remember that dendrobium orchids generally prefer to be slightly root-bound, so it’s not necessary to repot them too frequently. Repotting every 2-3 years or when the potting medium has broken down is usually sufficient. Monitor the health of your orchid, and if you notice signs of overcrowding or poor growth, it may be an indication that repotting is necessary.
