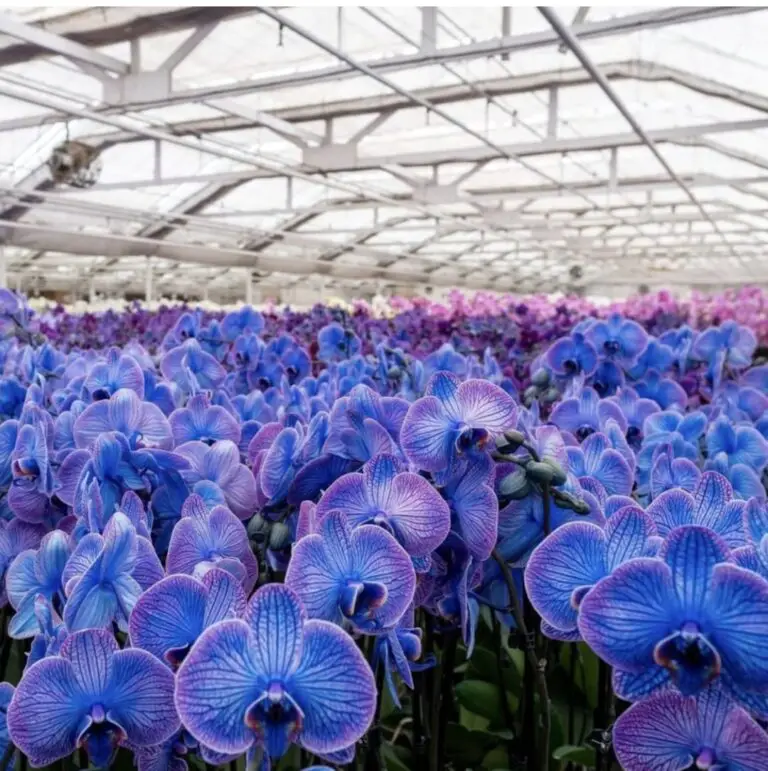
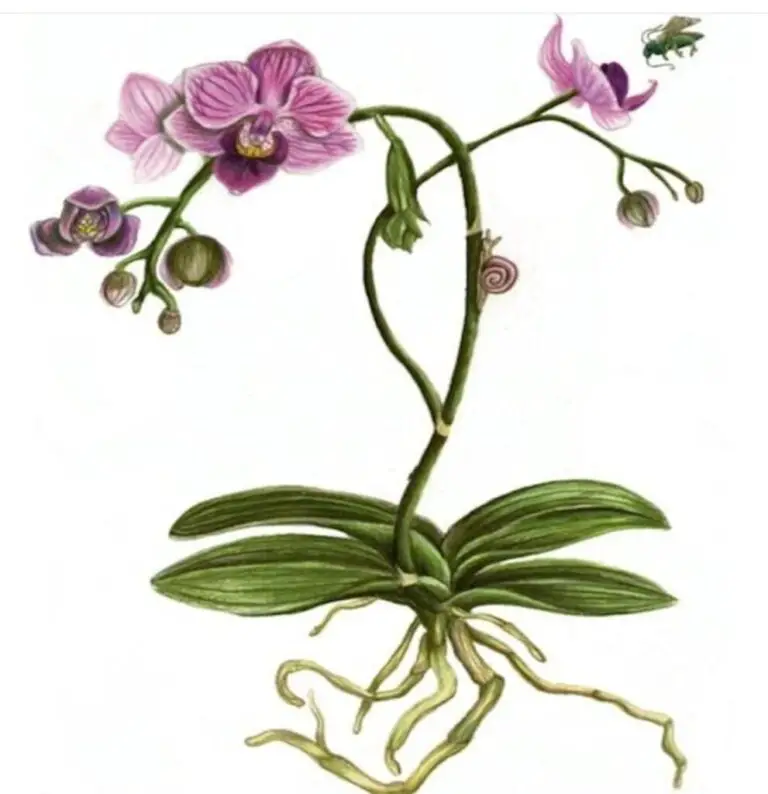
Vanda orchids are renowned for their stunning blooms and vibrant colours, making them a favourite among orchid enthusiasts and gardeners alike. These exotic plants, with their striking flower spikes and lush foliage, not only add beauty to any space but also serve as a symbol of elegance and grace.
However, to keep these beautiful plants thriving, proper care—including timely repotting—is essential. Repotting is a critical aspect of orchid maintenance that ensures your Vanda remains healthy and continues to flourish. In this comprehensive guide, we’ll explore when and how to repot your Vanda orchids, providing you with the knowledge you need to keep your plants in top condition.

- 1 Why Repotting Matters
- 2 1. Signs of Root Bound
- 3 2. Media Breakdown
- 4 3. Seasonal Timing
- 5 How to Repot Vanda Orchids
- 6 1. Gather Your Materials
- 7 2. Prepare the new pot.
- 8 3: Take the orchid out of its present pot.
- 9 4. Inspect and trim roots
- 10 5. Place the Orchid in the New Pot
- 11 6. Add Medium and Secure the Orchid
- 12 Watering Tips
- 13 Environmental Conditions
- 14 Common Mistakes to Avoid
- 15 FAQS
Why Repotting Matters
Repotting is crucial for the health of Vanda orchids, as it directly affects their growth and flowering capabilities. As these orchids grow, their roots can become crowded, leading to root binding, which severely restricts their ability to absorb water and nutrients. Additionally, the potting medium can break down over time, losing its structure and ability to provide adequate drainage and aeration.
This breakdown can create a breeding ground for diseases and pests, compromising the overall health of your orchid. By repotting, you refresh the growing environment, allowing for better nutrient uptake, root growth, and ultimately, stunning blooms. It’s an essential practice for any orchid enthusiast committed to maintaining vibrant and thriving plants.
When to Repot Vanda Orchids
1. Signs of Root Bound
One of the primary indicators that it’s time to repot your Vanda orchid is root binding. Look for specific signs that suggest your plant is feeling cramped. These may include roots growing out of the drainage holes of the pot, indicating they are looking for more space to grow. A dense mass of roots that appears crowded and tangled can also be a clear sign that your orchid is root-bound.
Furthermore, stunted growth or a lack of blooms is a significant warning sign, suggesting that the plant is struggling to absorb essential nutrients from its environment. If you notice any of these signs, it’s a clear signal that your orchid needs a new pot to allow for healthy growth and development, enabling it to flourish in its new environment.
2. Media Breakdown
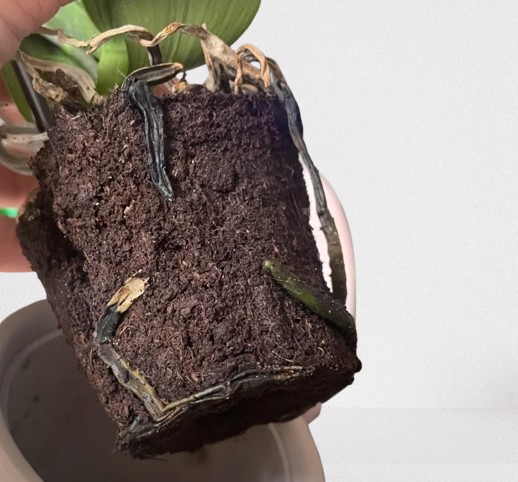
The potting medium used for Vanda orchids can decompose over time, losing its ability to retain moisture and provide proper aeration. As the medium breaks down, it can become compacted, leading to poor drainage, which can suffocate the roots and cause various issues.
Signs of media breakdown include foul odours emanating from the pot, indicating decay, and a dark, mushy texture that suggests a lack of oxygen. If you observe these signs, it’s essential to refresh the medium to ensure your orchid has a healthy environment to thrive. Regularly checking the condition of the potting medium can save your plant from unnecessary stress and prevent potential health issues.
3. Seasonal Timing
The best time to repot Vanda orchids is typically after they finish blooming, often in the spring or early summer. This timing minimises stress on the plant, allowing it to adapt to its new environment without the added challenge of producing flowers. Repotting at this time gives your orchid the best chance to settle into its new home, ensuring it can focus on producing healthy foliage and blooms in the upcoming growing season. Timing is key in the care of Vanda orchids, and aligning repotting with their natural growth cycle can significantly enhance their resilience and vitality.
How to Repot Vanda Orchids
1. Gather Your Materials
Before you begin the repotting process, make sure you have everything you need readily available. Gather a new pot, preferably slotted or hanging to promote good air circulation around the roots. It’s important to choose a pot that is appropriate for the size of your orchid and allows for growth.
You’ll also need fresh potting medium—consider using a mix of orchid bark and sphagnum moss, as this combination provides both support and drainage. Additionally, have sterilised tools on hand, such as scissors and a knife, for trimming any damaged roots during the process. Having all your materials prepared in advance will make the repotting process smoother and less stressful for both you and your orchid.
2. Prepare the new pot.
Ensure that your new pot has adequate drainage holes to prevent water from pooling at the bottom, which can lead to root rot. Proper drainage is vital to the health of Vanda orchids, as they thrive in well-aerated environments. Place a layer of the potting medium at the bottom of the pot, providing a stable base for the roots to rest on. This initial layer should be thick enough to support the plant while allowing for proper drainage. By taking the time to prepare the pot correctly, you set the foundation for a successful repotting.
3: Take the orchid out of its present pot.
Gently take your Vanda orchid out of its current pot, being careful not to damage the roots. You may need to carefully loosen the roots from the old medium, as they can sometimes cling tightly to it. Take your time during this step to ensure you don’t inadvertently harm healthy roots. If the roots are particularly stubborn, you can soak the pot in water for a few minutes to help loosen them. Being gentle and patient during this phase is crucial for minimising stress on the plant.
4. Inspect and trim roots
Once you’ve removed the orchid from its pot, inspect the roots for any signs of rot or damage. Healthy roots should be firm and plump, while unhealthy roots will appear brown or mushy. Use sterilised scissors to trim away any dead or decayed roots, which helps prevent the spread of disease and encourages new growth. This careful inspection and trimming are crucial for ensuring the long-term health of your Vanda orchid. By prioritising root health, you set your plant up for success in its new environment.
5. Place the Orchid in the New Pot
Now it’s time to position your Vanda orchid in the new pot. Gently spread the roots to give them adequate space to grow. Take care to position the crown of the plant above the potting medium, as this prevents moisture accumulation at the crown, which can lead to rot. Ensuring proper placement is key to facilitating healthy growth and preventing future problems.
6. Add Medium and Secure the Orchid
Fill in around the roots with the fresh potting medium, ensuring you do not compact it too tightly. Lightly press the medium to secure the plant, but allow for good air circulation around the roots. Proper aeration is vital for the health of Vanda orchids, as it helps prevent moisture buildup and root rot. Once secured, give your orchid a gentle shake to help settle the medium around the roots, ensuring that they are well supported.
Watering Tips
After repotting, it’s crucial to adjust your watering schedule to accommodate the changes in the plant’s environment. Allow the potting medium to dry out slightly between waterings, as overwatering can lead to root rot, especially after a stressful repotting process. Monitor the moisture levels carefully in the days following repotting to ensure your orchid is adjusting well to its new home. It’s best to err on the side of caution—observing how your plant responds will help you find the right balance.
Environmental Conditions
Maintaining optimal humidity and light conditions for your Vanda orchid is key to its recovery and continued health. Ideally, Vandas thrive in bright, indirect light and humidity levels around 50–70%. Consider using a humidity tray or misting the plant to maintain moisture levels, especially in drier climates or during the winter months. Consistent environmental conditions will help your orchid acclimatise to its new pot and support healthy growth. Additionally, protecting your orchid from direct, harsh sunlight during its recovery can prevent further stress.
Common Mistakes to Avoid
When repotting Vanda orchids, it’s easy to make a few common mistakes that can hinder the plant’s recovery. One such mistake is overwatering immediately after repotting. It’s essential to allow your orchid’s roots to adjust to the new medium before resuming your regular watering schedule. Another common error is choosing the wrong pot size. Opt for a pot that provides enough room for growth but isn’t too large, as excess space can lead to moisture retention and increased risk of rot. By being mindful of these common pitfalls, you can ensure a smoother transition for your orchid.
Repotting your Vanda orchids is a vital aspect of their care that can significantly impact their health and blooming potential. By recognising the signs of when to repot and following the proper steps, you can ensure your Vanda orchids continue to thrive for years to come. With a little attention and care, your Vanda orchids will reward you with their stunning, vibrant blooms, bringing joy and beauty to your garden and home. Remember, a healthy orchid is a happy orchid, and with this guide, you’re well on your way to mastering the art of repotting Vanda orchids! Your commitment to their care will not only enhance their beauty but also deepen your connection to these remarkable plants.
FAQS
How often should I repot my Vanda orchids?
Vanda orchids typically need repotting every 2 to 3 years. However, you may need to repot earlier if the roots outgrow the pot or if the potting medium begins to break down and lose its structure.
What is the best time of year to repot Vanda orchids?
The ideal time to repot Vanda orchids is after they have finished blooming, usually in the spring or early summer. This reduces stress on the plant and gives it time to adjust before the next growing season.
What type of potting medium should I use when repotting Vanda orchids?
Vanda orchids thrive in a well-draining potting medium like a mix of orchid bark, sphagnum moss, or coconut husk. The medium should allow air circulation around the roots while retaining enough moisture for the plant to absorb.
What are the signs that my Vanda orchid needs repotting?
Signs that your Vanda orchid needs repotting include roots growing out of the pot, the potting medium breaking down, foul odors from the pot, or a lack of blooms and new growth. These indicate that the orchid needs more space or a fresher environment to continue thriving.
