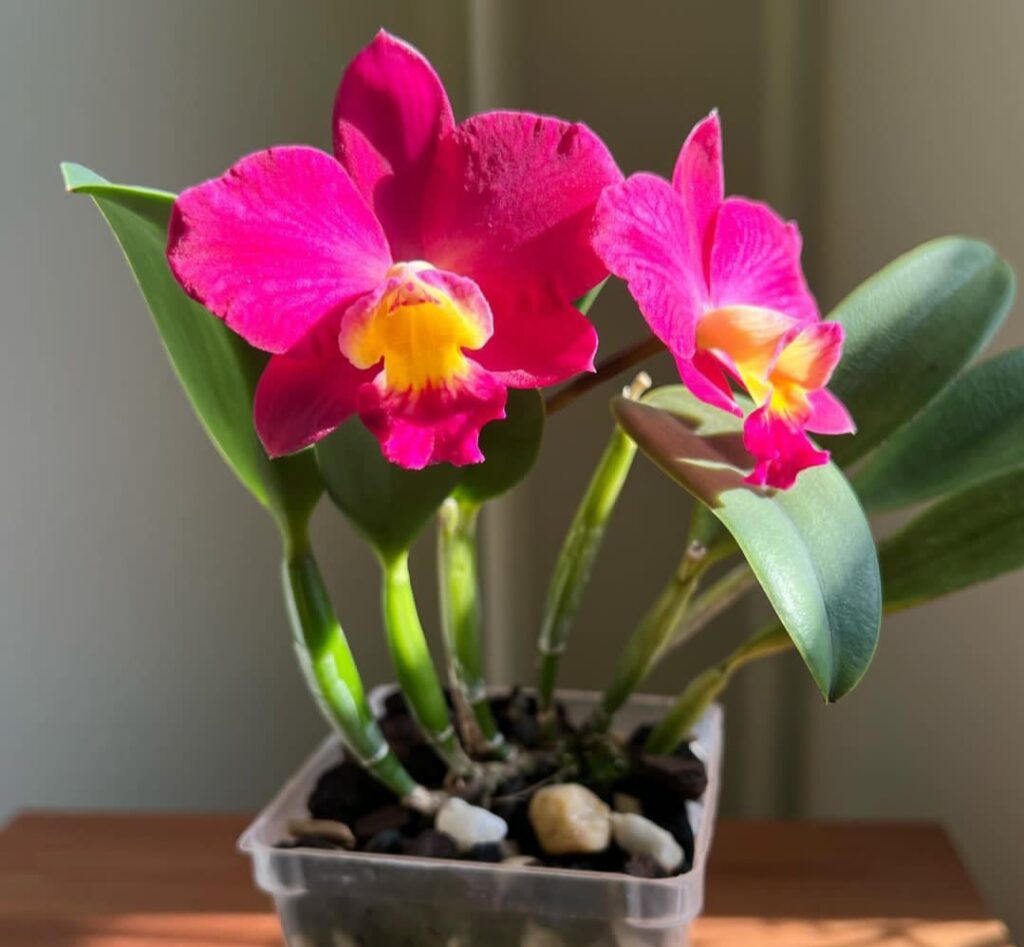
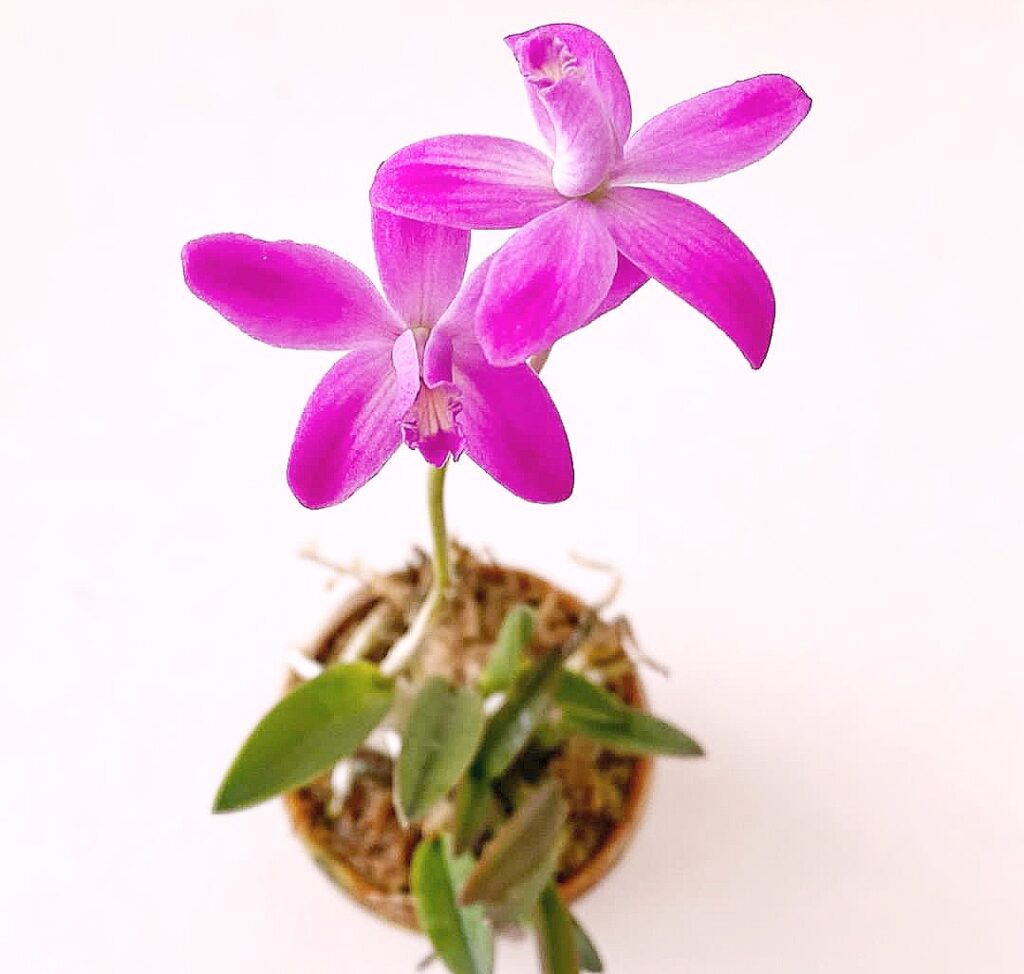
Seasonal Fertilising for Mini Orchids: 20 Best Tips
Table of Contents 👈 Tap Here
Seasonal Fertilising for Mini orchids: orchid’ are delicate, beautiful plants that require specialised care throughout the year. While factors like watering, proper lighting, and humidity are vital for their health, seasonal fertilising plays a significant role in promoting vibrant blooms and robust growth. Each season brings changes in temperature, light, and humidity, which can influence your orchid’s growth cycle. Adjusting your feeding routine accordingly ensures that your orchid receives the right nutrients at the right time, helping it thrive year-round.
In this detailed guide, we’ll walk you through 20 essential fertilising tips, tailored to the unique needs of mini orchids during each season. Whether you’re a beginner or an experienced orchid enthusiast, these practical tips will enhance your plant care routine and result in healthier, longer-lasting blooms.

Seasonal Fertilising for Mini Orchid’s Spring Fertilising Tips
Spring is a crucial period for mini orchids as they awaken from their winter dormancy and begin producing new leaves, roots, and shoots. Proper fertilisation during this phase is essential for encouraging healthy, vigorous growth and preparing the plant for a successful blooming season. Since spring brings more sunlight and warmer temperatures, orchids enter a phase of active nutrient absorption, making it the perfect time to feed them regularly.
1. Increase fertilising frequency
As the orchid starts showing signs of new growth, such as emerging roots or fresh leaves, increase the fertilising frequency to once a week. Feeding more frequently provides the nutrients necessary for rapid growth and strong root development. However, always ensure the fertiliser is properly diluted to avoid damaging the sensitive roots.
2. Use a balanced fertiliser (20-20-20).
A balanced fertiliser with equal parts nitrogen, phosphorus, and potassium, such as 20-20-20, is ideal during the early growing phase. Nitrogen supports healthy leaf production, phosphorus strengthens the roots, and potassium improves the plant’s overall resilience. By consistently applying a balanced fertiliser, you’ll provide a solid nutritional foundation for your orchid.
3. Gradually increase sunlight exposure
With the increase in daylight hours, mini orchids benefit from more exposure to indirect sunlight. This boost in light promotes photosynthesis, which helps the plant utilise the nutrients from fertilisers more effectively. However, be careful not to expose your orchid to direct sunlight for extended periods, as it can lead to leaf burn.
4. Water before fertilising
Always water your orchid thoroughly before applying fertilizer. Watering first helps hydrate the roots and reduces the risk of fertiliser burn, which can occur when concentrated nutrients come into contact with dry roots. This step ensures that the plant absorbs the fertiliser safely and efficiently.
5. Monitor new growth
During spring, closely monitor your orchid for signs of new growth. Healthy new leaves and roots indicate that your fertilising routine is working well. If you notice sluggish growth or pale leaves, it may be time to adjust the fertiliser concentration or increase feeding frequency slightly.
Summer Fertilising Tips
Summer is a period of vigorous growth for mini orchids, but it’s also a time when high temperatures and increased light exposure can cause stress. To keep your orchid thriving during this active phase, it’s important to balance feeding with proper hydration and shade. Fertilising correctly during summer helps ensure the plant has enough nutrients to support leaf and root development while staying healthy in the heat.
6. Maintain weekly feeding
fertilising your orchid once a week, but dilute the fertiliser to half strength. During summer, orchids are highly active, and weekly feeding at a reduced concentration provides consistent nutrition without overwhelming the plant. This approach prevents over-fertilisation, which can lead to salt buildup in the potting medium.
7. Ensure proper hydration
High summer temperatures mean that orchids lose moisture quickly. To prevent dehydration, make sure to water your orchid regularly, especially before fertilizing. Keeping the roots hydrated helps them absorb nutrients more effectively and minimises stress caused by heat.
8. Switch to a high-nitrogen fertiliser.
Summer is an ideal time to switch to a fertiliser with a higher nitrogen content, such as 30-10-10. Nitrogen is essential for producing lush, green foliage, which supports photosynthesis and overall plant vitality. Feeding your orchid with a high-nitrogen fertiliser will encourage the development of strong, healthy leaves.
9. Provide shade during peak hours.
Direct sunlight during the hottest part of the day can stress your orchid and reduce its ability to absorb nutrients. To avoid this, provide partial shade during peak sunlight hours. You can use a sheer curtain or move your orchid to a spot with filtered light. This will help maintain a healthy balance between light and nutrient uptake.
10. Use organic supplements
In addition to your regular synthetic fertiliser, consider incorporating organic supplements such as seaweed extract or fish emulsion into your feeding routine. These natural products are rich in trace elements and beneficial microbes, which enhance root health and improve the orchid’s ability to absorb nutrients. Using organic supplements every few weeks will boost overall plant vigour.
Fall Fertilising Tips
As the days shorten and temperatures begin to drop, mini orchids slow down their growth in preparation for winter dormancy. Fall is a transitional period, making it important to gradually reduce fertilisation and help your orchid conserve energy. Proper feeding during this time ensures that the plant is well-prepared for the colder months ahead.
11. Gradually reduce fertilising frequency
In fall, start decreasing the frequency of fertilisation from once a week to once every two weeks. As growth slows down, the orchid requires fewer nutrients. Reducing feeding frequency prevents over-fertilisation and allows the plant to transition smoothly into dormancy.
12. Switch back to a balanced fertiliser.
Instead of continuing with a high-nitrogen formula, switch to a balanced fertiliser like 10-10-10. This will help the orchid maintain its health without encouraging excessive new growth, which can be difficult for the plant to sustain during the cooler months.
13. Check for salt buildup
Salt buildup is a common issue caused by regular fertilizing. If you notice white deposits on the potting medium or pot edges, flush the medium thoroughly with plain water. This will remove excess salts and prevent root damage.
14. Repot if needed.
Fall is a good time to repot your mini orchid if the potting medium appears compacted or broken down. Fresh medium improves aeration and ensures better nutrient absorption.
15. Inspect leaves for signs of nutrient issues.
Take careful note of the leaves’ condition.Yellowing or dark spots can indicate nutrient imbalances. Adjust your feeding routine based on the plant’s appearance to ensure optimal health.
Winter Fertilising Tips
Winter is typically a period of dormancy for most mini orchids. Growth slows significantly, and nutrient requirements decrease. Fertilising too much during this time can cause stress or damage to the plant. However, if your orchid continues to grow or bloom during winter, light feeding is still necessary. The key is to be cautious and reduce the frequency and concentration of your fertilisation.
16. Reduce feeding to once a month.
If your orchid shows no signs of active growth, reduce fertilising to once a month or even stop altogether. Dormant orchids require minimal nutrients, and overfeeding can lead to salt buildup, which may harm the roots. If you notice any active growth, such as new leaves or spikes, resume feeding at half strength.
17. Maintain humidity levels
Heating systems tend to make indoor air dry throughout the winter. Low humidity can stress your orchid and affect its ability to absorb nutrients. Use a humidifier or place a tray of water near your plant to keep humidity levels between 50% and 70%. Proper humidity reduces stress and supports healthy root function when fertilising.
18. Avoid fertilising during cold spells.
Mini orchids are susceptible to abrupt temperature changes.If your home experiences a cold spell, it’s best to skip fertilising until conditions stabilize. Cold temperatures can shock the roots, and applying fertiliser during this time can exacerbate the problem, leading to root damage.
19. Use low-strength fertiliser if blooming.
Some mini orchids may bloom during winter. If yours does, apply a low-strength fertiliser with a higher phosphorus content, such as 10-30-20. Phosphorus helps support healthy blooms and ensures the plant has enough energy to sustain its flowers. Be sure to fertilise sparingly to avoid overfeeding.
20. Keep a fertilising log
Tracking your fertilising routine can be especially helpful in winter, as it’s easy to forget when you last fed your orchid. Keeping a simple log of dates and fertiliser types ensures consistency and helps you adjust feeding schedules based on your orchid’s needs. Over time, this habit will help you become more attuned to your plant’s unique growth patterns.
Final Tips for Year-Round Fertilising Success
To ensure your mini orchids thrive year-round, it’s important to maintain a balanced approach to fertilizing. Over-fertilisation can be just as harmful as under-fertilisation, so always follow the “weakly, weekly” rule—dilute your fertiliser to half or quarter strength and apply it regularly during the growing season. Flushing the potting medium every few weeks with plain water is another crucial step, as it helps prevent salt buildup, which can damage the roots over time.
Keep a close eye on your orchid for indications of overfeeding or nutrient shortages. Bright green leaves that aren’t too pale or black are indicative of healthy growth. When watered, roots should be green and plump.If you notice any issues, such as yellowing leaves or stunted growth, it’s worth revisiting your fertilising routine to make adjustments.
Using rainwater or distilled water instead of tap water can greatly improve nutrient absorption, as tap water often contains minerals that can accumulate in the potting medium. Additionally, supplementing your orchid care routine with organic products like seaweed extract or compost tea provides trace elements that synthetic fertilisers may lack.
Finally, patience is key when caring for mini orchids. These plants grow slowly, so it may take weeks or even months to see the full effects of your fertilising efforts. By staying consistent and observant, you’ll soon be rewarded with healthy, vibrant plants that bloom beautifully season after season.
Seasonal fertilising is a critical aspect of maintaining the health and beauty of mini orchids. By understanding the different nutritional needs of your plant throughout the year and following these 20 best tips, you’ll ensure that your orchid receives the right nutrients at the right time. Whether you’re adjusting your feeding routine in spring to encourage growth or scaling back in winter to prevent overfeeding, your efforts will contribute to a healthier, happier plant .
FAQs on Seasonal Fertilising for Mini Orchids
What is Seasonal Fertilising for Mini Orchids?
Seasonal fertilising for mini orchids refers to adjusting the feeding routine of your mini orchids based on the changing seasons. Different seasons affect orchid growth, and fertilising according to these changes helps keep them healthy.
Why is Seasonal Fertilising for Mini Orchids important?
Mini orchids have varying nutritional needs throughout the year. During the growing season, they require more nutrients, while in dormant seasons, they need less. Seasonal fertilising for mini orchids ensures they get the right balance of nutrients at the right time.
How do you fertilise mini orchids during the growing season?
During spring and summer, which are active growing seasons, apply a balanced orchid fertiliser every two weeks. Seasonal fertilising for mini orchids during this period boosts healthy foliage and root development.
Should I fertilise my mini orchids during winter?
Yes, but less frequently. In winter, when growth slows down, reduce fertilising to once a month using a diluted solution. Proper seasonal fertilising for mini orchids during winter prevents overfeeding.
What happens if I skip seasonal fertilising for mini orchids?
Without proper seasonal fertilising, mini orchids may suffer from nutrient deficiencies, leading to weak growth, fewer blooms, and vulnerability to diseases.
How do I know when to start seasonal fertilising for mini orchids?
Begin fertilising when you see new growth, such as leaves or roots, typically in early spring. This signals that the orchid is coming out of dormancy and ready for more nutrients.
Are there natural options for seasonal fertilising for mini orchids?
Yes, natural options like diluted fish emulsion or seaweed extract can be used. These organic choices work well in seasonal fertilising for mini orchids, especially for gardeners who prefer eco-friendly solutions.
How much fertiliser should I use for seasonal fertilising for mini orchids?
Always follow the instructions on the fertiliser package, but a general rule is to dilute the fertiliser to half or a quarter of the recommended strength. Over-fertilising can damage mini orchids.
What are some common mistakes in seasonal fertilising for mini orchids?
Common mistakes include over-fertilising, using the wrong type of fertiliser, and fertilising during dormancy. Understanding the principles of seasonal fertilising for mini orchids helps avoid these errors
Is it necessary to change the fertiliser formula throughout the year?
Yes, seasonal fertilising for mini orchids involves adjusting the fertiliser type. Use a higher nitrogen formula in spring and summer and switch to one with more phosphorus and potassium in fall.
Can rainwater be used in seasonal fertilising for mini orchids?
Absolutely! Rainwater is gentle on orchids, and when combined with a diluted fertiliser, it supports seasonal fertilising for mini orchids effectively.
How do I care for mini orchids after seasonal fertilising?
Ensure proper watering, light, and humidity after fertilising. Seasonal fertilising for mini orchids works best when combined with optimal care.
How often should I repot mini orchids in relation to seasonal fertilising?
Repotting should generally be done every one to two years, preferably in spring. After repotting, resume seasonal fertilising for mini orchids once the plant stabilises.
Can I fertilise mini orchids when they are blooming?
It’s okay to fertilise lightly during blooming, but avoid heavy feeding. Seasonal fertilising for mini orchids during flowering should be gentle to prevent stress on the plant.
Hi, I’m Steve, an orchid grower with 30+ years of hands-on experience caring for indoor and outdoor plants. I share practical, tested tips and beginner-friendly guides to help plant enthusiasts nurture healthy, thriving plants.