Mini Orchid Care: The 20 Secrets to Keeping Them Alive!
Table of Contents 👈 Tap Here
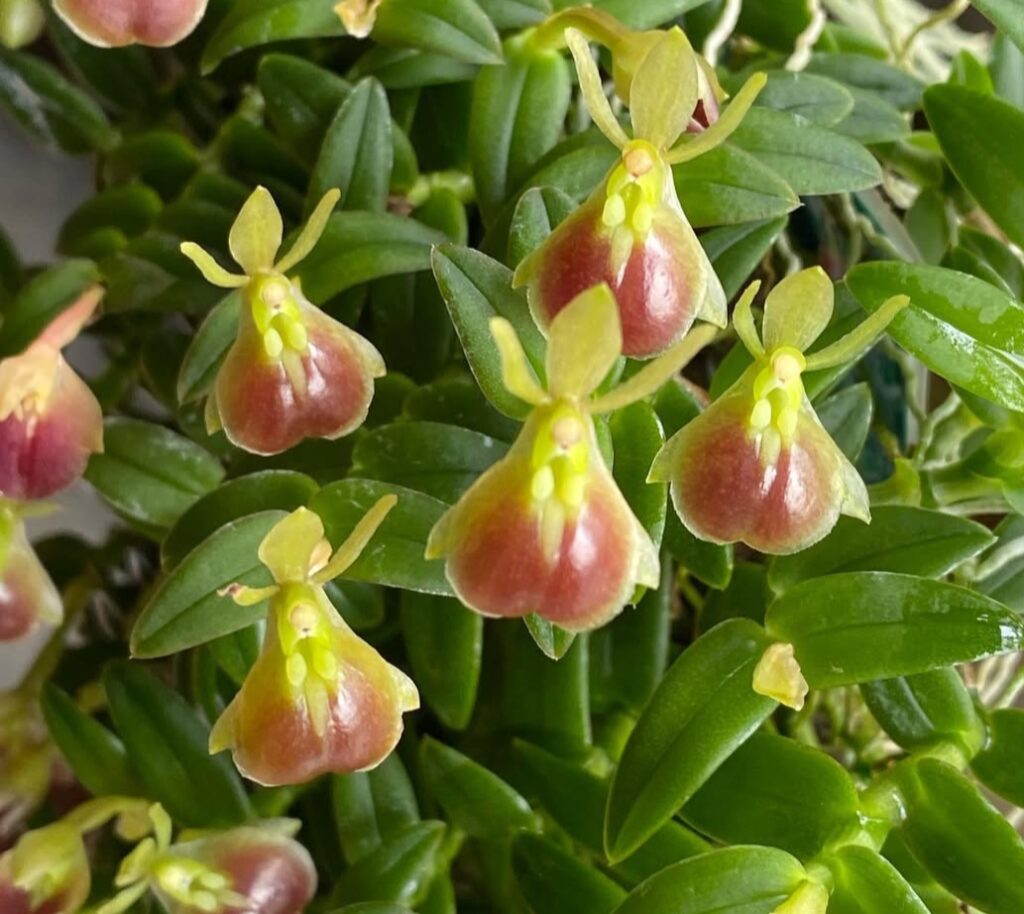
Orchids are among the most beautiful and exotic plants, and mini orchids, in particular, have become increasingly popular due to their compact size and vibrant blooms. Whether you’re a seasoned orchid enthusiast or a beginner, caring for mini orchids can be a rewarding experience. However, these delicate plants require some specific attention to thrive. In this guide, we’ll share 20 essential secrets for keeping your mini orchids alive and healthy for years to come.
Mini Orchid Care

1. Choose the Right Mini Orchid Variety
Not all mini orchids are the same. The most common varieties are Phalaenopsis, Dendrobium, and Cattleya. Each variety has slightly different care requirements, so it’s essential to understand the needs of the specific orchid you own. Phalaenopsis, for example, thrives in low to moderate light, while Dendrobium prefers brighter conditions.
2. Provide Proper Lighting
Mini orchids need bright, indirect light to flourish. Direct sunlight can scorch their delicate leaves. Place your mini orchid near a window with sheer curtains or a spot where it gets bright but diffused light. The best windows face east or south.
3. Watering Just Right
Overwatering is one of the most common mistakes orchid owners make. Mini orchids prefer to dry out slightly between waterings.Make sure the pot has adequate drainage while giving them plenty of water. Water again, usually once a week, after letting the top inch of soil dry. As the plant’s development slows down in the winter, water it less frequently.
4. Humidity is Key
Mini orchids thrive in high humidity levels, ideally around 50-70%. If you live in a dry climate, place a humidity tray or a small humidifier near your orchids. To create a microclimate with more humidity, you can also combine plants together.
5. Avoid Stagnant Water
Always make sure there is no standing water in the saucer under your mini orchid’s pot, as this can lead to root rot. After watering, let any excess water drain out completely.
6. Repot Every Two Years
Orchids don’t require frequent repotting, but it’s essential to do so every couple of years. Choose a pot that is slightly larger than the previous one, and use a specialized orchid potting mix made of bark or sphagnum moss to provide good drainage.
7.Fertilizing Your Mini Orchid Properly”
Feed your mini orchid with a balanced liquid orchid fertilizer every 2-4 weeks during the growing season (spring through summer). During the winter months, you can reduce the frequency or skip fertilizing altogether. To prevent overfeeding, always dilute the fertiliser to roughly half strength.
8. Correct Temperature Range
Mini orchids prefer temperatures between 65°F and 75°F (18°C and 24°C). Avoid placing them in areas with temperature extremes, such as near radiators, air conditioners, or drafts. A stable room temperature is perfect.
9. Proper Air Circulation
The prevention of bacterial and fungal infections is aided by adequate air circulation. Ensure your mini orchid is placed in an area with gentle airflow, but avoid placing it in a draughty spot.
10. Use the Right Potting Mix
Mini orchids should be planted in well-draining orchid mix. Typically, a mix of bark, perlite, and sphagnum moss works best. This prevents the roots from sitting in water, which can lead to rot.
11. Keep Your Mini Orchid Dust-Free
Dust can accumulate on the delicate leaves of your mini orchid, blocking the light needed for photosynthesis.Dust and debris can be gently removed from the leaves using a soft brush or a moist cloth.
12. Prune Dead Blooms
Once the flowers fade, remove the spent blooms to encourage new growth and improve the overall appearance of your plant. Cut the flower spike back to the base, just above the node, to promote a second bloom or healthy growth.
13. Check for Pests Regularly
Mini orchids can attract pests like mealybugs, aphids, and scale.Check the plant frequently for indications of pest activity.If you spot any, use an insecticidal soap or wipe the affected areas with rubbing alcohol.
14. Monitor the Roots
Healthy orchid roots are firm and green. If you notice that the roots are turning brown or mushy, it’s likely a sign of overwatering. After cutting off any damaged roots, repot the orchid using new potting mix.
15. Ensure Adequate Drainage
Orchids need good drainage to avoid waterlogging. To avoid root rot, use containers with holes in the bottom to let extra water out.
16. Provide Rest Periods
Mini orchids need a rest period after blooming to rejuvenate. During the fall and winter months, reduce watering, stop fertilising, and allow the plant to rest in a slightly cooler environment (but still above 50°F).
17. Support Blooms with Staking
When your mini orchid blooms, the flower spike might need extra support. Use a small stake or support to help keep the spike upright and prevent it from bending under the weight of the flowers.
18. Repot After Blooming
Repot your mini orchid after its blooming season to give it the best chance to thrive. Remove any dead roots, trim any unhealthy parts, and place the plant in fresh potting mix.
19. Provide a Proper Drainage Tray
Place your mini orchid pot on a tray with small stones or pebbles, and fill the tray with water. This helps increase humidity around the plant without letting the roots sit directly in water.
20. Stay Patient and Consistent
Orchids can be a bit slow-growing, so it’s important to remain patient. Consistency in care is key—maintaining the right environment, watering, and feeding will reward you with healthy, long-lasting blooms.
Mini orchids can bring elegance and beauty to any space, and with the right care, they can thrive for many years. These 20 suggestions will help you make sure your little orchids thrive and produce lovely blooms.With patience and dedication, you’ll soon enjoy the stunning flowers of your thriving mini orchid collection. Happy gardening!
Mini Orchid Care FAQs
What are mini orchids?
Mini orchids are smaller versions of standard orchids, often from the Phalaenopsis species. With proper Mini Orchid Care, they can thrive indoors and make beautiful additions to small spaces.
How often should I water mini orchids?
In Mini Orchid Care, watering once a week is usually sufficient. Be sure to allow the potting medium to almost dry out before the next watering to prevent root rot.
What type of light do mini orchids need?
Providing the right light is essential for Mini Orchid Care. Mini orchids need bright, indirect sunlight, as direct light can damage their leaves.
Do mini orchids need fertilizer?
Yes, part of good Mini Orchid Care involves feeding them a balanced orchid fertilizer every two weeks during the growing season. Always dilute the fertilizer to half strength.
How do I repot a mini orchid?
Repotting is an important aspect of Mini Orchid Care. You should repot your mini orchid every 1-2 years using a well-draining orchid mix to keep the roots healthy.
Why are my mini orchid’s leaves turning yellow?
Yellowing leaves can be a common problem in Mini Orchid Care. It may indicate overwatering, poor light conditions, or natural leaf shedding.
Can mini orchids rebloom after they finish flowering?
Yes, with proper Mini Orchid Care, mini orchids can rebloom. After the flowers fall off, trim the flower spike above a node to encourage new blooms.
What temperature is best for mini orchids?
Temperature control is vital in Mini Orchid Care. Mini orchids prefer temperatures between 65°F and 75°F (18°C to 24°C) during the day and slightly cooler at night.
Are mini orchids difficult to care for?
Not at all! With a few essential practices, Mini Orchid Care becomes simple. Just focus on proper watering, lighting, and feeding, and your orchid will thrive.
Hi, I’m Steve, an orchid grower with 30+ years of hands-on experience caring for indoor and outdoor plants. I share practical, tested tips and beginner-friendly guides to help plant enthusiasts nurture healthy, thriving plants.