Orchid Care for Absolute Beginners: 18 Mistakes to Avoid from Day One
Table of Contents 👈 Tap Here
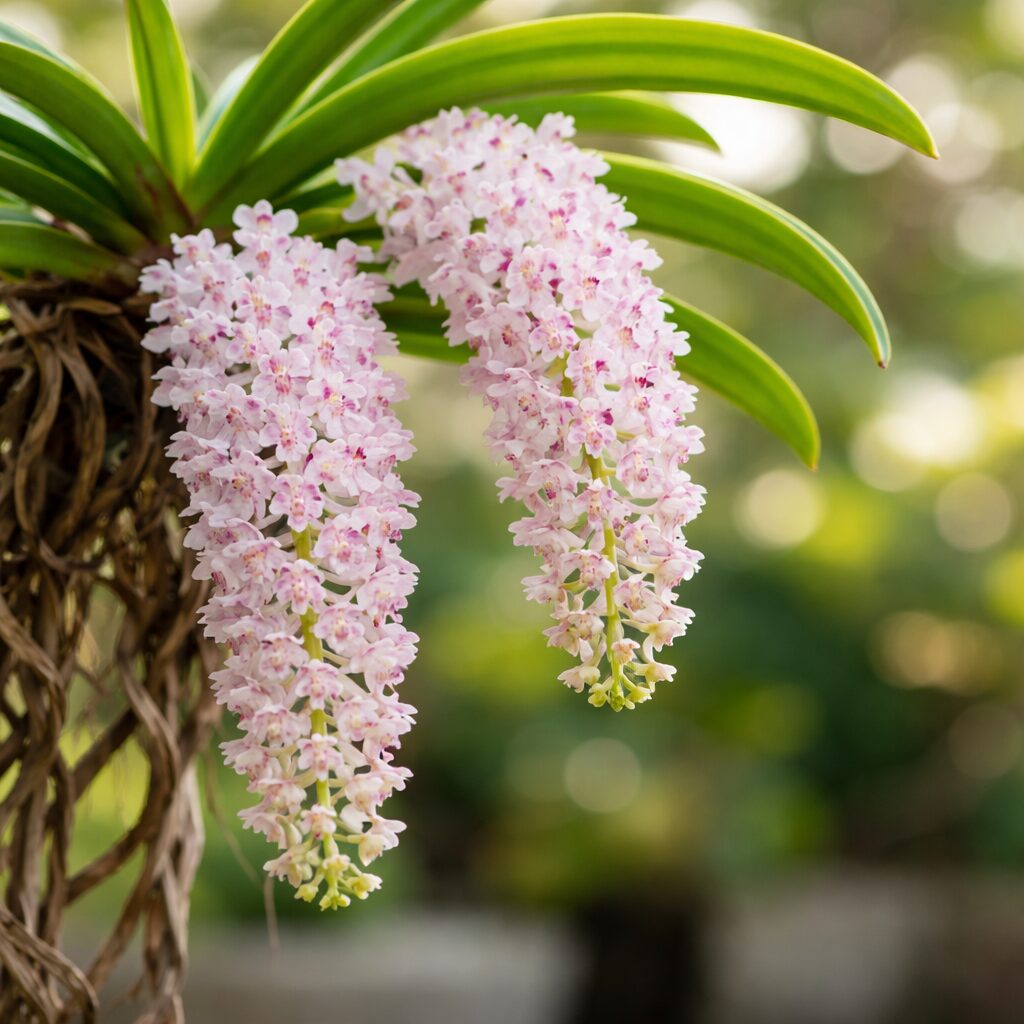
Orchids have a reputation for being difficult, but in reality, they are simply misunderstood. Most beginners struggle because they treat orchids like regular houseplants, which leads to poor results. Unlike typical plants, orchids grow on trees in tropical environments, meaning their roots need air, not dense soil. Once you understand this fundamental difference, orchid care becomes much easier and far more rewarding.
Orchid Care for Absolute Beginners
1. Overwatering Your Orchid
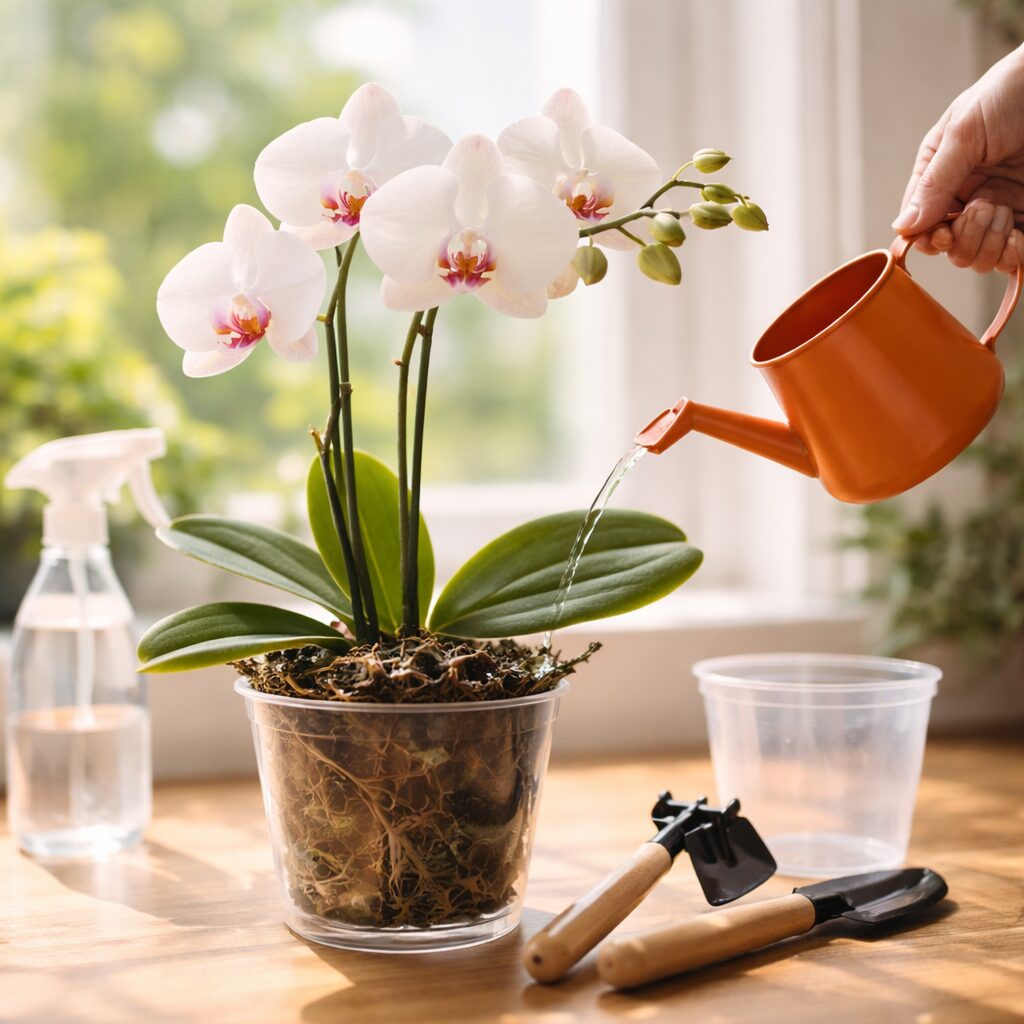
Overwatering is the most common reason orchids fail in beginner homes, and it usually comes from the belief that more water means better care. In reality, orchids thrive on a natural wet-dry cycle where their roots are soaked and then allowed to dry out completely before the next watering. When roots remain constantly wet, they lose access to oxygen, which leads to rot and eventually kills the plant from below the surface.
A reliable routine is to water every 7–10 days during warmer months and every 10–14 days in cooler seasons, but this can vary depending on your environment. The best method is to always check the potting medium first—if it still feels damp, give it a few more days before watering again to avoid unnecessary stress on the roots.
2. Using the Wrong Pot
Choosing the right pot is more important than most beginners realise, and clear plastic pots are actually designed to support orchid health rather than just appearance. These pots allow you to monitor root condition easily and let light reach the roots, which is beneficial for certain orchid varieties like Phalaenopsis.
When orchids are moved into solid decorative pots without proper drainage, excess moisture becomes trapped, increasing the risk of root rot and fungal issues. The safest and most practical solution is to keep your orchid in its original plastic pot and place it inside a decorative outer container if you want a better look. This way, you maintain proper drainage while still achieving an aesthetic setup.
3. Planting in Regular Potting Soil
One of the biggest mistakes beginners make is treating orchids like regular houseplants and planting them in standard potting soil. Unlike most plants, orchids require constant airflow around their roots, and dense soil prevents this by holding too much moisture and limiting oxygen access.
This quickly leads to suffocation and root decay. Instead, orchids should be planted in a loose, well-draining mix made from materials like bark, perlite, and sphagnum moss. This type of medium closely mimics their natural environment, where roots cling to tree surfaces and are exposed to air. Using the right mix not only prevents root problems but also promotes stronger growth and healthier blooms over time.
4. Placing It in Direct Sunlight
While orchids need plenty of light to grow and bloom, direct sunlight can be too harsh and damaging. In their natural habitat, orchids grow under tree canopies where sunlight is filtered and softened before reaching them. When exposed to strong, direct sun—especially during midday or afternoon hours—the leaves can burn, developing yellow patches or bleached spots that weaken the plant.
The ideal placement is near an east- or north-facing window where the orchid receives bright, indirect light throughout the day. If your space only has strong sunlight, using a sheer curtain or placing the plant slightly away from the window can help diffuse the intensity and create a safer environment.
5. Ignoring the Roots
Your orchid’s roots are one of the most reliable indicators of its overall health, yet many beginners overlook them completely. Healthy roots are typically firm and plump, appearing bright green when recently watered and turning silvery-grey as they dry out. This colour change is completely normal and helps you determine when it is time to water again.
On the other hand, roots that are brown, mushy, hollow, or shrivelled are clear signs of stress, rot, or dehydration. Regularly checking the roots—especially if your orchid is in a clear pot—allows you to catch problems early and take action before they become severe. Paying attention to root health can make the difference between a thriving plant and one that slowly declines.
6. Cutting Off the Wrong Stems After Blooming
After an orchid finishes blooming, it is common for beginners to cut off the entire flower spike immediately, assuming the plant is done flowering. However, this can reduce the chances of a second bloom. If the spike is still green and healthy, it may produce new flowers from a node along the stem. In this case, trimming just above a visible node can encourage a secondary bloom.
If the spike has turned brown and dry, it is no longer active and should be cut back to the base. Always use clean, sterilised tools when making cuts to prevent introducing infections, as orchids are sensitive to bacteria and fungal diseases.
7. Extreme Temperatures
Orchids are sensitive to temperature changes and perform best in a stable environment where conditions remain within a comfortable range. Most common orchids thrive between 18°C and 29°C, with a slight drop at night that can actually help trigger blooming. Problems arise when the plant is exposed to sudden or extreme conditions.
temperature shifts, such as cold drafts from windows, blasts of air conditioning, or heat from radiators and vents. These fluctuations can stress the plant and lead to issues like bud drop, slowed growth, or dehydration. To keep your orchid healthy, place it in a location with consistent temperatures and avoid positioning it near direct sources of hot or cold air.
8. Skipping Humidity
Orchids naturally grow in tropical environments where humidity levels stay between 50% and 70%, which is significantly higher than what most indoor spaces provide—especially during winter or in air-conditioned rooms. When humidity drops too low, orchids begin to show stress through slow growth, wrinkled leaves, and dry, brown tips.
Even if you are watering correctly, low humidity can still affect the plant at a deeper level by disrupting its ability to absorb moisture efficiently. Fortunately, increasing humidity does not require expensive tools. A simple pebble tray filled with water placed under the pot can create a localised humid environment as the water evaporates. Grouping multiple plants together also helps raise moisture levels naturally, creating a microclimate that better mimics the orchid’s natural habitat.
9. Incorrect Fertilising
Fertilising orchids is important, but doing it incorrectly can cause more harm than good. Many beginners either use too much fertiliser or apply it at the wrong time, such as when the plant is dry or already stressed. This can lead to salt buildup in the potting medium and chemical burns on the roots, which weakens the plant over time.
The safest and most effective method is to follow the “weakly, weekly” approach—using a balanced orchid fertiliser diluted to one-quarter of the recommended strength and applying it once a week during the growing season. Always water your orchid first before adding fertiliser, as this helps protect the roots from damage. Additionally, flushing the pot with plain water once a month helps remove any excess salts and keeps the growing medium clean and healthy.
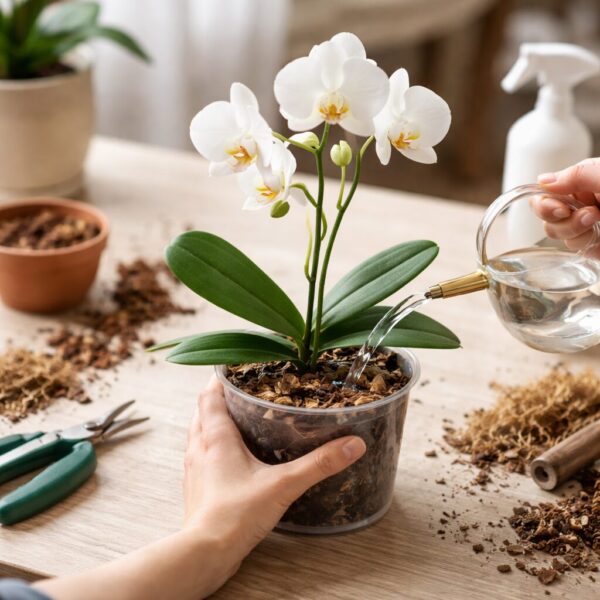
10. Repotting Too Often — or Never
Repotting is one of the most misunderstood aspects of orchid care because it requires balance rather than a fixed schedule. Orchids actually prefer being slightly root-bound, and frequent repotting can stress the plant and interrupt its growth cycle. However, never repotting is equally harmful, as the bark-based medium gradually breaks down over time into a dense, soil-like material that retains too much moisture and restricts airflow around the roots.
This leads to root suffocation and eventual rot. As a general rule, orchids should be repotted every one to two years, or whenever you notice the medium no longer drains properly. The best time to repot is right after the plant has finished blooming, allowing it to recover and establish itself before the next growth phase begins.
11. Buying a Sick Plant Without Realising It
Many orchid problems actually begin at the store, not at home. Beginners often buy plants that already have root rot, pests, or stress damage without noticing the warning signs. Always inspect the roots through the drainage holes — they should look firm and green or silvery, not brown or mushy. Check leaves for spots, stickiness, or discolouration, and make sure the crown is healthy and firm. Choosing a strong plant from the start dramatically increases your chances of long-term success.
12. Misting the Leaves and Crown
Misting may seem helpful, but it often causes more harm than good. Water droplets sitting on leaves or in the crown create the perfect environment for fungal and bacterial rot. Crown rot, in particular, can kill an orchid very quickly. Instead of misting, increase humidity using safer methods like a pebble tray or humidifier. If water ever collects in the crown, gently dry it immediately to prevent damage.
13. Using Tap Water Without Thinking
Tap water often contains minerals, chlorine, and chemicals that build up over time and harm orchid roots. This buildup can cause brown leaf tips and poor growth. Letting water sit for 24 hours helps reduce chlorine, but for best results, use filtered or rainwater. Also, flush the potting medium once a month with clean water to remove excess salts and keep roots healthy.
14. Panicking When Leaves Turn Yellow
A yellow leaf does not always mean something is wrong. Orchids naturally shed their oldest leaves as they grow, which is completely normal. However, if multiple leaves turn yellow quickly or become soft and mushy, it could indicate root rot or disease. Always look at the entire plant before reacting — context matters more than a single leaf.
15. Giving Up After Blooms Drop
When flowers fall, many beginners think the plant is dying and give up. In reality, orchids enter a natural resting phase after blooming. During this time, they focus on growing roots and leaves to prepare for the next bloom cycle. Continue basic care, and with patience, your orchid will bloom again. A slight drop in nighttime temperature can even help trigger new spikes.
16. Keeping All Orchid Varieties Under the Same Care Routine
Not all orchids have the same needs. While Phalaenopsis orchids are beginner-friendly, other types like Dendrobiums, Cattleyas, and Oncidiums require different light, water, and temperature conditions. Assuming all orchids need identical care often leads to poor growth or no blooms. Always check the specific variety you have and adjust your care routine accordingly.
17. Not Sterilising Cutting Tools
Every cut you make on an orchid creates an entry point for infection. Using unclean tools can spread bacteria and fungi between plants very quickly. Always sterilise scissors or pruning tools with alcohol before and after use. After cutting, you can apply a small amount of cinnamon to the wound to help prevent infection and promote healing.
18. Expecting Blooms All Year Without a Rest Period
Orchids are not supposed to bloom all the time. To recuperate and save energy for next blossoms, they need a rest period. The plant may become weaker if you try to promote continuous blooming with too much fertiliser or the same conditions all year long. Allowing a natural cycle of rest, less watering, and cooler evenings is preferable. Over time, this method produces stronger plants with more exquisite blossoms.
Final Conclusion
Orchids are not hard; they only need a different method than regular houseplants. Growing healthy orchids that bloom brilliantly year after year is possible if you understand their natural environment and avoid these frequent blunders. Your orchid will reward you with beautiful flowers and long-lasting development if you are patient and give it proper care.
FAQS
FAQ 1: What is the best way to start Orchid Care for Absolute Beginners?
Orchid Care for Absolute Beginners starts with understanding that orchids need balance, not constant attention. Use a well-draining potting mix, place your orchid in bright indirect light, and water only when the roots look dry. Beginners should avoid overwatering and focus on observing plant signals, as this builds confidence and ensures long-term success with healthy orchid growth.
FAQ 2: How often should I water plants in Orchid Care for Absolute Beginners?
In Orchid Care for Absolute Beginners, watering depends on climate, potting medium, and humidity rather than a strict schedule. Typically, watering once every 7–10 days works well, but always check if the roots are dry before watering. This simple habit prevents root rot and helps beginners maintain the right moisture balance for thriving orchids.
FAQ 3: What type of light is ideal in Orchid Care for Absolute Beginners?
In Orchid Care for Absolute Beginners, providing the right light is essential for healthy growth and blooming. Orchids thrive in bright, indirect sunlight, such as near an east-facing window. Direct sunlight can burn the leaves, while too little light prevents flowering, so beginners should aim for a balanced, filtered light environment for best results.
FAQ 4: Which potting mix works best for Orchid Care for Absolute Beginners?
Orchid Care for Absolute Beginners requires a special potting mix that allows proper airflow to the roots. Unlike regular soil, orchids grow well in bark, moss, or coconut husk mixes. These materials drain quickly and prevent root rot, making them ideal for beginners who want to maintain healthy roots and avoid common mistakes.
FAQ 5: How do I choose the right pot in Orchid Care for Absolute Beginners?
In Orchid Care for Absolute Beginners, choosing the right pot is just as important as watering. Clear plastic pots with drainage holes are highly recommended because they allow you to monitor root health and moisture levels. Proper drainage ensures the roots do not stay soggy, helping beginners maintain a healthy orchid environment.
FAQ 6: Why are my orchid leaves turning yellow in Orchid Care for Absolute Beginners?
When practicing Orchid Care for Absolute Beginners, yellow leaves often indicate overwatering or too much direct sunlight. Orchids prefer a balance of moisture and light, so adjusting watering habits and moving the plant to a spot with indirect light can quickly solve this issue and restore healthy leaf color.
FAQ 7: How can I encourage blooms in Orchid Care for Absolute Beginners?
Orchid Care for Absolute Beginners involves patience when it comes to blooming. To encourage flowers, ensure your orchid receives enough indirect light, proper watering, and occasional feeding. A slight drop in nighttime temperature can also trigger blooming, making it easier for beginners to enjoy beautiful orchid flowers.
FAQ 8: Is humidity important in Orchid Care for Absolute Beginners?
Humidity plays a key role in Orchid Care for Absolute Beginners because orchids naturally grow in humid environments. Maintaining humidity levels around 40–60% helps prevent dehydration. Beginners can use a humidity tray or mist occasionally, ensuring the plant stays comfortable without making the roots overly wet.
FAQ 9: How do I fertilize in Orchid Care for Absolute Beginners?
In Orchid Care for Absolute Beginners, fertilizing should be done lightly and consistently. Use a balanced orchid fertilizer diluted to half strength every two to four weeks. Over-fertilizing can damage the roots, so beginners should follow a simple routine to support steady and healthy growth.
FAQ 10:For absolute beginners, what temperature is ideal for caring for orchids?
Orchid Care for Absolute Beginners requires maintaining a stable temperature range between 18°C and 30°C. Orchids prefer warm days and slightly cooler nights, which helps mimic their natural environment. Beginners should avoid placing orchids near drafts or heat sources to prevent stress.
FAQ 11: Can orchids grow indoors in Orchid Care for Absolute Beginners?
Yes, Orchid Care for Absolute Beginners is perfectly suited for indoor environments. Orchids adapt well to indoor conditions as long as they receive sufficient indirect light, proper airflow, and consistent care. Beginners can easily grow orchids indoors by placing them near windows with filtered sunlight.
FAQ 12: How do I know when to repot in Orchid Care for Absolute Beginners?
In Orchid Care for Absolute Beginners, repotting is necessary when the potting mix breaks down or roots outgrow the container. This usually happens every one to two years. Fresh mix improves drainage and airflow, helping beginners maintain strong and healthy root systems.
FAQ 13: What are common mistakes in Orchid Care for Absolute Beginners?
Orchid Care for Absolute Beginners often includes mistakes like overwatering, using regular soil, and placing orchids in direct sunlight. Avoiding these errors helps beginners build confidence and keep their orchids healthy. Learning from these basics ensures better long-term plant care.
FAQ 14: How do I trim orchids in Orchid Care for Absolute Beginners?
In Orchid Care for Absolute Beginners, trimming should be done after the flowers fade. Cut the flower spike just above a node to encourage new blooms. Beginners should use sterilized tools to prevent infections and ensure the plant stays healthy after trimming.
FAQ 15: Are orchids difficult in Orchid Care for Absolute Beginners?
Orchid Care for Absolute Beginners may seem challenging at first, but orchids are surprisingly easy once you understand their needs. With proper light, watering, and patience, beginners can successfully grow orchids and enjoy their long-lasting beauty without much stress.
FAQ 16: How do I prevent root rot in Orchid Care for Absolute Beginners?
Preventing root rot is crucial in Orchid Care for Absolute Beginners. Always use a well-draining mix and avoid watering too frequently. Checking the roots before watering helps beginners ensure they are not keeping the plant too wet, which is the main cause of root rot.
FAQ 17: Can I use tap water in Orchid Care for Absolute Beginners?
In Orchid Care for Absolute Beginners, using tap water is generally safe if it is not heavily treated. However, letting the water sit overnight helps remove chlorine. Beginners can also use filtered or rainwater for better results and healthier orchid growth.
FAQ 18: How long do orchids live in Orchid Care for Absolute Beginners?
Orchid Care for Absolute Beginners can lead to long-lasting plants, as orchids can live for many years with proper care. Some orchids bloom multiple times a year, making them a rewarding choice for beginners who want a long-term indoor plant.
FAQ 19: Do orchids need air circulation in Orchid Care for Absolute Beginners?
Air circulation is an important factor in Orchid Care for Absolute Beginners. Good airflow helps prevent fungal issues and keeps the plant healthy. Beginners can place orchids in a well-ventilated area or use a gentle fan to maintain proper air movement.
FAQ 20: Can I grow orchids without sunlight in Orchid Care for Absolute Beginners?
In Orchid Care for Absolute Beginners, orchids cannot grow without light, but they do not need direct sunlight. Bright artificial grow lights can be used as an alternative, making it easier for beginners to grow orchids even in low-light spaces.
FAQ 21: What is the easiest orchid for Orchid Care for Absolute Beginners?
For Orchid Care for Absolute Beginners, Phalaenopsis orchids are the easiest to grow. They adapt well to indoor conditions, require minimal care, and bloom beautifully. Beginners often find them the best starting point for learning orchid care successfully.
Hi, I’m Steve, an orchid grower with 30+ years of hands-on experience caring for indoor and outdoor plants. I share practical, tested tips and beginner-friendly guides to help plant enthusiasts nurture healthy, thriving plants.