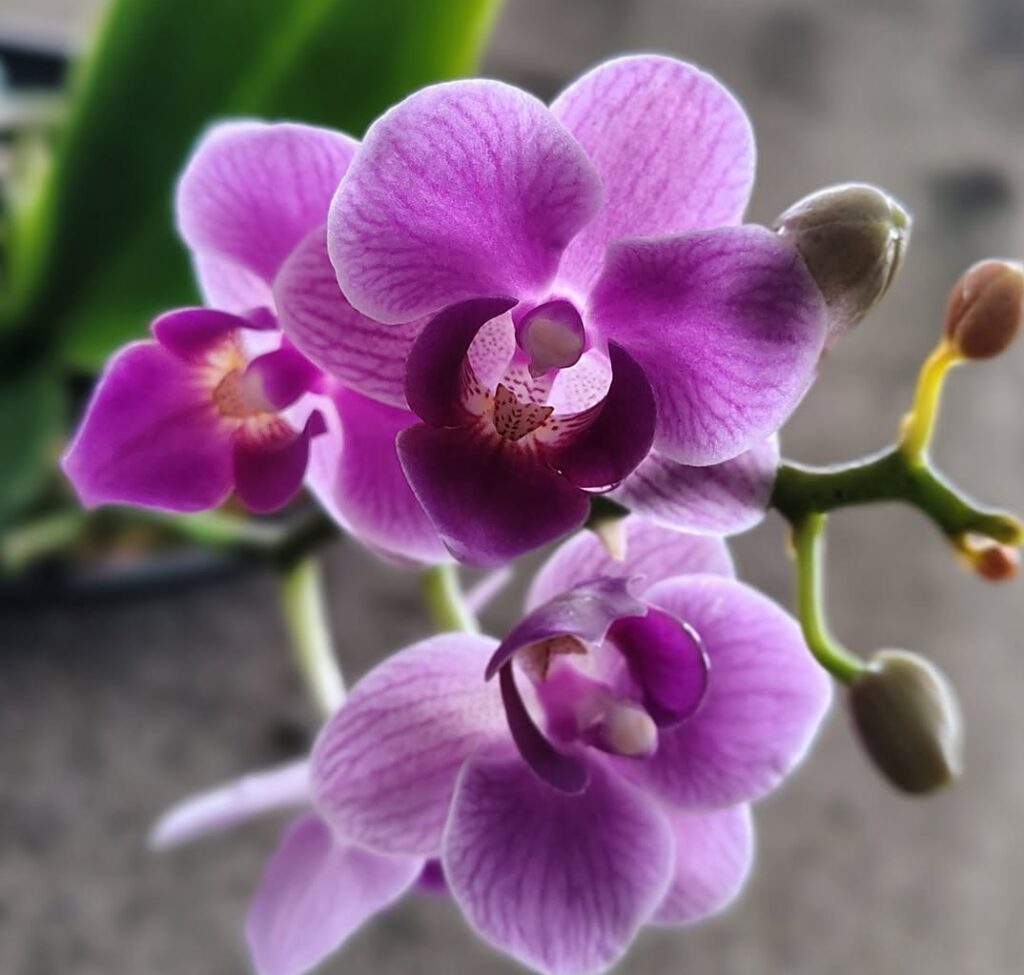
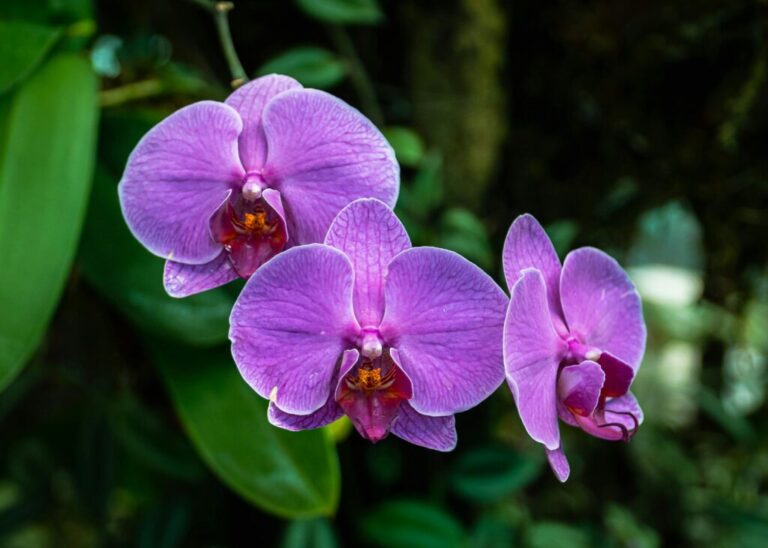
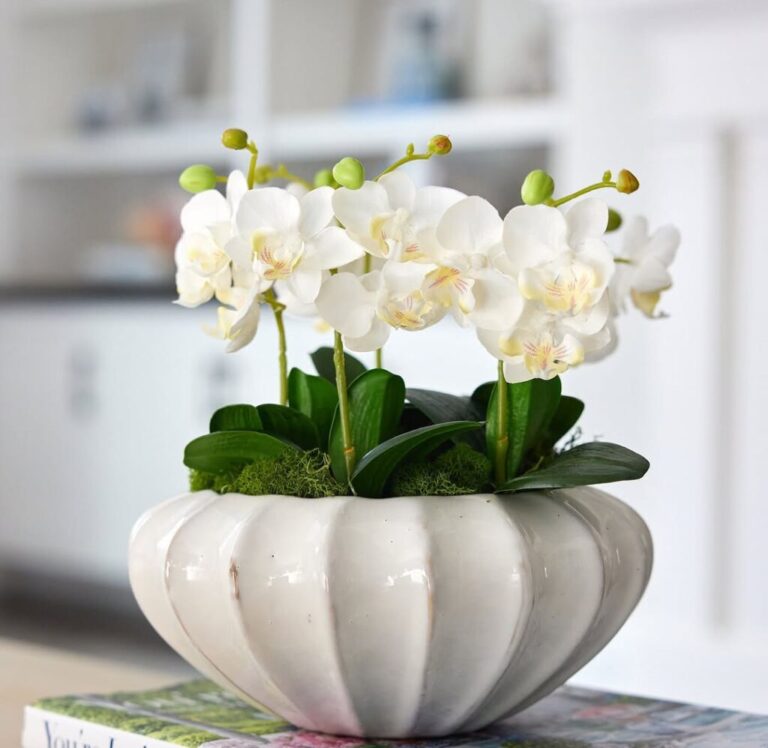
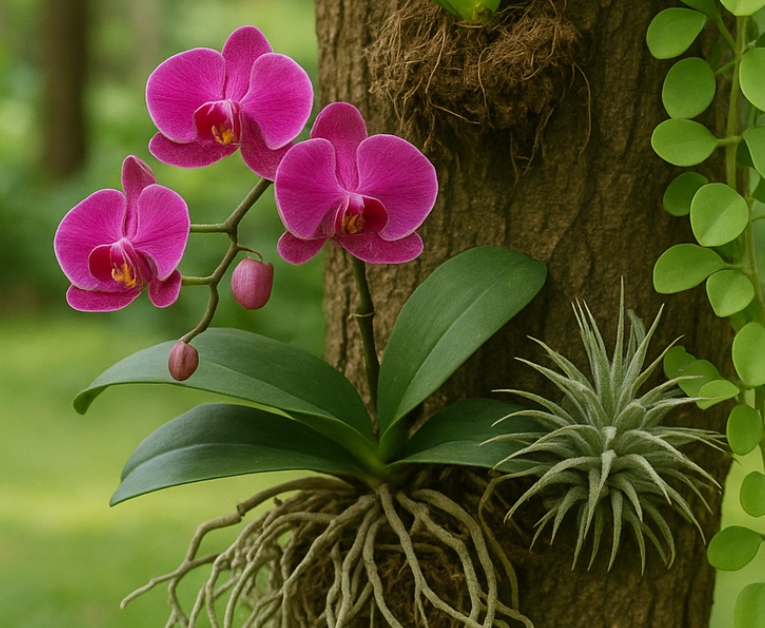
Mini Phalaenopsis orchids, often called “mini moth orchids,” are one of the most popular orchid varieties among houseplant enthusiasts. Their delicate blooms, compact size, and relatively easy care make them perfect for beginners and experienced growers alike. However, many orchid lovers struggle to keep their Mini Phalaenopsis thriving due to improper watering, insufficient light, and repotting mistakes.
These stunning orchids originate from tropical and subtropical regions of Asia and Australia, where they grow as epiphytes, clinging to trees and absorbing nutrients and moisture from the air. Understanding their natural habitat can significantly improve their care indoors. When properly cared for, a Mini Phalaenopsis orchid can reward you with long-lasting blooms and lush green foliage year after year.
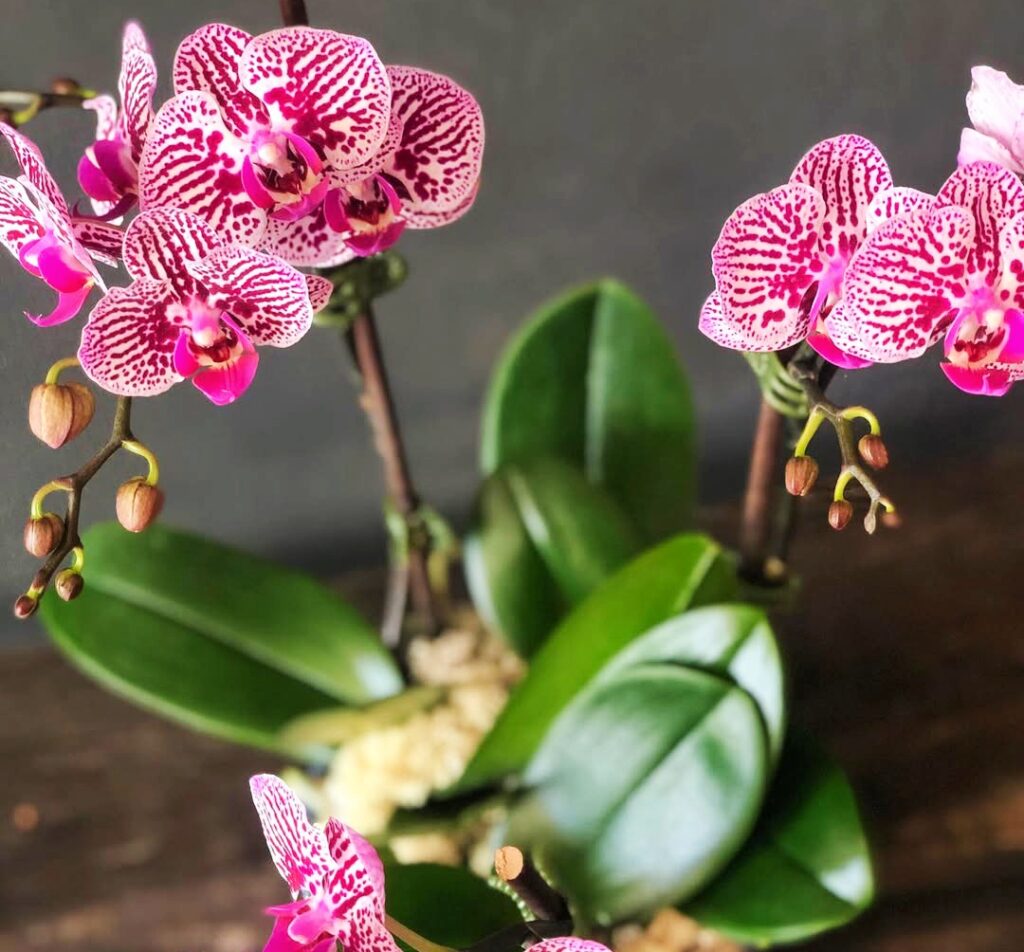
In this comprehensive guide, we will explore every aspect of Mini Phalaenopsis orchid care, including proper watering techniques, the best lighting conditions, and essential repotting tips. Additionally, you’ll find a care timetable to maintain a consistent routine and a problem-solving section to address common orchid issues. By the end of this guide, you’ll have all the knowledge needed to keep your Mini Phalaenopsis orchids healthy and blooming for years.
Understanding Mini Phalaenopsis Orchid Care
Before diving into specific care instructions, it’s crucial to understand what makes Mini Phalaenopsis orchids unique. Unlike terrestrial plants that grow in soil, these orchids attach themselves to trees in their natural habitat, drawing nutrients from rain, air, and decaying plant matter. This means their roots need proper aeration and should not be left sitting in wet, compacted soil.
Since Mini Phalaenopsis orchids thrive in warm, humid environments, they require conditions that mimic their natural habitat. The right balance of water, light, and air circulation is essential for their growth. If you can replicate these conditions in your home, your Mini Phalaenopsis will flourish and produce stunning flowers repeatedly.
Watering Mini Phalaenopsis Orchids
How Often Should You Water?
One of the most common mistakes beginners make when caring for Mini Phalaenopsis orchids is improper watering. These orchids dislike sitting in soggy conditions, as their roots are highly susceptible to rot. Conversely, allowing them to dry out completely can cause dehydration and stunted growth.
A general guideline is to water your Mini Phalaenopsis orchid once a week during warmer months and once every 10 to 14 days in colder months. However, the actual watering frequency depends on factors such as humidity levels, the type of potting medium, and the temperature in your home.
How to Water Properly
Check the roots before watering: Healthy orchid roots should be green and plump. If they appear silvery or white, it’s time to water.
Use lukewarm water: Avoid using cold or hot water, as extreme temperatures can shock the roots.
Water early in the day: This ensures excess moisture evaporates before nighttime, reducing the risk of fungal infections.
Drain thoroughly: Ensure no standing water remains at the bottom of the pot to prevent root rot.
Avoid chlorinated tap water: If your tap water is high in chlorine, let it sit for 24 hours before using, or opt for distilled or rainwater.
Common Watering Mistakes & Solutions
Overwatering: If your orchid’s roots become brown and mushy, reduce the watering frequency and consider repotting with fresh bark mix.
Underwatering: If leaves appear wrinkled and roots look shriveled, increase watering, but avoid drowning the plant.
Using ice cubes: This is a widely spread method, but it doesn’t provide consistent hydration and can shock the roots. Instead, use traditional watering methods.
Light Requirements for Mini Phalaenopsis Orchids
How Much Light Do They Need?
Mini Phalaenopsis orchids thrive in bright, indirect light. Unlike other orchids, they do not require strong direct sunlight. Too much sun can scorch their leaves, while too little can prevent blooming.
Best Placement for Your Orchid
Near an east or north-facing window: This provides gentle morning light without harsh afternoon exposure.
Filtered light through sheer curtains: If near a south or west-facing window, use curtains to diffuse intense sunlight.
Artificial grow lights: If your home lacks natural light, full-spectrum LED grow lights can supplement their needs.
Signs of Improper Lighting
Too much light: Leaves turn yellow or develop dark, scorched patches.
Too little light: Leaves remain dark green but fail to produce flowers.
Repotting Mini Phalaenopsis Orchids
When Should You Repot?
Repot your Mini Phalaenopsis orchid every 1.5 to 2 years or when
The potting medium decomposes and holds onto too much moisture.
The orchid outgrows its pot.
You notice root rot or overcrowding.
How to Repot Step by Step
Choose the right pot: Opt for a clear plastic orchid pot with drainage holes.
Use the proper medium: Bark-based orchid mix is best for aeration and drainage.
Remove old potting mix: Gently shake off old bark and rinse the roots.
Trim unhealthy roots: Use sterilized scissors to cut off any brown or mushy roots.
Position the orchid correctly: Place it in the new pot and add fresh bark, ensuring roots have room to breathe.
Allow recovery time: Wait a few days before watering to help the plant adjust.
Common Repotting Mistakes
Using the wrong pot: Pots without drainage holes can lead to root rot.
Repotting during bloom: This stresses the plant; wait until flowering ends.
Packing medium too tightly: This restricts airflow and promotes rot.
Mini Phalaenopsis Orchid Care Timetable
| Task | Frequency |
|---|---|
| Watering | Once a week (summer), every 10-14 days (winter) |
| Fertilizing | Twice a month during active growth |
| Checking for pests | Weekly |
| Repotting | Every 1.5-2 years or when necessary |
| Leaf cleaning | Monthly (wipe with a damp cloth) |
| Trimming dead roots | As needed |
Common Problems and How to Fix Them
1. Wrinkled Leaves
Cause: Dehydration from underwatering or root loss.
Solution: Increase watering frequency and inspect the roots. Repot if necessary.
2. Lack of Blooms
Cause: Low light, excessive nitrogen, or dormancy.
Solution: Provide brighter light and switch to a phosphorus-rich fertilizer.
3. Yellowing Leaves
Cause: Overwatering, excessive sunlight, or natural aging.
Solution: Adjust watering habits, move to indirect light, and remove old leaves.
4. Flowers Dropping Too Soon
Cause: Temperature changes, exposure to ethylene (from ripening fruit), or dryness.
Solution: Maintain a stable environment and avoid placing near fruit.
Caring for a Mini Phalaenopsis orchid may seem challenging, but with proper watering, adequate light, and timely repotting, these beautiful plants can thrive for years. Following this guide and using the provided timetable will help you create an ideal environment for your orchid, ensuring long-lasting blooms and healthy growth.
Remember, consistency is key in Mini Phalaenopsis orchid care. Observe your plant’s condition regularly, make necessary adjustments, and enjoy the rewarding experience of growing these miniature beauties!
FAQS
What is the best way to water a Mini Phalaenopsis Orchid?
The best way to water a Mini Phalaenopsis Orchid is by soaking its roots in room-temperature water for about 5–10 minutes once a week. Ensure proper drainage to prevent root rot.
How much light does a Mini Phalaenopsis Orchid need?
Mini Phalaenopsis Orchid care requires bright, indirect light. Place it near an east or south-facing window with sheer curtains to avoid direct sunburn.
What type of potting mix is best for Mini Phalaenopsis Orchid care?
Use a well-draining orchid mix containing bark, sphagnum moss, and perlite to ensure healthy root growth and prevent excess moisture retention.
How often should I fertilize my Mini Phalaenopsis Orchid?
For optimal Mini Phalaenopsis Orchid care, fertilize with a balanced orchid fertilizer (20-20-20) at half strength every two weeks during active growth. Reduce feeding in winter.
How do I encourage my Mini Phalaenopsis Orchid to rebloom?
To encourage reblooming, maintain stable Mini Phalaenopsis Orchid care by providing proper lighting, watering, and a slight temperature drop (10°F cooler at night).
What temperature is ideal for Mini Phalaenopsis Orchid care?
Mini Phalaenopsis Orchids thrive in temperatures between 65–75°F (18–24°C) during the day and slightly cooler at night.
How do I prevent root rot in Mini Phalaenopsis Orchids?
Proper Mini Phalaenopsis Orchid care includes using a breathable pot with drainage holes and watering only when the roots turn silvery-white.
Can I grow a Mini Phalaenopsis Orchid without soil?
Yes! Mini Phalaenopsis Orchid care can be achieved through hydroponic or semi-hydroponic methods, such as growing in water or LECA pebbles
Why are my Mini Phalaenopsis Orchid leaves turning yellow?
Overwatering, direct sunlight, or nutrient deficiencies can cause yellowing. Adjust your Mini Phalaenopsis Orchid care routine accordingly.
Should I repot my Mini Phalaenopsis Orchid, and how often?
Repot every 1–2 years or when the potting mix breaks down to maintain healthy Mini Phalaenopsis Orchid care. Use fresh orchid bark for best results.
How do I trim a Mini Phalaenopsis Orchid after blooming?
Trim the flower spike just above a visible node to encourage new blooms or cut it at the base if it’s completely dry. This supports healthy Mini Phalaenopsis Orchid care.
Can I grow a Mini Phalaenopsis Orchid under artificial light?
Yes! Mini Phalaenopsis Orchid care allows for artificial light, such as LED grow lights, to supplement low natural light conditions.
