Cattleya Trianae Root Rot? 7 Proven Fixes to Save Your Orchid
Table of Contents 👈 Tap Here
Cattleya trianae, also known as the Christmas Orchid, is one of the most breathtaking orchids, with its large, vibrant blooms and sweet fragrance. However, no matter how stunning this orchid is, it remains vulnerable to root rot, a common but deadly issue. Root rot occurs when excess moisture leads to fungal or bacterial infections,
causing the roots to turn black and mushy. If left untreated, your orchid will struggle to absorb water and nutrients, eventually leading to wilting, yellowing leaves, and even plant death. But don’t worry—if you act quickly, you can save your Cattleya trianae and get it back to full health.
In this post, we’ll cover seven quick fixes to stop root rot in its tracks and prevent it from coming back. These simple but effective steps will help your orchid develop healthy, strong roots so it can thrive again. Whether your Cattleya trianae is already suffering or you’re looking to prevent future issues, following these expert-backed tips will ensure long-term success. Let’s dive into the Cattleya Trianae Root Rot root of the problem and bring your orchid back to life!

Cattleya trianae
| Care Aspect | Best Practice | Frequency |
|---|---|---|
| Scientific Name | Cattleya trianae Lindl. & Rchb.f. | — |
| Common Name | Christmas Orchid | — |
| Light | Bright, indirect light (3,000–4,000 fc) | Daily |
| Temperature | 65–85°F (18–29°C) daytime, 55–60°F (13–16°C) nighttime | Daily |
| Humidity | 50–70% with good air circulation | Daily |
| Watering | Water when roots turn silvery-white | Every 5-7 days |
| Fertilizing | Use balanced orchid fertilizer (weakly weekly) | Weekly |
| Potting Mix | Well-draining bark mix with perlite/charcoal | Every 1-2 years |
| Repotting | When mix breaks down or outgrows the pot | Every 2 years |
| Air Circulation | Keep in a well-ventilated area | Daily |
| Bloom Season | Winter to early spring | Annually |
| Dormancy | Slight reduction in watering after blooming | After flowering |
Cattleya Trianae Root Rot

Identify the Signs of Root Rot
Cattleya trianae Root Rot Symptom Timeline
| Stage | Symptoms | Timeframe (if untreated) | Action Needed |
|---|---|---|---|
| Early Stage | Leaves start yellowing or wilting, roots appear slightly darkened | 1-2 weeks | Reduce watering, inspect roots |
| Mild Stage | Roots become mushy or brown, potting mix smells musty | 2-3 weeks | Trim affected roots, improve airflow |
| Moderate Stage | Pseudobulbs shrivel, plant becomes unstable, severe root loss begins | 3-4 weeks | Repot in fresh medium, apply root booster |
| Severe Stage | Foul odor, black, decayed roots, leaves become limp and collapse | 4-6 weeks | Emergency treatment—remove all rotted roots, dry out completely, increase ventilation |
| Critical Stage | Crown rot develops, orchid struggles to absorb water, risk of death | 6+ weeks | High chance of plant loss—try sphag-and-bag method to save any remaining healthy tissue |
The first step in fixing root rot is recognizing it before it spreads too far. Many orchid owners only notice something is wrong when the leaves turn yellow or start wilting, but by then, the roots may already be severely damaged. A healthy Cattleya trianae should have firm, plump roots that are either green (when moist) or silvery-white (when dry). In contrast, rotten roots appear dark brown or black, feel mushy, and often emit a foul smell. If your orchid is showing signs of dehydration despite regular watering, root rot could be the culprit.
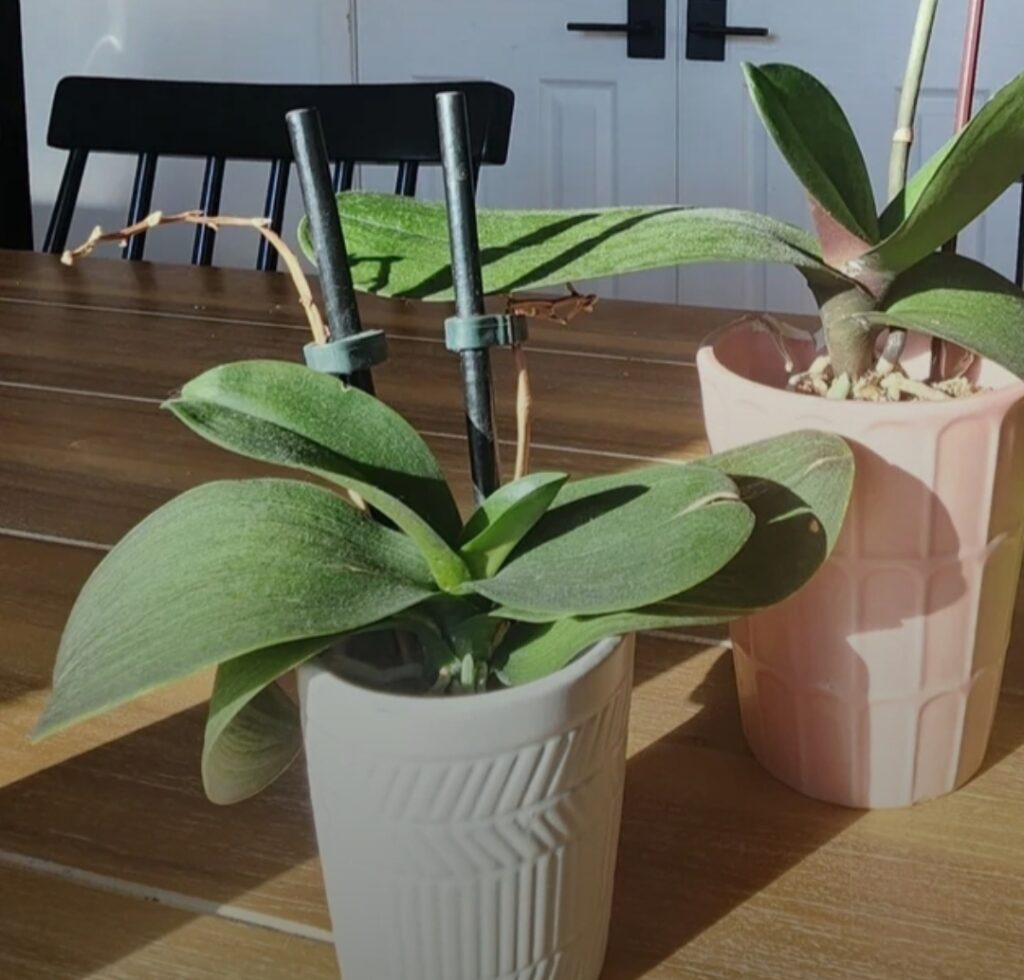
Carefully remove the orchid from its pot and inspect the roots to look for signs of root rot.If most of the roots are decayed and falling apart when touched, immediate action is needed. The sooner you detect root rot, the easier it is to save your orchid from irreversible damage. By learning to recognize these early warning signs, you’ll be able to intervene before it’s too late and prevent the issue from recurring in the future.
Quick Fix:
Examine the orchid’s roots after removing it from its pot.If they are dark, mushy, and smell bad, root rot has set in, and you must take action immediately.
Remove Rotten Roots Immediately
Once you’ve confirmed root rot, the next step is to trim off the infected roots before the disease spreads further. Rotten roots not only fail to absorb nutrients but also encourage bacterial and fungal growth, which can affect the remaining healthy roots. To remove them safely, use a sharp, sterilized pair of scissors or pruning shears. Sterilization is essential because using unclean tools can introduce new infections. Carefully trim away all mushy, black, or hollow roots, leaving behind only the firm, healthy ones.
As you trim, disinfect your scissors with isopropyl alcohol or a flame after every few cuts to prevent spreading any lingering pathogens. If too many roots are affected, your orchid may struggle to recover, but removing them is the only way to stop further decay. While it may seem drastic, this step is necessary to give your orchid a fighting chance at survival. Once you’ve removed the infected roots, you’re ready for the next crucial step—allowing the plant to dry before repotting.
Quick Fix:
✓ Use sterilized scissors to cut off all mushy, dark roots. This prevents the spread of bacteria and fungi, allowing your orchid to focus on growing new roots.
Let the Orchid Dry Out Completely
After trimming the rotten roots, it’s important to let your orchid dry out before repotting it. Root rot thrives in moisture, so repotting too soon could reintroduce harmful fungi or bacteria. Place your orchid on a paper towel in a well-ventilated area and allow it to air dry for at least 24 hours. This gives any remaining root wounds time to heal and reduces the risk of reinfection.
During this drying period, avoid misting or watering your orchid, as even a small amount of moisture can allow fungal spores to survive. If your orchid has very few roots left, you can also place it in an area with indirect light and good air circulation to encourage it to recover more quickly. Letting the plant dry properly is one of the simplest yet most effective ways to prevent root rot from returning.
Quick Fix:
✓ Let your orchid dry out completely for 24 hours before repotting. This prevents fungal reinfection and allows cut root surfaces to heal.
Repot in Fresh, Well-Draining Medium
Once your orchid is dry, it’s time to repot it in fresh, well-draining potting mix. Cattleya orchids are epiphytes, meaning they don’t grow in soil but instead need a bark-based mix that allows air to reach their roots. Using the wrong medium—such as regular potting soil or sphagnum moss—can trap excess moisture and lead to another round of root rot. The best mix for Cattleya trianae includes:
✔ Orchid bark – Provides airflow and prevents water retention
✔ Perlite – Enhances drainage and prevents compaction
✔ Charcoal – Absorbs toxins and reduces bacterial growth
Choose a well-ventilated orchid pot with drainage holes to allow water to escape freely. When repotting, gently spread the roots in the new medium and avoid packing it too tightly. This encourages air circulation, which is essential for healthy root regrowth.
Quick Fix:
✓ Repot in a fresh bark-based mix and use a well-draining orchid pot to ensure proper aeration and moisture control.
Adjust Watering Habits
The number one cause of root rot in Cattleya orchids is overwatering. Unlike some other houseplants, orchids don’t need frequent watering. They thrive on the soak-and-dry method, which mimics their natural environment. Instead of watering on a set schedule, only water when the roots turn silvery-white—a clear sign they’re dry. If you water too soon, excess moisture can linger, creating the perfect breeding ground for rot-causing fungi.
Always water in the morning so any excess moisture has time to evaporate throughout the day. Using room-temperature water, soak the potting medium thoroughly and then let it drain completely. If you’re unsure whether to water, stick a wooden skewer into the potting mix—if it comes out damp, wait a few more days. This simple adjustment can dramatically reduce the risk of root rot in the future.
Quick Fix:
✓ Only water when roots turn silvery-white, not on a fixed schedule. This prevents excess moisture from accumulating and causing rot.
Provide Proper Air Circulation
One of the most overlooked aspects of orchid care is air circulation. Poor airflow creates a humid, stagnant environment where bacteria and fungi thrive, increasing the risk of root rot. In nature, Cattleya orchids grow attached to trees with constant airflow around their roots, preventing excess moisture buildup. You can mimic this environment indoors by ensuring good ventilation around your orchid.
If you grow your orchid in a greenhouse or an enclosed space, consider using a small fan to keep the air moving. Place your orchid in a spot with gentle, indirect airflow, but avoid strong drafts, as these can dry out the plant too quickly. Proper air circulation helps dry out excess moisture, prevents fungal growth, and encourages stronger root development.
Quick Fix:
✓ Improve air circulation by placing a small fan nearby or keeping orchids in a well-ventilated area to reduce excess humidity.
Use a Root Growth Booster
If your orchid lost many roots due to rot, it may struggle to absorb water and nutrients. A root growth booster can speed up the recovery process and encourage new root development. Products like kelp extract, orchid-specific rooting hormones, or vitamin B1 supplements can give your orchid the extra support it needs.
To use a root growth booster, soak the remaining healthy roots in a diluted solution for about 30 minutes before repotting. After repotting, you can mist the base of the plant with the solution every few days to stimulate new growth. This method helps your orchid bounce back faster and strengthens its resistance against future infections.
Quick Fix:
✓ Soak roots in a kelp extract or vitamin B1 solution to encourage strong, healthy root regrowth.
Cattleya Trianae Root Rot Recovery Timeline
| Step | Action | Timeframe |
|---|---|---|
| Identify Rot | Inspect roots and check for rot | Immediately |
| Trim Dead Roots | Cut off all mushy, dark roots | 10-15 mins |
| Dry the Orchid | Let it rest in a ventilated area | 24 hours |
| Repot in Fresh Mix | Use well-draining bark-based medium | After drying |
| Adjust Watering | Water only when roots turn silvery-white | Ongoing |
| Improve Airflow | Keep in a well-ventilated area | Ongoing |
| Boost Root Growth | Use kelp extract or vitamin B1 soak | Every 7-10 days |
| Monitor Recovery | Check new root growth and signs of stress | Weekly |
| Encourage Blooms | Maintain stable temperature & light levels | 3-6 months post-repot |
Long-Term Prevention: Keeping Root Rot Away for Good
Now that you’ve saved your Cattleya trianae, how can you make sure root rot never happens again? Here are some golden rules to prevent future issues:
✔ Use a well-draining bark mix – Never plant your orchid in soil or overly compacted media.
✔ Water only when necessary – Wait until the roots turn silvery-white before watering.
✔ Ensure proper pot drainage – Always use a pot with drainage holes to prevent excess water buildup.
✔ Provide good air circulation – Keep your orchid in a ventilated area to avoid moisture retention.
✔ Inspect roots regularly – Check your orchid’s roots every few months for early signs of rot.
✔ Avoid standing water – Never let your orchid sit in a water-filled tray or saucer.
By following these simple but essential care tips, you can keep your orchid safe from root rot and thriving for years to come.
Final Thoughts: Bring Your Cattleya Trianae Back to Life!
Root rot may seem like a nightmare, but with the right approach, your orchid can fully recover. The key is to act fast—trim away rotten roots, let the plant dry, repot in fresh mix, adjust watering habits, and ensure proper airflow. With patience and consistent care, your Cattleya trianae will grow stronger, develop new roots, and bloom beautifully once again.
Do you have any personal experiences with root rot? Have you tried any of these quick fixes before? Share your thoughts in the comments below, and let’s help each other keep our orchids happy and healthy!
FAQs on Cattleya Trianae Root Rot
What causes Cattleya Trianae root rot?
Cattleya Trianae root rot is caused by overwatering, poor drainage, or fungal and bacterial infections. When roots stay wet for too long, they become soft and black. Lack of airflow and contaminated pots also contribute to root rot, making it essential to maintain proper watering and ventilation.
How can I identify Cattleya Trianae root rot?
Cattleya Trianae root rot symptoms include mushy, blackened roots, yellowing or wilting leaves, and a foul odor. The plant may become unstable in its pot If roots appear brown and soggy when removed from the medium, root rot is likely present and requires immediate attention to prevent further damage.
Can Cattleya Trianae root rot be reversed?
Yes, Cattleya Trianae root rot can be treated by trimming affected roots, applying fungicide, and repotting in fresh, well-draining medium. Reducing watering and improving airflow will help the plant recover. Prompt treatment increases the chances of saving the orchid and encouraging healthy new root growth.
What fungicide works best for Cattleya Trianae root rot?
A broad-spectrum fungicide like hydrogen peroxide, cinnamon powder, or commercial orchid fungicides effectively treats Cattleya Trianae root rot. Soaking affected roots in a diluted fungicide solution helps kill bacteria and fungi. Always follow the manufacturer’s instructions to avoid harming the plant while controlling root rot.
How often should I water to prevent Cattleya Trianae root rot?
To prevent Cattleya Trianae root rot, water only when roots are almost dry. Typically, watering every 7–10 days works, but this depends on humidity and temperature. Always check the root color—green means moist, silvery means dry. Proper drainage and good airflow are essential for preventing excess moisture.
Can over-fertilizing cause Cattleya Trianae root rot?
Yes, over-fertilizing can contribute to Cattleya Trianae root rot. Excess fertilizer salts build up, damaging roots and making them more susceptible to rot. Use a diluted orchid fertilizer every two weeks and flush the pot with plain water monthly to prevent salt accumulation that can harm the roots.
What potting mix prevents Cattleya Trianae root rot?
A well-draining mix of bark, perlite, and charcoal helps prevent Cattleya Trianae root rot. Avoid dense soil that holds excess moisture. The right medium ensures aeration around the roots, preventing water from accumulating and reducing the risk of fungal and bacterial infections that cause rot.
Should I trim infected roots from Cattleya Trianae root rot?
Yes, always trim infected roots when treating Cattleya Trianae root rot. Use sterilized scissors to cut away black, mushy roots. Removing damaged parts prevents the rot from spreading. After trimming, apply cinnamon or fungicide to the cuts and allow the plant to dry before repotting.
Can repotting fix Cattleya Trianae root rot?
Yes, repotting is crucial when dealing with Cattleya Trianae root rot. After trimming rotten roots, place the orchid in fresh, dry potting mix. Choose a breathable pot with drainage holes to prevent moisture buildup. Avoid watering for a few days to allow the roots to heal.
Does high humidity cause Cattleya Trianae root rot?
Yes, excessive humidity without proper airflow increases the risk of Cattleya Trianae root rot. Stagnant, moist conditions create a breeding ground for fungi and bacteria. Maintain humidity at 50–70% with good ventilation. Using a fan or opening windows can prevent excessive moisture around the roots.
How can I improve airflow to prevent Cattleya Trianae root rot?
To prevent Cattleya Trianae root rot, place your orchid in a well-ventilated area with indirect light. Use open-slatted orchid pots or baskets to improve airflow around roots. A small fan near the plant helps reduce excess moisture, lowering the risk of fungal and bacterial infections.
Can Cattleya Trianae root rot kill the orchid?
Yes, if left untreated, Cattleya Trianae root rot can kill the orchid by destroying its root system. Without healthy roots, the plant cannot absorb water or nutrients. Early detection and treatment are essential to prevent severe damage and give the orchid a chance to recover and regrow.
Is hydrogen peroxide safe for treating Cattleya Trianae root rot?
Yes, hydrogen peroxide is effective for treating Cattleya Trianae root rot. A 3% solution helps kill bacteria and fungi on affected roots. Soak the roots for a few minutes, then let them dry before repotting. However, excessive use can damage healthy roots, so apply cautiously.
Can I use cinnamon to treat Cattleya Trianae root rot?
Yes, cinnamon is a natural antifungal that helps treat Cattleya Trianae root rot. After trimming rotten roots, dust the cut ends with cinnamon powder to prevent infections. It also promotes healing. However, avoid applying it to healthy roots, as it can dry them out too much.
What are the best pots to prevent Cattleya Trianae root rot?
Breathable pots like terracotta or slotted plastic orchid pots help prevent Cattleya Trianae root rot. These pots provide excellent drainage and airflow, reducing excess moisture around roots. Avoid pots without drainage holes, as water accumulation can lead to fungal infections and root decay.
Hi, I’m Steve, an orchid grower with 30+ years of hands-on experience caring for indoor and outdoor plants. I share practical, tested tips and beginner-friendly guides to help plant enthusiasts nurture healthy, thriving plants.