
Repotting an orchid can feel intimidating, especially if you’re worried about damaging its delicate roots. However, doing it the right way ensures your orchid stays healthy, adapts quickly, and continues to grow without stress. If done improperly, repotting can lead to root rot, transplant shock, or even death.
Many orchid growers make mistakes that suffocate roots, overwater too soon, or choose the wrong potting mix. In this guide, I’ll show you step by step how to repot your orchid properly so it won’t die after repotting. By following these techniques, you’ll give your orchid a fresh start while avoiding common pitfalls that could harm its long-term health.

- 1 Why Repotting Your Orchid Is Important
- 2 When to Repot Your Orchid
- 3 Step-by-Step Guide to Repotting Your Orchid
- 4 Gather Your Supplies
- 5 Take the Orchid Out of Its Previous Pot
- 6 Inspect and Trim the Roots
- 7 Prepare the New Potting Mix
- 8 Repot the Orchid Correctly
- 9 Provide the Right Post-Repotting Care
- 10 Common Mistakes to Avoid
- 11 FAQs: Repot Your Orchid
Orchid Repotting Timetable for Different Varieties
| Orchid Type | Best Time to Repot | Repotting Frequency | Special Considerations |
|---|---|---|---|
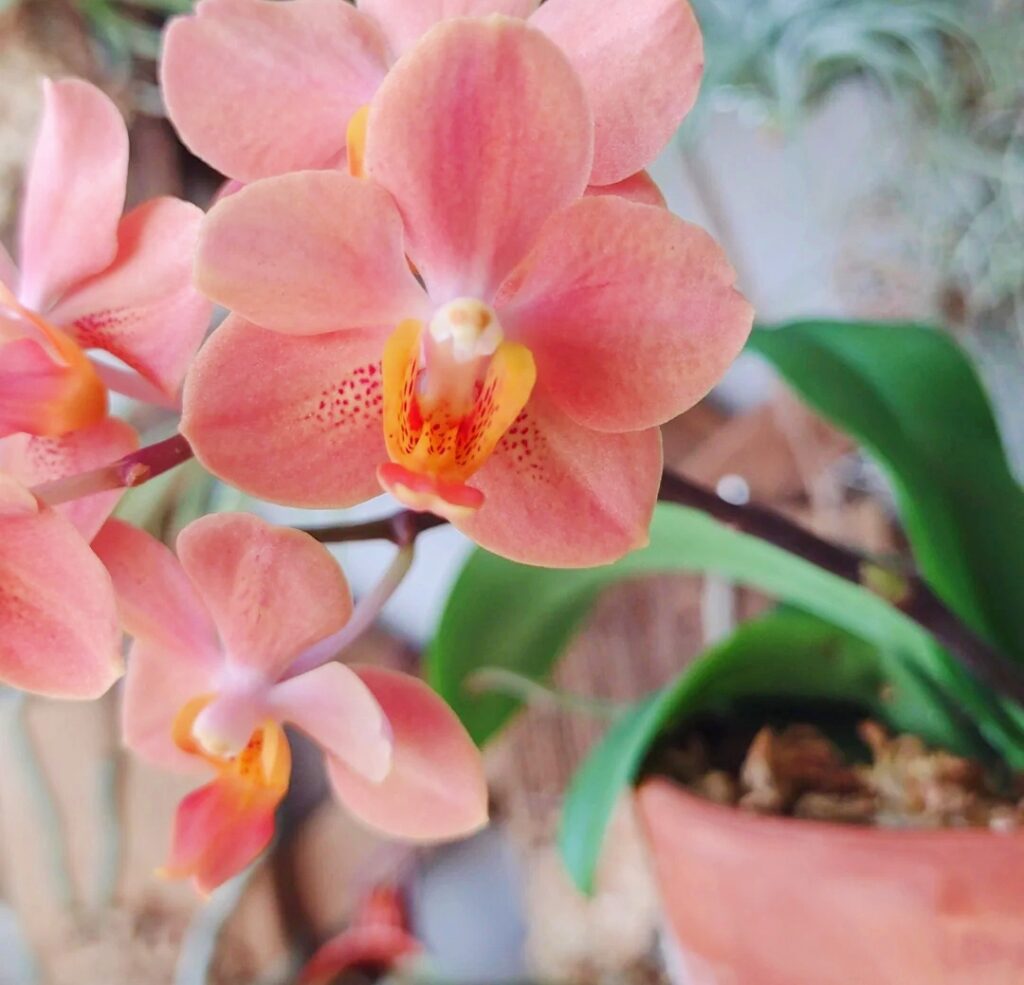
| Phalaenopsis (Moth Orchid) | After flowering (spring or early summer) | Every 1–2 years | Never repot while in bloom. Use a bark mix. |
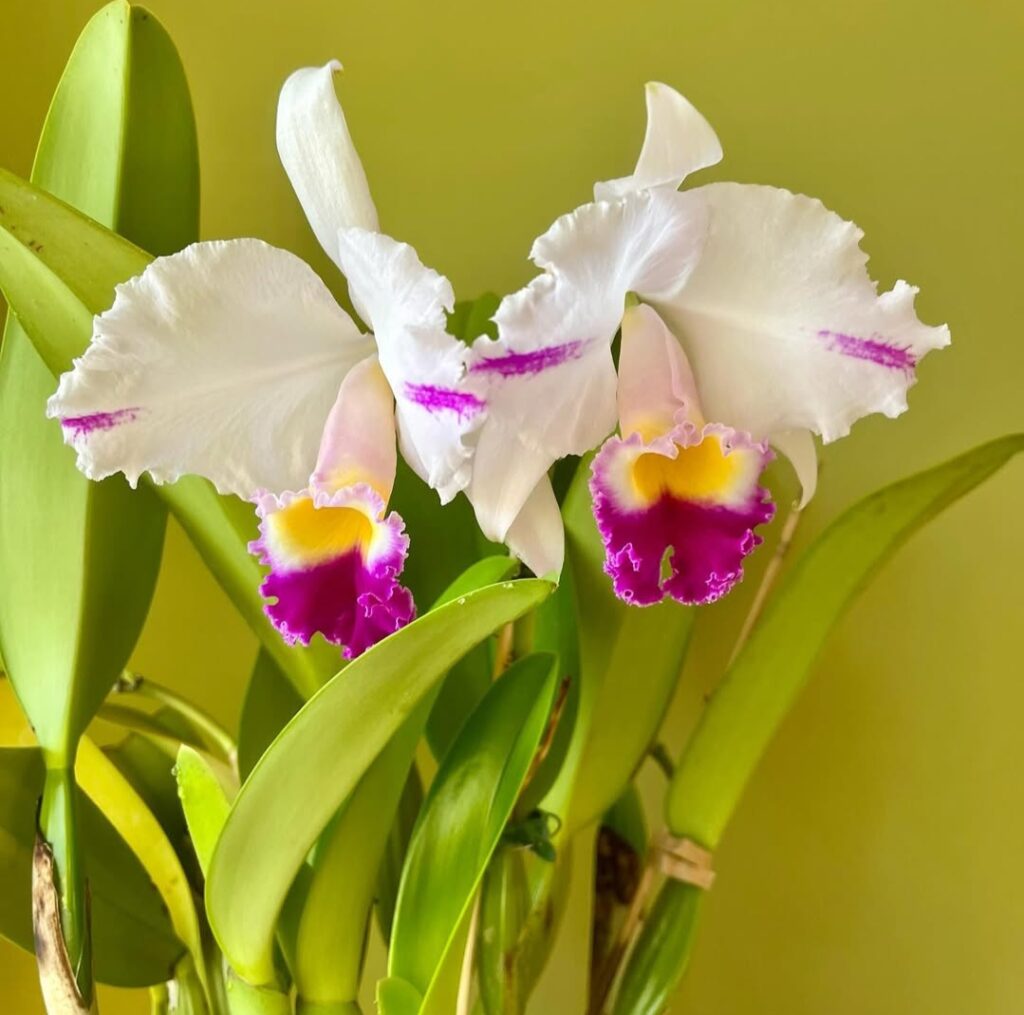
| Cattleya | After flowering (spring or fall) | Every 2–3 years | Ensure a fast-draining mix and a slightly tight pot. |
| Dendrobium | After flowering (spring) | Every 2–3 years | Use a well-draining bark mix. Avoid disturbing the roots too much. |
| Oncidium | When new growth appears (spring) | Every 2 years | Avoid compacting the potting mix to ensure airflow. |
| Vanda | Only when absolutely necessary (spring/summer) | Every 3–4 years | Prefers hanging baskets or slotted pots with chunky bark. |
| Paphiopedilum (Slipper Orchid) | When new growth appears (spring/fall) | Every 1–2 years | Likes a finer mix of bark and moss. Never let roots dry out. |
| Miltoniopsis (Pansy Orchid) | When new growth emerges (spring) | Every 1–2 years | Needs a moisture-retentive but airy mix. Sensitive to repotting stress. |
| Cymbidium | After flowering (spring/summer) | Every 2–3 years | Needs a larger pot and coarse bark mix. Remove old backbulbs. |
| Brassavola | When active root growth begins (spring/summer) | Every 2–3 years | Prefers small pots and airy medium. Avoid overwatering. |
| Restrepia | When potting mix deteriorates | Every 1–2 years | Prefers a moisture-retentive medium and high humidity. |
Why Repotting Your Orchid Is Important
Orchids don’t need frequent repotting, but when their potting medium breaks down or their roots outgrow the container, it’s time for a new home. If you leave an orchid in old, decomposed potting mix, the roots will suffocate and rot due to excessive moisture retention. Orchids need air circulation around their roots, and stale medium prevents this.
Additionally, an overgrown root system inside a small pot will become compacted, reducing water absorption. Repotting gives the plant fresh air circulation, better drainage, and a healthier growing environment. It also helps prevent fungal infections, pest infestations, and nutrient deficiencies, which can develop if orchids remain in poor-quality potting material.
When to Repot Your Orchid
Repot your orchid at the right time to avoid shocking it. Here’s when you should (and shouldn’t) repot:
✅ Best time: Right after flowering when new roots are growing. This helps the plant adjust quickly without sacrificing blooms. Repotting at this stage ensures the orchid has enough time to recover before its next growth cycle.
✅ If the potting mix has broken down: Decomposed mix holds too much water, suffocating the roots. Organic materials like bark decompose over time, reducing airflow and increasing the risk of root rot.
✅ When the roots are overgrown: If roots are spilling out of the pot, it’s time for a bigger home. A root-bound orchid struggles to absorb nutrients, and compacted roots can become dehydrated or rot due to lack of oxygen.
✅ If there’s root rot or pests: Rotten roots or pest infestations mean immediate repotting is necessary. Ignoring these problems will cause further damage and may eventually kill the plant.
❌ Avoid repotting while the orchid is in full bloom, as this can stress the plant and cause premature flower loss. The plant directs most of its energy toward flowering, making it less resilient to transplant shock.
Step-by-Step Guide to Repotting Your Orchid
Gather Your Supplies
Before you begin, have everything ready:
A new pot (clear plastic pots are best for monitoring root health and moisture levels). To avoid water buildup, make sure it has drainage holes.
Fresh orchid potting mix (bark-based mix for most orchids, sphagnum moss for moisture-loving orchids). The right medium depends on the orchid species.
Sterilized scissors or pruning shears (to trim unhealthy roots and prevent disease spread). Bacteria and fungi can easily infect fresh cuts, so always disinfect tools before use.
Hydrogen peroxide (3%) (for disinfecting cut roots and preventing fungal growth). This step reduces the risk of infections after trimming damaged roots.
Lukewarm water (to soak roots and make them flexible). Dry roots are more prone to snapping, while hydrated roots are easier to handle.
Take the Orchid Out of Its Previous Pot
Gently squeeze the pot to loosen the roots, then tilt the orchid out carefully. If the roots are stuck, never force them out—soak the pot in lukewarm water for a few minutes to make removal easier. For orchids growing in clay pots, you may need to break the pot if roots have firmly attached to the sides. If the potting mix is compacted, gently shake off excess debris without pulling on the roots too aggressively. Taking your time at this stage prevents unnecessary damage to healthy roots, ensuring a smoother transition into the new pot.
Inspect and Trim the Roots
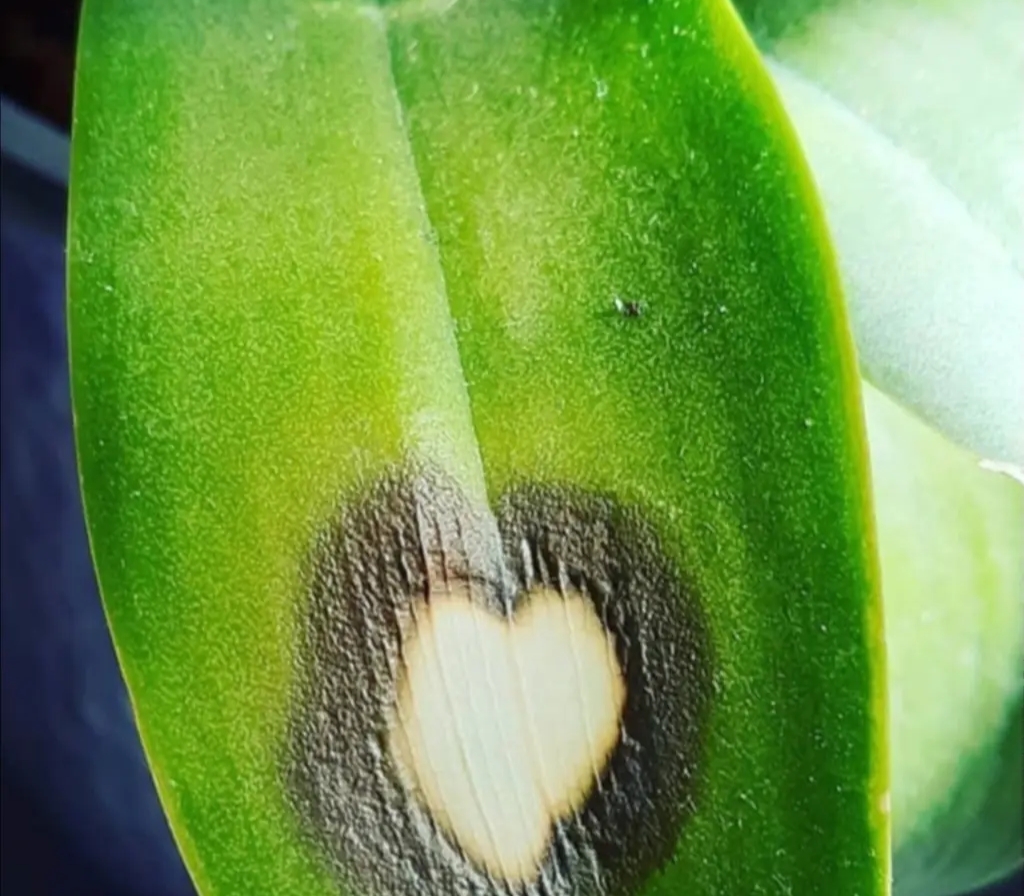
Examine the roots carefully and remove any that are unhealthy. Rotten roots appear mushy and black, often with a foul smell. Dead roots feel hollow or brittle when squeezed. If you see any mold, pests, or decayed sections, trim them off immediately. Use sterilized scissors to make clean cuts and prevent spreading infections. After trimming, apply a few drops of hydrogen peroxide to disinfect any cuts and eliminate bacteria or fungal spores. This step is crucial because failing to remove diseased roots can lead to continued rot, even after repotting. Healthy orchid roots should be firm, plump, and green or silvery-white, depending on their moisture level.
Prepare the New Potting Mix
If using orchid bark, soak it in water for 30 minutes to increase moisture retention and prevent it from absorbing too much water after repotting. If using sphagnum moss, moisten it slightly so it’s damp but not dripping wet. Never use regular potting soil, as it retains too much moisture and suffocates orchid roots. For Phalaenopsis orchids, a bark-based mix with some perlite works best, while moisture-loving orchids like Paphiopedilums thrive in sphagnum moss or a finer mix. Ensuring the potting medium is properly prepared will give the orchid a stable environment and reduce transplant shock.
Repot the Orchid Correctly
Follow these steps to ensure proper placement:
Place the orchid in the center of the new pot, positioning the healthiest roots evenly.
Arrange the roots naturally—don’t force or bend them unnaturally, as this can cause breakage.
Gently add the fresh potting mix around the roots, filling in gaps without compacting too tightly. Orchids need airflow around their roots, so avoid pressing the medium down forcefully.
Leave the crown (base of the plant) above the mix to prevent rot. If the crown sits too low, excess moisture can collect and cause fungal infections.
Provide the Right Post-Repotting Care
After repotting, your orchid needs time to adjust. Follow these golden rules:
✅ Wait 3–5 days before watering. This allows trimmed roots to heal, preventing rot from excess moisture exposure.
✅ Place in bright, indirect light. Avoid direct sun, as repotting stress makes orchids more sensitive to intense light.
✅ Maintain good humidity (50–70%). If your home is dry, use a humidity tray to create a more suitable environment.
✅ Avoid fertilizing for two weeks. Newly repotted orchids need time before absorbing nutrients properly, as their roots recover.
Common Mistakes to Avoid
🚫 Repotting too often: Orchids only need repotting every 1–2 years unless there’s an emergency, such as root rot or pest infestation. Plants that are repotted too often may become stressed.
🚫 Using regular potting soil: Never use garden soil—it suffocates roots. Stick to orchid bark or sphagnum moss for proper aeration.
🚫 Watering too soon: Wetting cut roots before healing can cause rot. Always wait at least 3 days after repotting before resuming watering.
🚫 Ignoring root health: Trim all rotten roots before repotting, or the problem will persist and worsen over time.
🚫 Forgetting to sterilize tools: Always disinfect scissors between cuts to prevent bacterial and fungal infections. Even a small infected root can spread disease throughout the entire plant.
Repotting orchids is essential for their health, but doing it incorrectly can lead to shock, root rot, or even plant death. By following the right steps—choosing the correct potting mix, handling roots carefully, and providing proper post-repotting care—you can ensure your orchid thrives and blooms beautifully again. Taking the time to repot properly will not only keep your orchid alive but also encourage stronger growth and healthier blooms in the future. Want more orchid care tips? Let me know in the comments! Happy growing!
FAQs: Repot Your Orchid
When should you repot your orchid?
You should repot your orchid when you notice overcrowded roots, decomposed potting media, or poor drainage. Orchids typically need repotting every one to two years, depending on their growth rate and the condition of their potting mix. If your orchid’s roots are spilling over the edge of the pot, growing out of the drainage holes, or appearing mushy and rotted, it’s a sign that repotting is necessary. Another indicator is if the potting media has broken down into fine particles that no longer provide proper aeration. Waiting too long to repot your orchid can lead to poor root health, stunted growth, and a decline in blooming. Ideally, you should choose to repot your orchid after it has finished flowering to minimize stress on the plant.
What is the best potting mix to use when you repot your orchid?
When you repot your orchid, selecting the right potting mix is crucial for its health and growth. Unlike traditional houseplants, orchids require a specialized potting medium that allows air circulation around the roots. The best choices include orchid bark, sphagnum moss, perlite, or a combination of these materials. Bark provides excellent drainage and airflow, while sphagnum moss retains moisture without becoming overly soggy. Some growers use charcoal or coconut husk chips to improve aeration further. If you repot your orchid using a mix that holds too much water, the roots may suffocate and rot. It’s essential to use a potting mix that matches your specific orchid variety’s needs, as some orchids, like Phalaenopsis, prefer bark, while others, like Paphiopedilum, thrive in finer media. By choosing the right medium when you repot your orchid, you ensure healthy root development and better blooming.
How do you know it’s time to repot your orchid?
Knowing when to repot your orchid is key to keeping it thriving. One of the most obvious signs is when the potting mix has broken down, appearing compacted and retaining too much moisture. Another indication is if the roots are visibly outgrowing the container, causing the orchid to become unstable. If you notice yellowing or wilting leaves, weak root growth, or stagnant growth despite proper care, it might be time to repot your orchid. Orchids generally prefer to be slightly root-bound, but when their roots start to suffocate or rot due to poor air circulation, repotting becomes necessary. It’s best to repot your orchid during its active growing season, usually in the spring, to allow it to recover quickly. By paying attention to these signs, you can ensure your orchid remains healthy and continues to bloom beautifully
What type of pot should you use when you repot your orchid?
When you repot your orchid, choosing the right pot is just as important as selecting the right potting mix. Clear plastic pots are popular among orchid growers because they allow for easy monitoring of root health and moisture levels. These pots also let light reach the roots, mimicking their natural growing environment. If you prefer a decorative option, ceramic or terracotta pots with proper drainage holes work well, though they may dry out faster. Avoid using pots without adequate drainage, as orchids are highly sensitive to standing water. When you repot your orchid, ensure the new pot is only slightly larger than the previous one—choosing a pot that’s too big can lead to excessive moisture retention and root rot. The right pot provides stability, proper aeration, and encourages healthy root growth after you repot your orchid.
Can you repot your orchid while it’s blooming?
It’s generally not recommended to repot your orchid while it’s blooming, as the process can cause unnecessary stress and lead to flower loss. Orchids focus their energy on flowering during this time, so disturbing their roots may result in bud drop or shorter bloom duration. However, if your orchid is suffering from root rot, severe overcrowding, or pest infestations, you may need to repot your orchid immediately, even if it’s in bloom. In such cases, take extra care by handling the plant gently and minimizing root disturbance. If possible, wait until the flowers have faded before you repot your orchid to avoid disrupting its natural growth cycle.
How do you care for an orchid after repotting?
After you repot your orchid, it’s important to provide the right care to help it recover. Water sparingly for the first week to allow the roots to adjust to the new potting mix. Keep the orchid in a location with indirect light and high humidity, avoiding direct sun exposure. Refrain from fertilizing immediately after you repot your orchid—wait at least two weeks before resuming a light feeding schedule. Monitor the plant for signs of stress, such as wilting leaves or slow root growth, and adjust care as needed. Providing stable conditions will ensure a smooth transition after you repot your orchid, leading to healthier growth and better blooms
What mistakes should you avoid when you repot your orchid?
When you repot your orchid, avoid common mistakes that can harm its health. One of the biggest errors is using a potting mix that retains too much moisture, leading to root rot. Another mistake is selecting a pot that’s too large, which can cause excessive moisture buildup. Failing to trim dead or damaged roots before repotting can also result in poor growth. Additionally, some people pack the new potting mix too tightly, reducing airflow to the roots. Always ensure proper drainage and use sterilized tools when you repot your orchid to prevent infections.
Can you repot your orchid in regular soil?
No, you should never repot your orchid in regular soil. Unlike typical houseplants, orchids require a loose, airy potting mix that allows their roots to breathe. Regular soil holds too much water, leading to suffocation and root rot. Instead, always use an orchid-specific mix when you repot your orchid to promote healthy root development and growth.
How often should you repot your orchid?
The frequency with which you repot your orchid depends on the type of orchid and the condition of its potting media. Most orchids need repotting every 1-2 years to refresh their growing environment. If you notice deteriorating media, overcrowded roots, or poor drainage, it’s time to repot your orchid to maintain its health and ensure continued blooming.


