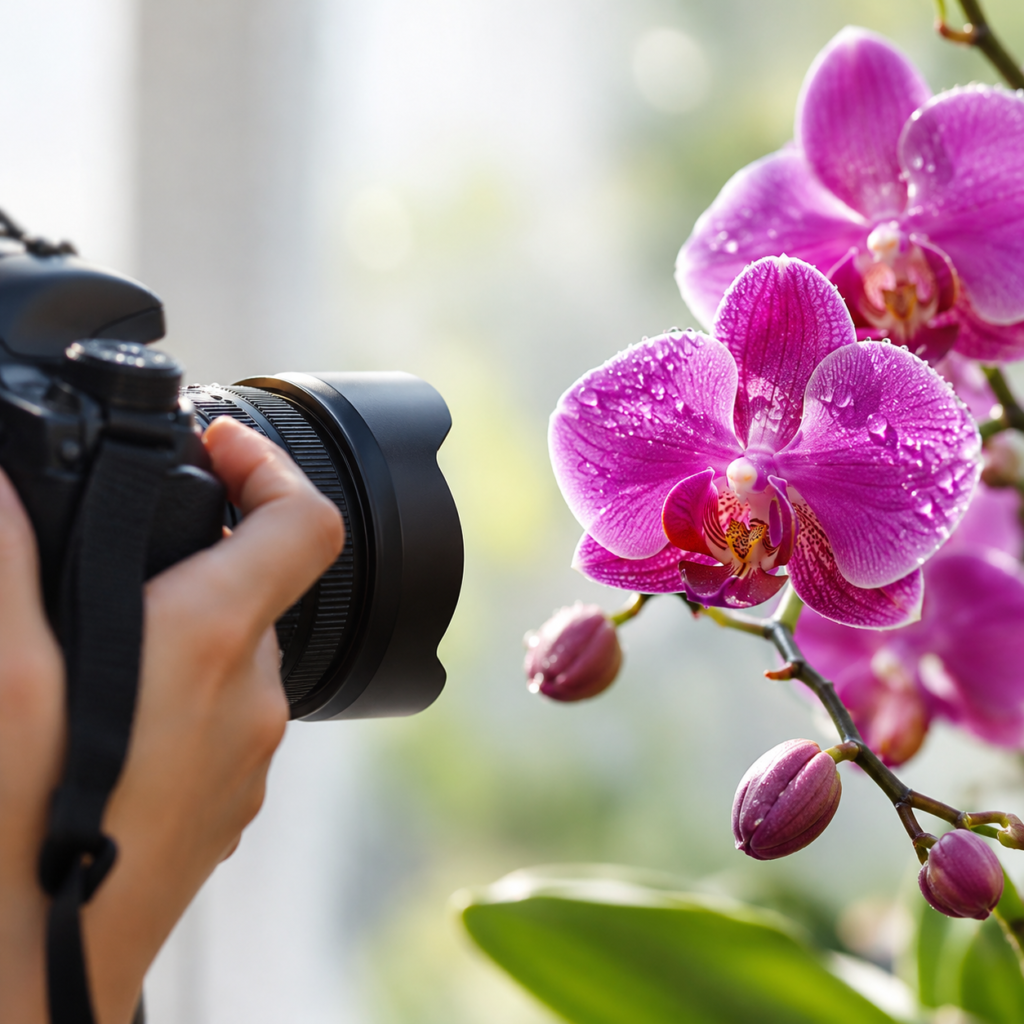
Orchids photography is a rewarding challenge. Orchids are among the most popular flowers in the world, found in gardens, greenhouses, and florist shops everywhere. Their intricate, delicate blooms make them wonderful subjects, but they can also be tricky to capture well. In this guide, we cover practical tips and techniques for taking beautiful images of orchids, whether you shoot with a DSLR, a mirrorless camera, or a smartphone.
Table of Contents
Whether you are brand new to orchids photography or simply want sharper, more polished results, the sections below walk you through lighting, lenses, angles, and composition step by step.
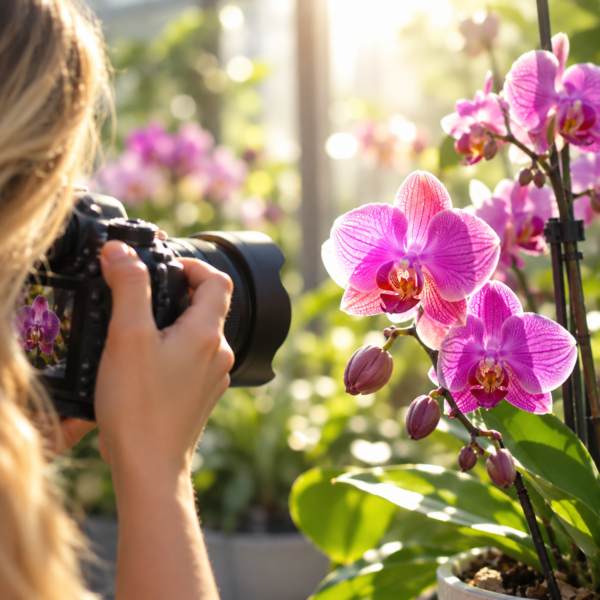
Lighting Is Key in Orchids Photography
Lighting shapes the look and feel of every photo, and it matters even more with orchids. Their petals are thin, often glossy, and full of subtle color transitions. Orchids also need plenty of light to grow and bloom, but harsh direct sun can blow out fine details and cast hard shadows, while too little light leaves images dark and flat.
To get the lighting right, keep these points in mind:
Use diffused or indirect light. Shoot on an overcast day, in open shade, or near a window with a sheer curtain. For artificial light, use a softbox or diffuser to keep the light soft and even.
Experiment with light direction. Side lighting adds depth and texture to petals, while top lighting can give a clean, natural look. Move the light (or the plant) and compare results.
Watch the color temperature. Daylight tends to look cooler and bluer, while indoor bulbs often look warmer and yellower. Set your white balance manually or shoot in RAW so you can correct colors accurately, especially for whites, purples, and deep reds.
Use a reflector. A white or silver reflector bounces light back into shadow areas. In a pinch, a sheet of white card works just as well.
With careful attention to light, you can highlight the delicate details and rich colors that make orchids so special.
Use a Macro Lens
A macro lens is the best tool for capturing beautiful images of orchids. It lets you focus very close and reveal fine details of the petals, column, and lip that are easy to miss with the naked eye.
Macro lenses come in different focal lengths. A 50–60mm lens is compact and good for general close-ups, but you have to get very near the flower. A 90–105mm lens gives you more working distance, which means less chance of casting a shadow on the bloom or disturbing the plant, and it’s the usual recommendation for orchids.
Pay close attention to aperture. A wide aperture (low f-number such as f/2.8) gives a shallow depth of field, which is ideal for isolating a single bloom against a soft background. At macro distances, though, that focus zone can be paper thin, so you may need a narrower aperture (f/8 to f/11) to keep more of the orchid in focus. For maximum sharpness, try focus stacking: take several shots at different focus points and merge them in editing software.
Macro shooting is unforgiving of camera shake, so use a tripod, a remote shutter or the self-timer, and a fast enough shutter speed. Even a gentle breeze or air-conditioning draft can make a flower sway, so shoot indoors or in a sheltered spot when possible.
No macro lens? Many modern smartphones have a close-focus or macro mode, and inexpensive extension tubes or clip-on macro lenses can also get you surprisingly close.
Experiment with Different Angles
Shooting straight on is natural, but changing your perspective makes images more dynamic. Try these angles:
From above: Creates a symmetrical image that highlights the flower’s center and overall structure.
From below: A dramatic angle that shows off the height of the spike, the delicate stems, and the patterns on the underside of the petals.
Close-up: Fills the frame with texture and detail, perfect for showing individual petals, veining, and the flower’s column.
Diagonal: Adds movement and energy, especially with arching spikes or cascading blooms.
Backlit: Placing the orchid between your camera and a light source makes the petals glow and emphasizes their translucency. Use a lens hood and check your exposure so the highlights don’t blow out.
Whichever angle you choose, keep the composition in mind. Trying several perspectives is one of the easiest ways to add variety to your orchid photography and discover shots you wouldn’t have planned.
Pay Attention to Composition
Good composition turns a nice flower photo into a memorable one. Keep these tips in mind:
Use the rule of thirds. Place the main bloom or focal point near an intersection of the grid lines for a balanced image.
Control the background. Look for a clean, uncluttered backdrop, or place a plain sheet of dark, light, or colored card behind the plant. A shallow depth of field helps melt distractions away.
Look for lines and shapes. The curve of a petal or an arching flower spike can create flow and guide the eye.
Use negative space. Leaving empty space around the flower gives it room to breathe and adds a calm, elegant feel.
Use leading lines. Stems, spikes, and petal edges can lead the viewer straight to the focal point.
Tidy the plant first. Remove dust, spent blooms, and damaged leaves before shooting, and use a soft brush or a light mist of water for a fresh look. It saves a lot of editing time later.
Composition is subjective, so don’t be afraid to break the rules. Experiment, review your shots, and refine your style over time.
Edit Your Orchid Photos
A light edit can turn a good shot into a great one. Open your RAW file in your favorite editor and start with the basics: straighten the horizon, crop to strengthen the composition, and correct the white balance so whites look white and purples stay true to the real flower.
Next, adjust exposure and contrast gently. Lower the highlights to recover detail in pale petals, lift the shadows slightly, and add a touch of clarity or texture to bring out veining. Be careful with saturation, because orchid colors can easily look unnatural when pushed too far.
Finally, clean up small distractions. Use the spot-removal tool to erase dust, water marks, or a stray leaf tip, and consider a subtle vignette to draw attention toward the center of the bloom. If you shot a focus stack, blend the frames first and then apply these edits to the merged image.
Conclusion
Great orchids photography comes down to a few fundamentals: soft, diffused light, a macro lens or close-focus mode, creative angles, and a thoughtful composition. Master these basics and your images will show off the delicate beauty that makes orchids so beloved.
The best way to improve at orchids photography is to practice often. Try different settings, compare your results, and keep experimenting until you find a style that is truly your own.
FAQ
What camera settings are best for photographing orchids?
For orchids photography, start with aperture priority or manual mode. Use f/5.6 to f/11 to keep enough of the flower in focus, a low ISO (100 to 400) for clean images, and a shutter speed fast enough to avoid blur. Good orchids photography also benefits from shooting in RAW so you can fine-tune white balance and colors later.
Can I take good orchid photos with a smartphone?
Yes, orchids photography works well on modern smartphones. Use soft natural light near a window, tap to focus on the center of the flower, and lower the exposure slightly so the petals aren’t overexposed. For more detailed orchids photography, try macro or portrait mode, or add a clip-on macro lens.
What is the best time of day to photograph orchids?
Early morning and late afternoon offer soft, warm light that is ideal for orchids photography. Indoors, the best time is when bright but indirect light comes through a window. Avoid midday sun in your orchids photography, since it creates harsh shadows and washed-out highlights.
How do I get a clean background in orchid photos?
A clean background is a hallmark of strong orchids photography. Move the plant away from clutter, place a plain card or fabric behind it, and use a wide aperture to blur what remains. In orchids photography, getting closer to the flower and increasing the distance between the flower and the background also creates a smooth, soft backdrop.
What is focus stacking and do I need it for orchid macro shots?
Focus stacking means taking several photos at slightly different focus points and blending them into one image that is sharp from front to back. It is not required for orchids photography, but it is very helpful for close-up macro work, where a single frame has a very shallow depth of field. Many professionals rely on it for their most detailed orchids photography.